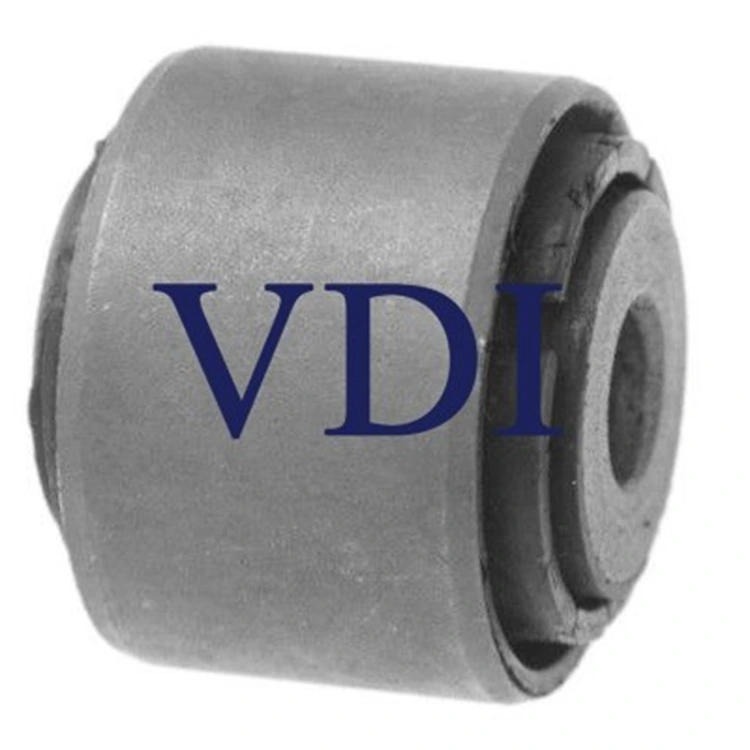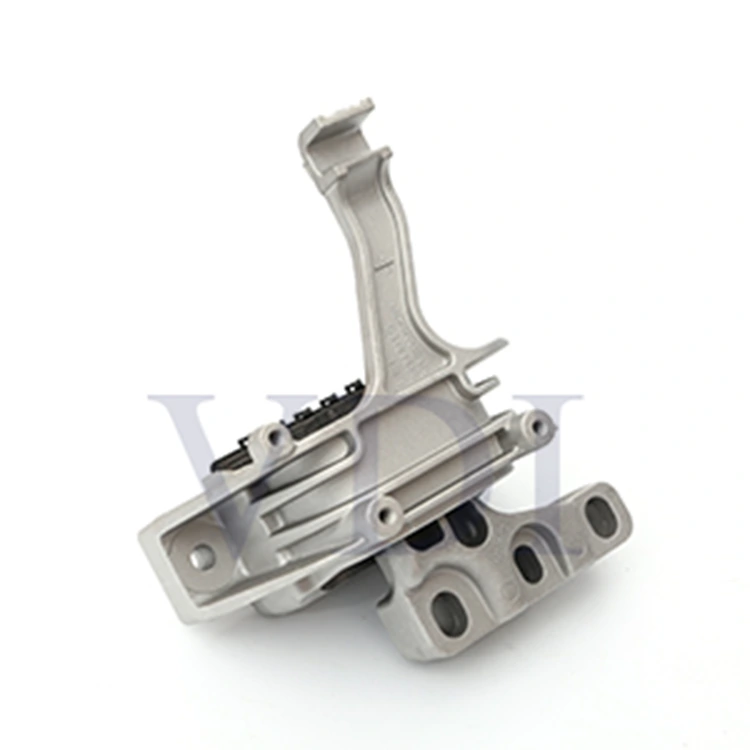


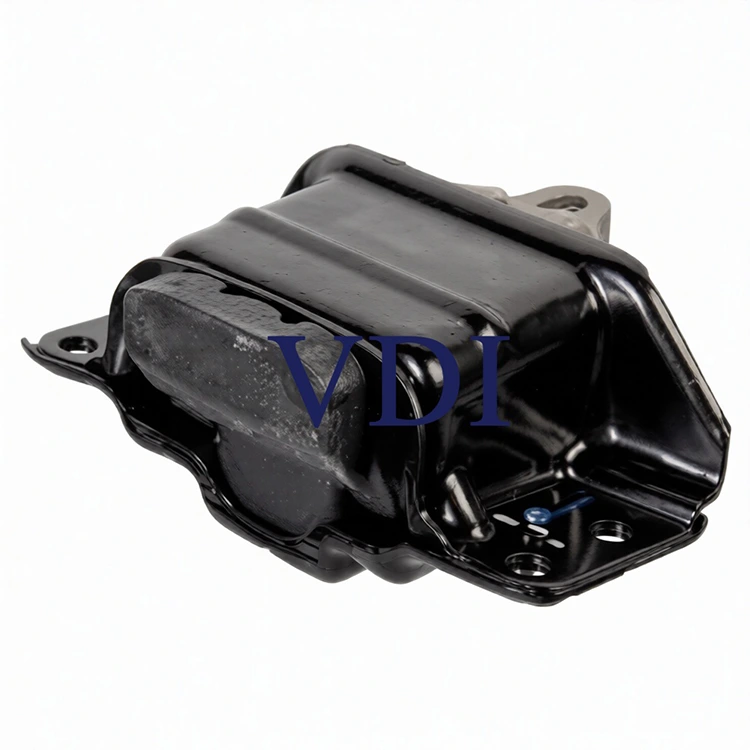
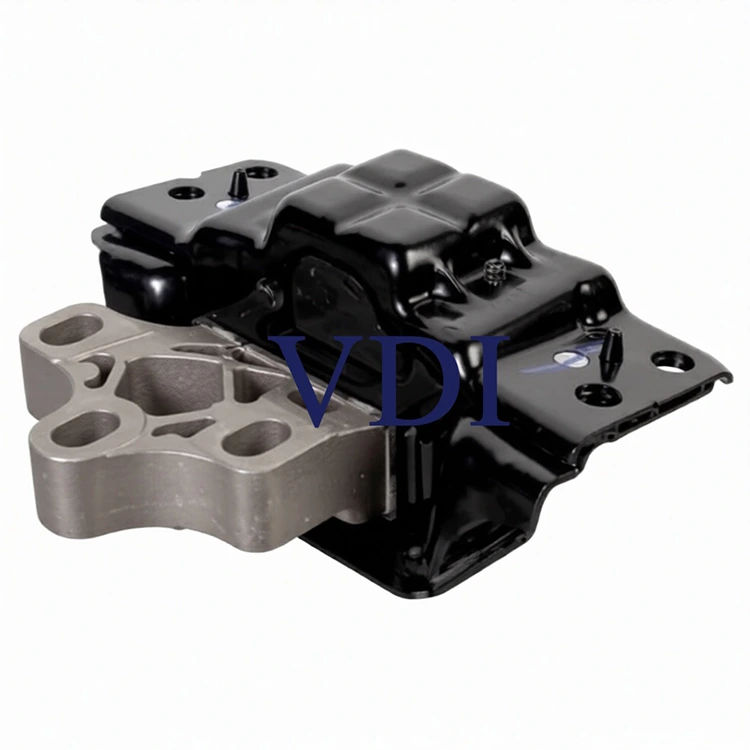
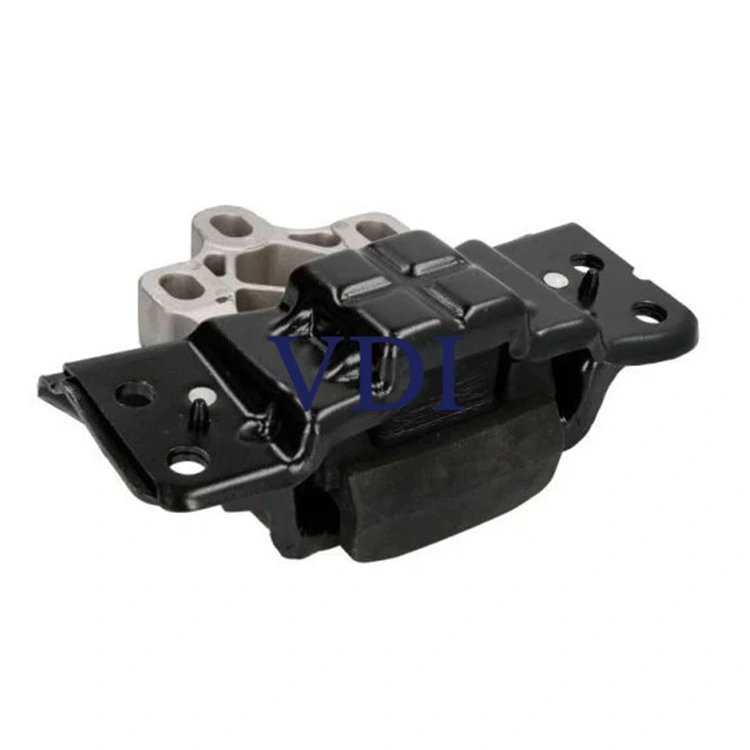
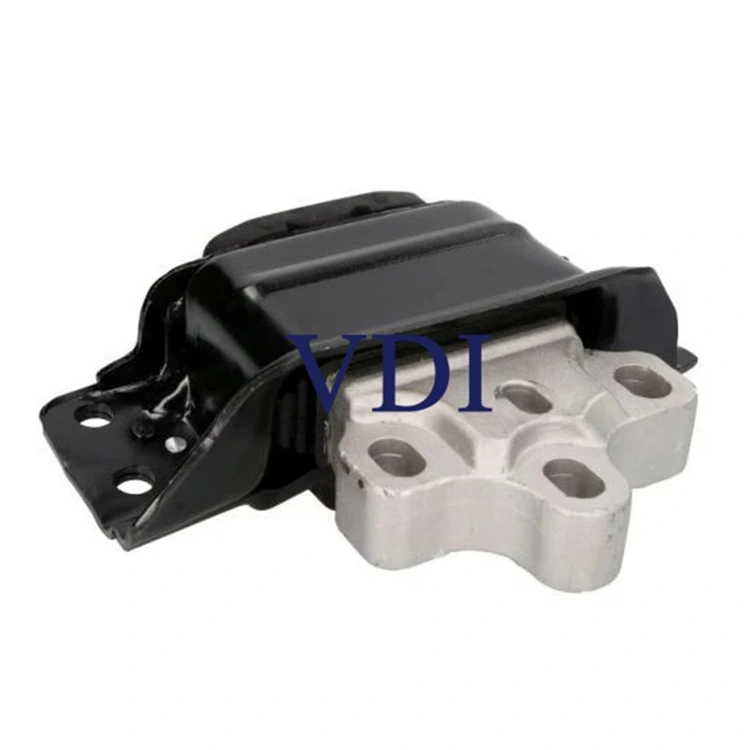
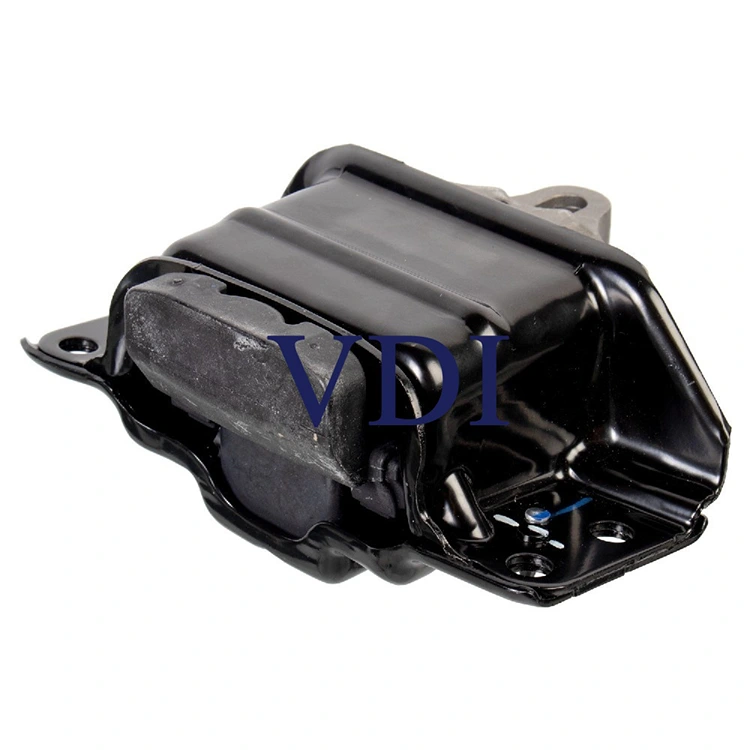
Transmission Mount 5QA199555D maintains rubber elasticity in extreme cold or heat without performance degradation due to temperature fluctuations, optimizes vibration feedback during launch to improve takeoff feel especially in dual-clutch and manual transmission vehicles, and reduces extra load on engine mounts to balance overall stress distribution while extending the life of the powertrain mounting system.
Replacement NO:
5QA 199 555 G
Fit to:
VW TIGUAN 2016-2022
1. Transmission Mount 5QA199555D features CNC-machined mounting holes with tolerances held within ±0.05mm, ensuring a precise, gap-free fit during installation.
2. Rubber edges are designed with overflow grooves and stress relief zones to prevent surface fatigue cracks under prolonged high-load operation.
3. The center sleeve is made from seamless steel tubing, hardened through heat treatment to maintain consistent bolt torque over time without loosening or deformation.
![]()
![]()
![]()
![]()
1. What Is a Transmission Mount
A transmission mount (also called a gearbox mount) is a vibration-dampening bracket that secures the transmission to the vehicle's chassis or subframe. It consists of two main components: a metal bracket and a rubber (or polyurethane) bushing bonded together.
Its two primary functions are: (1) physically locking the transmission in the correct position to maintain precise driveline geometry, and (2) absorbing vibration and shock generated during gear changes, acceleration, and deceleration — preventing these forces from entering the cabin.
Most vehicles carry one to two transmission mounts. Front-wheel-drive cars with transversely mounted engines typically have a rear transmission mount, sometimes with an additional side support. The transmission mount works in coordination with engine mounts to support the entire powertrain assembly.
2. Types of Transmission Mounts
There are three common types, each suited to different use cases:
|
Type |
Construction |
Vibration Isolation |
Durability |
Best For |
|
Solid Rubber |
Rubber bushing + steel bracket |
Excellent (OEM standard) |
Moderate — degrades with heat |
Daily driving, comfort priority |
|
Hydraulic |
Fluid-filled (glycol), tuned damping |
Superior, frequency-specific |
Lower — fluid can leak over time |
Premium sedans, high NVH standards |
|
Polyurethane |
High-durometer urethane bushing |
Poor — more NVH transmitted |
High — heat and wear resistant |
Track use, precise shift feel |
Buying tip: For everyday use, choose a solid rubber mount matching original equipment (OEM) spec. Polyurethane mounts improve shift feel but increase cabin vibration. Hydraulic mounts offer the best ride quality but have more complex construction and shorter service life.
3. Common Causes of Failure
Natural Aging (Most Common)
Rubber oxidizes and breaks down over time. Combined with the constant vibration load of the drivetrain, most mounts begin to degrade between 60,000 and 100,000 miles (approximately 100,000 to 160,000 km). Proximity to the exhaust system accelerates rubber deterioration through sustained heat exposure.
Collision or Impact
Even a minor front-end collision or repeated impacts from potholes and curbs can damage the structural integrity of a mount — without any visible external cracking. The metal-rubber bond may separate internally. Any significant impact warrants a mount inspection.
Improper Installation
After transmission rebuilds or replacements, an incorrectly torqued or misaligned mount creates localized stress concentrations, dramatically shortening its service life. This is a key area to verify on vehicles with unclear service history.
Corrosion
Vehicles operated in snowy, salted, or coastal environments are prone to metal bracket corrosion. Rust progressively weakens the mount's structural integrity. Owners in northern or coastal regions should inspect mounts for corrosion at every service interval.
Note: When one engine mount fails, its load transfers to the transmission mount, accelerating its wear. Always inspect the transmission mount when replacing engine mounts.
4. Symptom Recognition
The following symptoms are listed by frequency and severity. The more symptoms present, the more advanced the mount degradation.
|
Symptom |
Description |
Severity |
|
Clunking or banging noise |
Audible bang when shifting D/R or during hard acceleration/braking. Transmission shifting without support collides with surrounding components. |
HIGH |
|
Excessive vibration under load |
Noticeable shaking in steering wheel, seat, or floor — especially at low speeds or on inclines. |
HIGH |
|
Rough or hesitant gear changes |
Shift linkage geometry changes as transmission moves. Manual shifts feel stiff or long; automatics develop more pronounced shudder. |
MEDIUM |
|
Visible powertrain movement |
Engine/transmission visibly lurching under throttle, or transmission appears tilted/sunken when viewed in the engine bay. |
MEDIUM |
|
Increased idle vibration |
More noticeable cabin shake at idle, especially with A/C engaged. An early warning sign — cheapest time to fix. |
LOW / EARLY |
|
New drivetrain noise |
Humming or grinding at specific speeds, potentially caused by driveshaft angle changes from mount sag. |
LOW / EARLY |
Do not delay replacement: Continued driving with a failed mount causes accelerated wear to CV axles, transmission seals, coolant lines, and wiring harnesses. The cost of those secondary repairs can be several times the cost of a timely mount replacement.
5. Inspection Procedure
The following steps follow professional diagnostic practice. They can be used for an initial self-assessment, but a final diagnosis should be confirmed by a qualified technician.
Step 1 — Visual Inspection (No Lift Required)
Open the hood and observe the transmission and engine position. Look for visible tilting, sagging, or rubber bushings with cracks, delamination, or separation from the metal. For hydraulic mounts, any fluid weeping indicates failure.
Step 2 — Dynamic Visual Test (Assistant Required)
Park on level ground with the parking brake engaged. Have an assistant hold the brake firmly and cycle the transmission between P/N and Drive, then Reverse, several times. Watch from the engine bay for excessive powertrain movement. Minor flex is normal; large lurching or audible banging indicates mount failure.
Step 3 — Undercarriage Inspection (Lift Required)
Raise the vehicle safely and secure it. Inspect the transmission mount from below. Check the rubber for cracking, splitting, or complete separation from the metal bracket. If the rubber is fully detached, the mount must be replaced immediately.
Step 4 — Pry Bar Test (Professional Recommended)
With the engine off and the vehicle safely supported, use a pry bar to gently lever the transmission. A healthy mount offers firm resistance with almost no movement. If the transmission shifts easily under light prying, the mount has failed. Ensure a transmission jack or support is in place before performing this step.
6. Replacement Cost Reference
The figures below are compiled from multiple repair platforms and real-world cases. Actual costs vary by vehicle make, region, and parts brand.
|
Cost Item |
Estimated Range |
|
Part — aftermarket rubber mount |
$20 – $80 (US) |
|
Part — OEM rubber mount |
$80 – $200 (US) |
|
Part — hydraulic mount |
$150 – $400 (US) |
|
Labor (1–3 hours, standard car) |
$100 – $250 (US) |
|
Total — standard vehicle (US, RepairPal data) |
$363 – $441 |
Luxury brands (BMW, Mercedes-Benz, Porsche, etc.) carry significantly higher parts and labor costs — total repairs can exceed $800 (US) . AWD and 4WD vehicles typically require 50% more labor time due to structural complexity. Welcome to order VDI Transmission Mount 5QA199555D.
DIY Feasibility
Replacement is technically within reach for experienced home mechanics, but involves important safety considerations:
A hydraulic jack or transmission support must hold the transmission before the old mount is unbolted
Some vehicles require subframe removal to access the mount — significantly increasing scope
The replacement mount must be precisely aligned; misalignment causes new vibration
Torque specs from the OEM service manual must be followed for all fasteners
7. Maintenance Tips
Transmission mounts are consumable components. Good driving habits and periodic inspection can meaningfully extend their service life.
|
Tip |
Details |
|
Periodic visual checks |
Inspect rubber condition at every oil change or ~10,000 km. Early cracks are much cheaper to address than full failure. |
|
Smooth driving inputs |
Avoid aggressive acceleration and hard braking — these are the largest contributors to mount stress fatigue. |
|
Maintain transmission fluid |
Degraded fluid increases internal vibration, which transfers additional load to the mount. Follow the manufacturer's fluid change intervals. |
|
Address engine mounts promptly |
A failed engine mount redistributes its load to the transmission mount. Inspect both systems together. |
|
Do not exceed payload rating |
Sustained overloading stresses the entire drivetrain, including all mounts. |
|
Inspect after any collision |
Even a minor parking-lot impact can damage mounts invisibly — add it to the post-collision checklist. |
8. Frequently Asked Questions
Q: Can I keep driving with a bad transmission mount?
Short distances to reach a shop are generally acceptable, but sustained driving is not recommended. A failed mount allows excessive transmission movement that accelerates wear on CV axles, output shaft seals, and coolant lines — secondary repairs that can cost several times more than a timely mount replacement.
Q: Should I replace the engine mounts and transmission mount at the same time?
Not necessarily, but vehicles of similar age and mileage typically have mounts in similar states of wear. Many technicians recommend replacing both together to save a second disassembly, and to avoid a short-interval return visit when the next mount fails.
Q: The vibration didn't improve after replacement — why?
Post-replacement vibration usually indicates: other engine mounts are also worn; the new mount was not precisely aligned during installation; or the vibration source is unrelated (ignition misfire, unbalanced tires, worn suspension bushings). Request a full powertrain mount inspection from the technician.
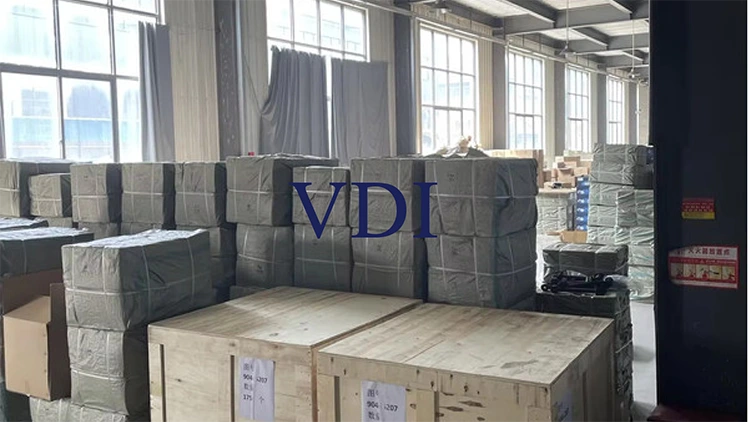
Transmission Mount 5QA199555D bulk orders are shipped in neutral or custom branded boxes, depending on your preference. Each unit is protected with inner cushioning to prevent damage during transit, and multiple boxes are packed into sturdy export cartons. If you need custom packaging—such as retail-ready boxes, branded labels, or specific carton markings—we are happy to accommodate. We understand that packaging plays a key role in how your customers perceive your brand, so we work closely with you to ensure it meets your brand standards.