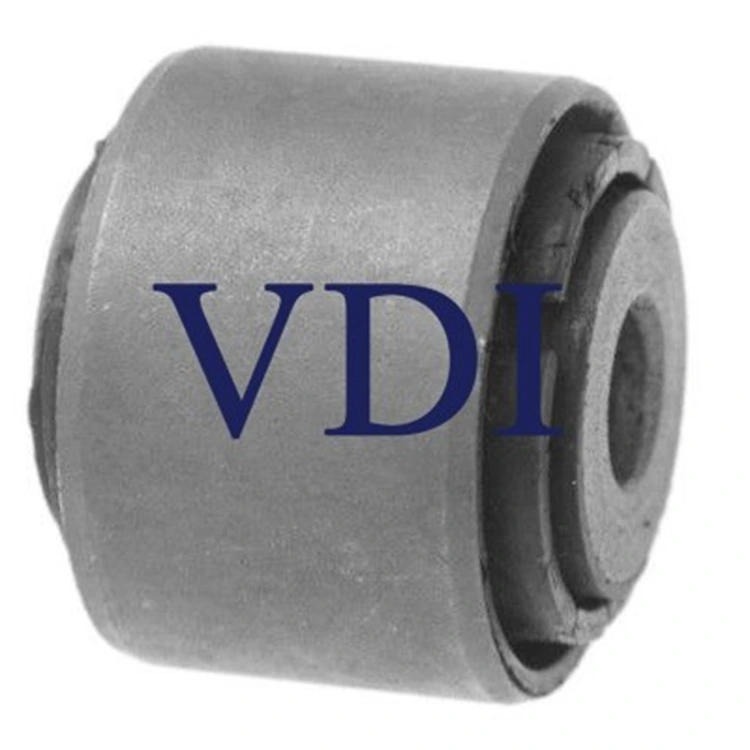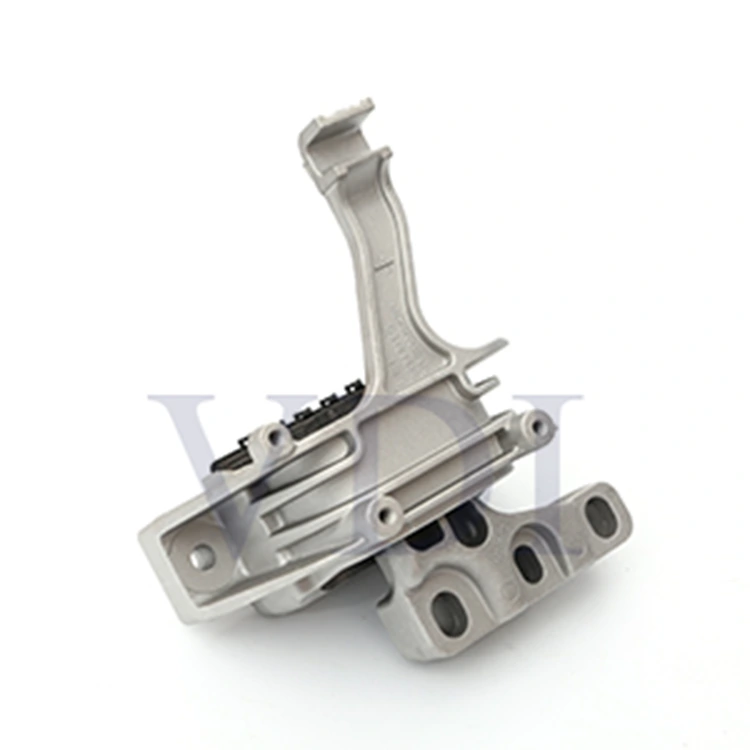


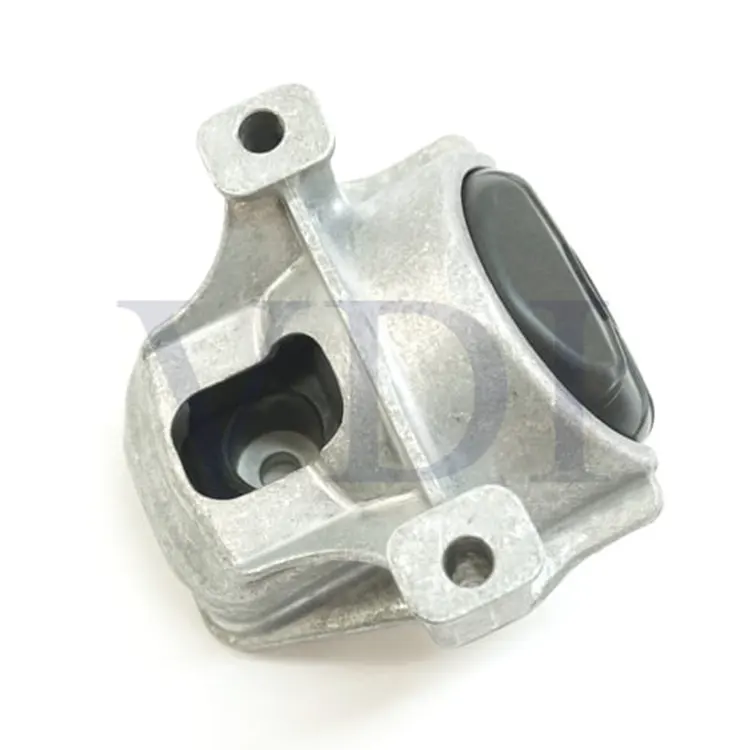
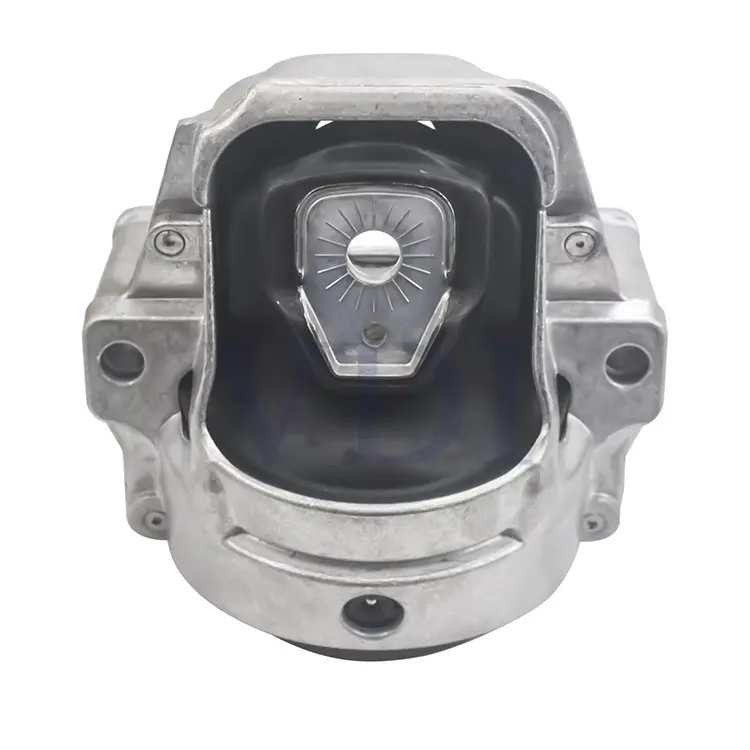
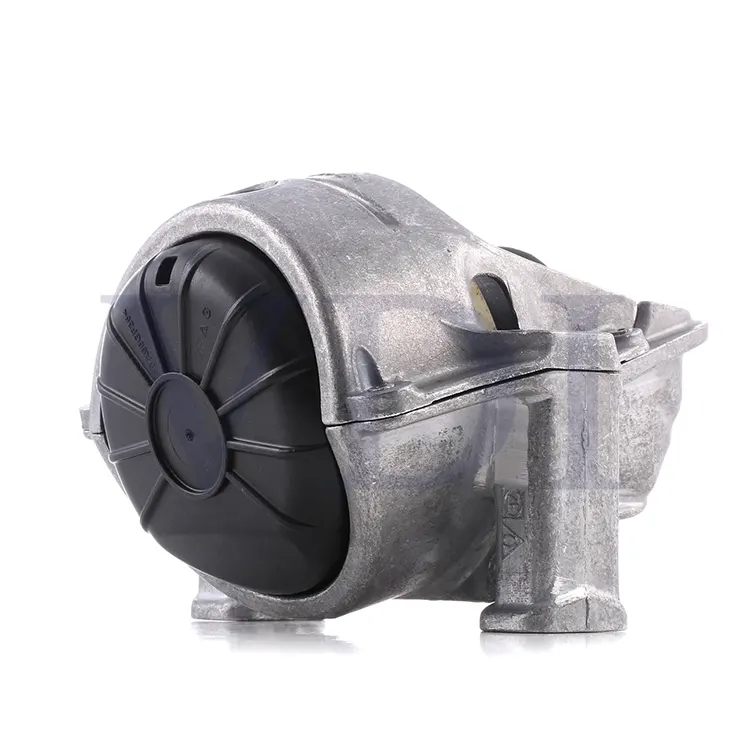
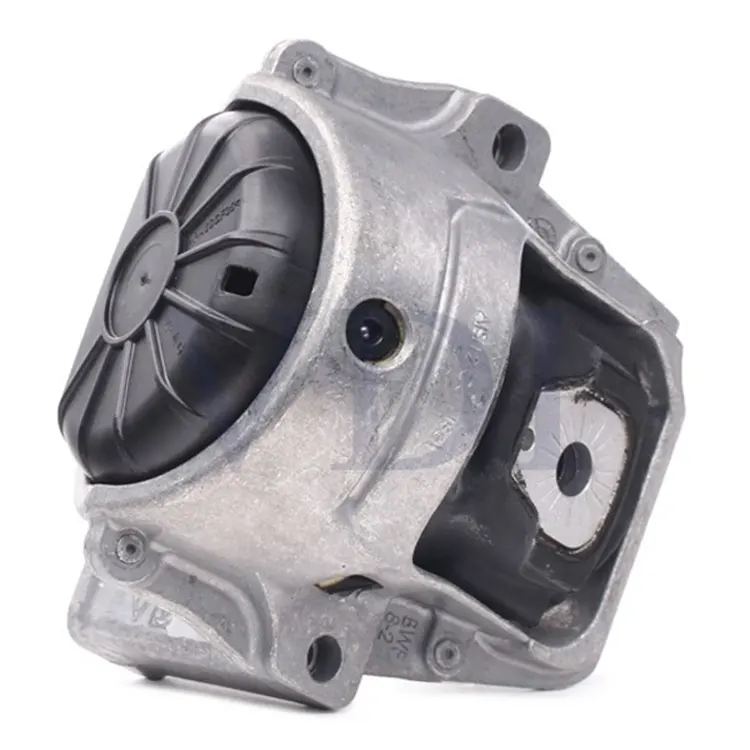


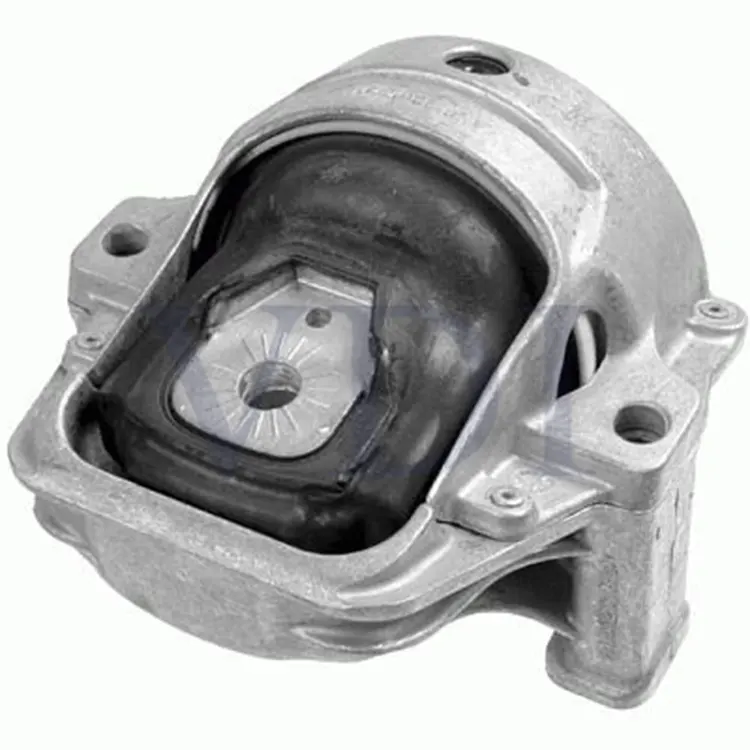
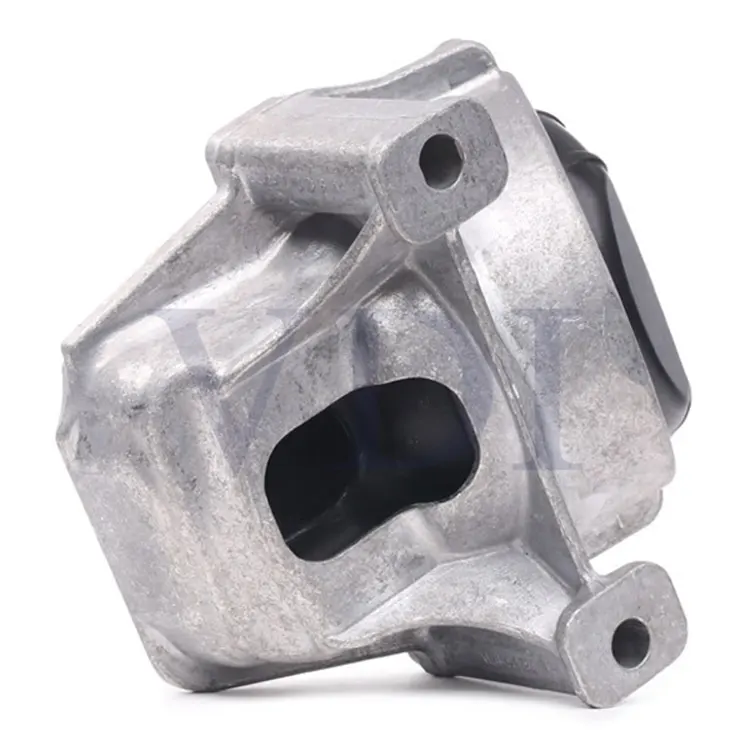
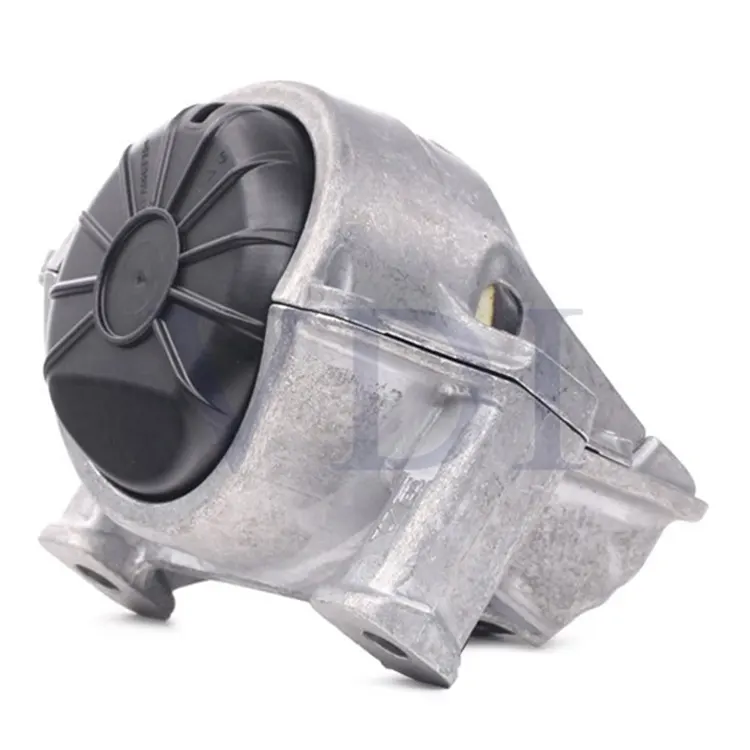
The Engine Mount 8R0199381AL is built to straight-up OEM specs, so it drops right into your car with zero drama.It shuts down the rattles and shakes most people just live with, giving you that dead-quiet, smooth ride you notice the second you pull out of the driveway.And it’s the kind of part that doesn’t quit—keeps doing its job mile after mile without you ever having to think about it again.
Replacement NO.
8R0 199 381 J
8R0 199 381 L
8R0 199 381 AM
8R0 199 381 GK
8R0 199 381 NK
8R0 199 381 NP
Fit to
AUDI Q5
AUDI A4L
AUDI A4
AUDI A5
● Restores factory-level engine stability and alignment.
● Perfect for replacing worn-out or damaged mounts with minimal effort.
● The Engine Mount 8R0199381AL ensures that the engine is securely mounted, reducing wear on other components.
● Increases the lifespan of the engine and vehicle by maintaining proper engine placement.


1.Prep
Park on flat ground, handbrake on, key out. Throw on gloves and safety glasses—don’t be that guy.
Grab your jack, jack stands, a decent wrench set, pry bar, torque wrench, and probably a ratchet and sockets.
Jack the car up, shove jack stands under it. Never, ever trust just the jack. I mean it.
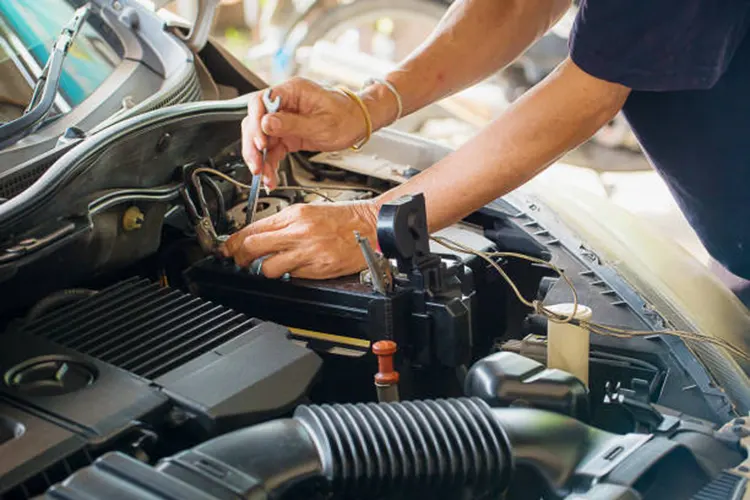
2.Find the mounts
Look where the engine meets the frame. You’ll see 2-4 chunky rubber (sometimes rubber+metal) blocks. That’s them. They eat vibration and keep the engine from dancing around.
Make sure you can actually get to them. If the airbox, intake pipe, or heat shields are in your face, yank them out of the way.
3.Pull the old mount
First, slide a jack (with a block of wood) under the oil pan or use an engine support bar across the fender lips. Take the weight of the engine—you don’t want it dropping.
Loosen and remove every bolt holding the mount to the engine bracket and the frame. Save the bolts if they’re not trashed.
Once everything’s loose, wedge a pry bar in there and pop the old mount out. Watch the wiring and coolant hoses—don’t rip anything.
4.Put the new one in
Drop the new mount in place. Line the holes up perfect with the engine bracket and the frame (some mounts only go one way—don’t force it).
Thread the bolts back in by hand first, then snug them down. Hit them with the torque wrench to whatever the manual says—too tight or too loose and you’ll be doing this again in a month.
Double-check engine alignment before you crank everything down final. If it’s off even a little, the new mount will hate you.
5.Put everything else back
Anything you took off to get in there—intake tube, airbox, whatever—bolt it back exactly how it was.
Look over every hose and wire you touched. Nothing pinched, nothing pulling.
Drop the car
Lower it slow, pull the jack stands, bounce the car a couple times to settle everything.
Fire it up. Listen and feel for weird vibrations or clunks. If it’s quiet and smooth, you’re golden.
6.Final check
Look around the mount for fresh oil or coolant leaks.
Take it for a quick rip around the block. If the engine doesn’t feel like it’s trying to jump out, you nailed it.
Quick tips that actually matter:
Don’t cheap out on the mount. OEM or a reputable brand—cheap ones collapse in a year.
Torque specs aren’t a suggestion. Look them up for your car.
If this looks like a nightmare or you’ve never done it, just pay a shop. Seriously, it’s cheaper than breaking something expensive.
That’s it. Real-world engine mount swap, no AI nonsense.
Maintaining your engine mounts is essential to ensure the smooth operation of your engine and prevent unnecessary vibrations, noise, and potential damage to other vehicle components. Here's a maintenance guide to help you extend the life of your engine mounts and keep your vehicle running smoothly.
1.Regular Inspections (actually look at them)
Pop the hood every couple months and stare at the mounts. Look for cracked rubber, tears, chunks missing, or rubber that’s turned shiny and hard. If you see oil or coolant dripping on them, that’s bad—those fluids eat rubber for breakfast.
While the engine’s running (in park, foot on the brake), have someone slowly power-brake it (light throttle with brakes held). Watch the engine. If it rocks or jumps more than about an inch, the mounts are toast. Same deal when you shut it off—if it clunks hard dropping back into place, start saving for new ones.
2.Pay Attention While You Drive
Feel the car. If it shudders like a wet dog when you shift gears, especially in an automatic, or if you get a shaking steering wheel at idle in Drive, the mounts are probably shot.
Extra clunks, bangs, or thumps when you get on or off the gas? That’s the engine smacking into something it’s not supposed to because the mount isn’t holding it anymore.
3.Keep Crud Off Them
Oil leaks, coolant leaks, power-steering fluid—any of that stuff sitting on the rubber speeds up the death clock. Fix leaks early.
If you live where they salt the roads in winter, hose the engine bay down once in a while (cold engine, low pressure) so the salt doesn’t eat the metal plates inside the mounts.
4.Preventative Stuff That Actually Helps
Some mounts (mostly older hydraulic ones) have a tiny grease zerk or call for silicone spray every now and then—check your manual. Most modern solid rubber or hydraulic-filled mounts want nothing but clean air and prayers.
If you beat on the car—track days, big turbo, towing, off-road—swap to stiffer polyurethane or solid mounts sooner rather than later. They last longer under abuse.
5.Red-Flag Signs It’s Time to Replace Them
Engine lifts or slams hard when you rev it in neutral or power-brake.
You can see the engine sitting crooked with the hood open.
Big clunk when you drop it into gear or take off from a stop.
Vibration you can feel through the seat and wheel that wasn’t there before.
If you’ve got any of those, stop putting it off. Bad mounts will start cracking exhaust manifolds, tearing CV boots, and beating the hell out of your transmission.
6.Let a Pro Look Once in a While
Yeah, you can spot the obvious stuff, but a good mechanic on a lift will see torn mounts you’d never catch from the top. Every time you’re in for an oil change or tires, ask them to give the mounts a quick once-over. Takes them ten seconds.
7.Don’t Buy Cheap Junk
When it's time for a replacement, spend the money on OEM or reputable brands (such as VDI Engine Mount 8R0199381AL). Products that are too cheap will end up costing you more in the long run.
8.Drive Like You Want Them to Last
Quit flooring it from every stoplight, riding the clutch, and slamming potholes at 80 mph. Smooth inputs = mounts live longer. Same deal with overloading—don’t turn your sedan into a moving van every weekend.
Do these basic things and your mounts will easily outlast 150–200k miles on most cars. Ignore them and you’ll be swearing under the car a lot sooner than you want. Simple as that.
Engine mounts hold your engine in place, soak up vibrations, and stop it from shifting too much. When they go bad, you’ll feel clunking, harsh shaking, or even engine tilt—exactly what some 2025 Ford F-150 owners are reporting with mount failures on the highway. The good news? You can diagnose bad motor mounts yourself in under 10 minutes with two simple tests: the Power Brake Test and Visual Inspection.
Power Brake Test: See If Your Engine Moves Too Much
This is the #1 way to test engine mounts at home.
How to do the Power Brake Test:
1.Park on a flat surface, set the parking brake.
2.Start the engine, shift to Drive.
3.Hold the brake hard with your left foot.
4.Lightly press the gas with your right—just enough to rev the engine (don’t move the truck).
5.Watch the engine under the hood.
6.Repeat in Reverse.
What you’re looking for: If the engine lifts, tilts, or shifts more than 1–2 inches, your mount is bad. A good mount keeps movement minimal and controlled.
“Hold the brake and lightly press the accelerator to see if the engine moves excessively. Do this test in drive and reverse.”
Visual Inspection: Look for Cracks & Tears in the Rubber
Pop the hood and check the rubber—this is where most mounts fail first.
How to inspect engine mounts:
1.Open the hood and find the mounts (usually 2–4 around the engine).
2.Look closely at the rubber insert.
3.Check for:
1.Cracks in the rubber
2.Tears or splitting
3.Rubber pulling away from the metal
4.Oil soaking (oil destroys rubber fast)
5.Rusted or bent metal
“Have a look at the rubber in the mount and look for cracks or tears.”
Even tiny cracks can turn into total failure under towing, off-roading, or hard acceleration.
Red Flags? Here’s What to Do
If you see excessive movement or damaged rubber:
● Stop towing or highway driving immediately
● Replace the bad mount ASAP – use OEM or heavy-duty aftermarket(like Engine Mount 8R0199381AL)
● Check all mounts – they wear out together
Best Replacement Tips (Search-Approved)
● Pick mounts with high-grade rubber and steel for long life
● Go heavy-duty if you tow, haul, or off-road
● OEM-style fit = no mods, perfect alignment
● Test every 12 months / 12,000 miles
Prevent F-150 Engine Mount Failure
Early detection stops small cracks from becoming highway nightmares. Do the Power Brake Test and Visual Inspection regularly—save thousands in repairs and stay safe on the road.
Works on F-150, Silverado, Ram, Tundra, and most trucks & cars.
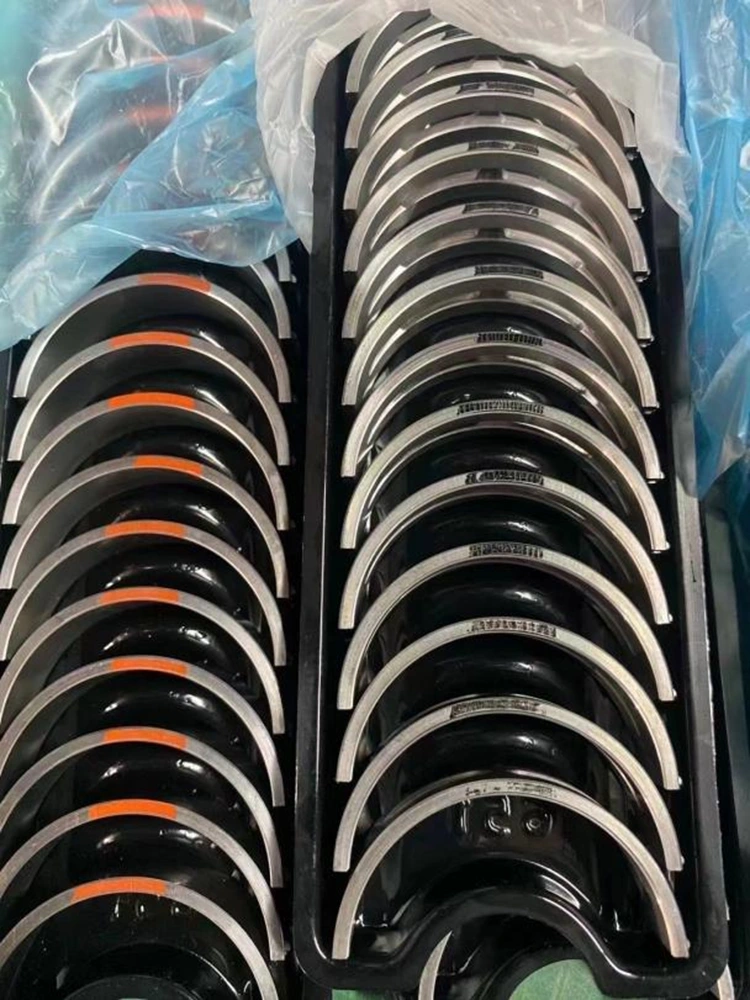
We know very well how important the engine mount is. Every Engine Mount 8R0199381AL we ship undergoes real-world quality checks and rigorous testing. They not only meet OEM specifications but exceed them, ensuring you get rock-solid, long-term reliability and performance.