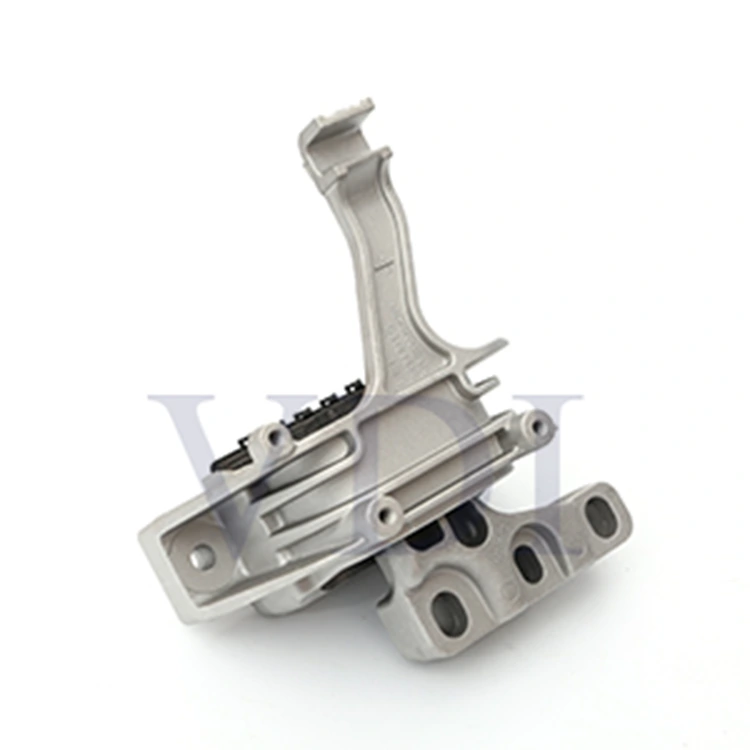


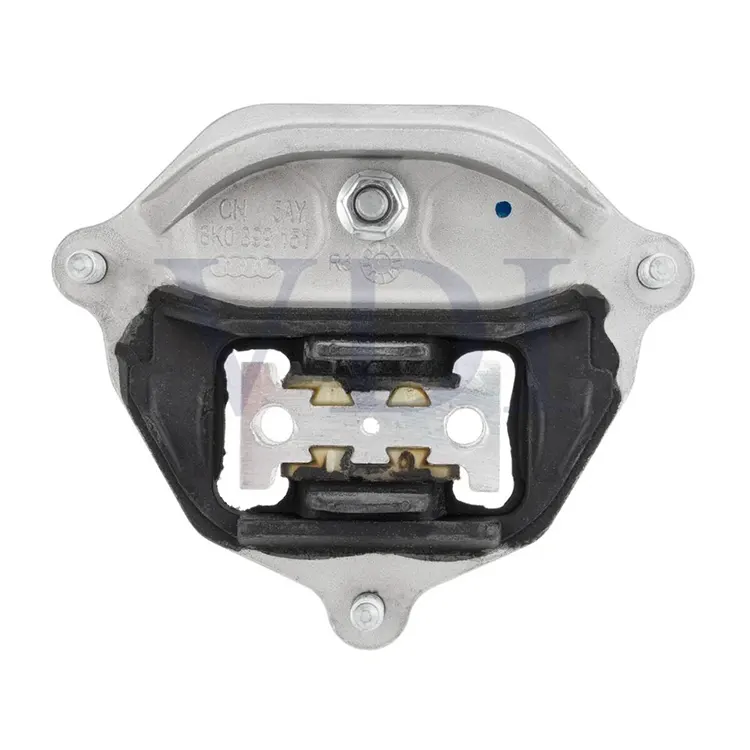
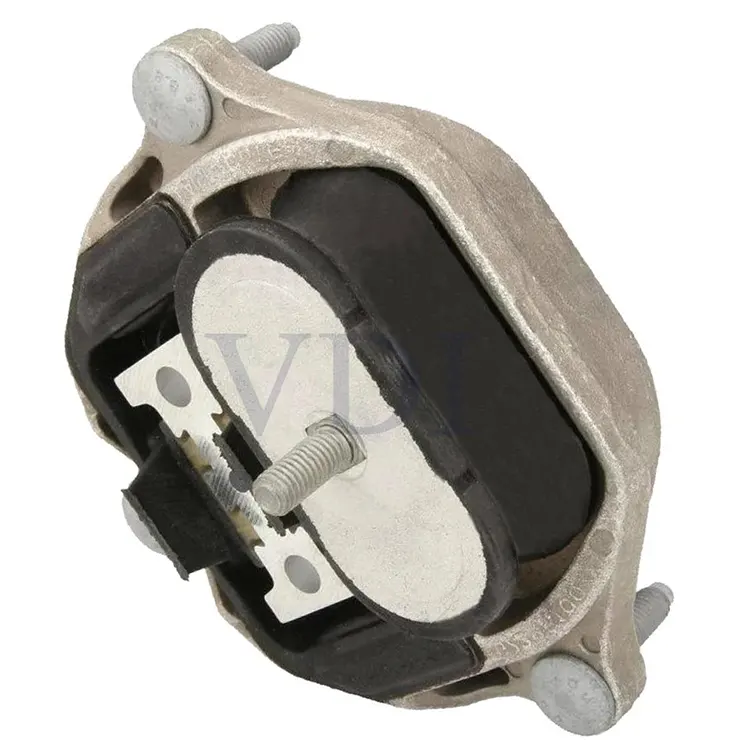
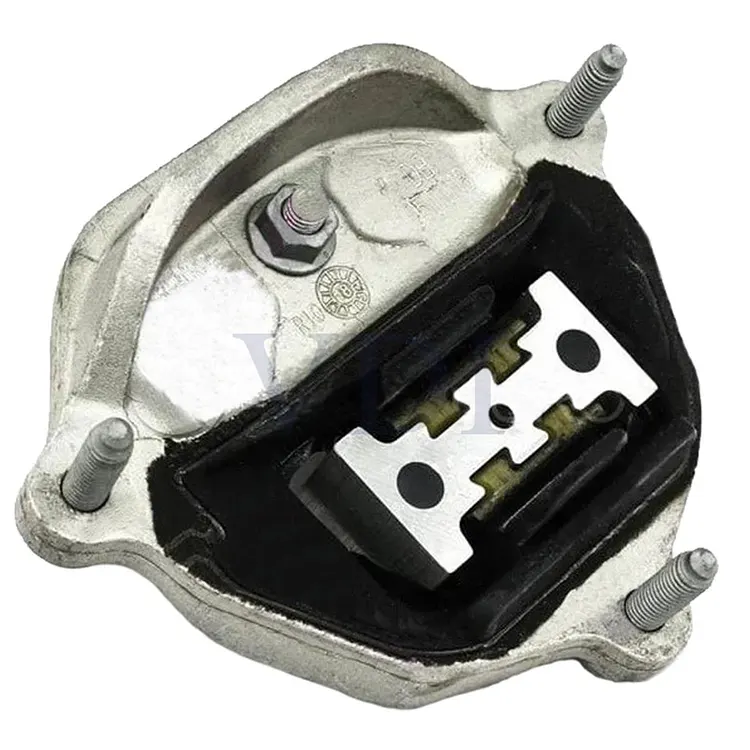
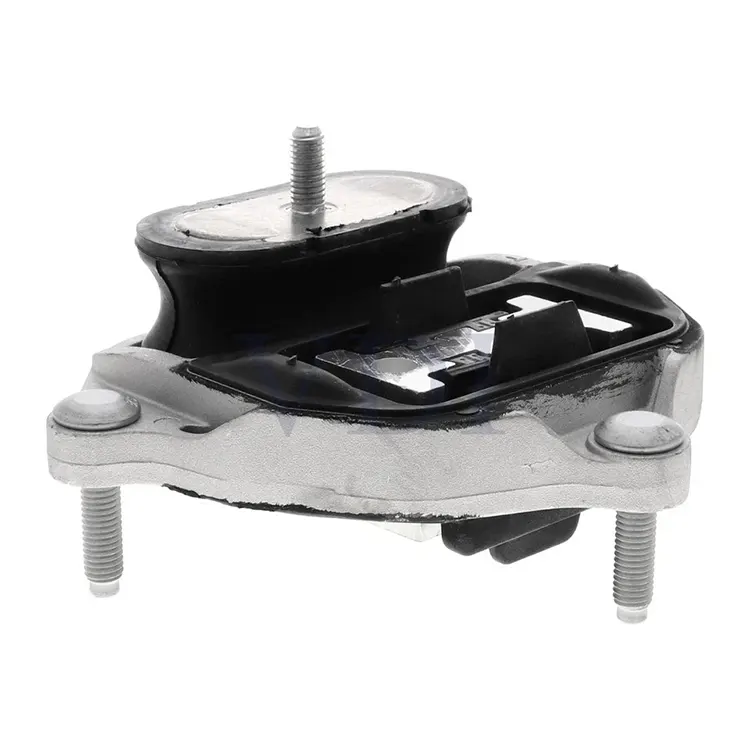
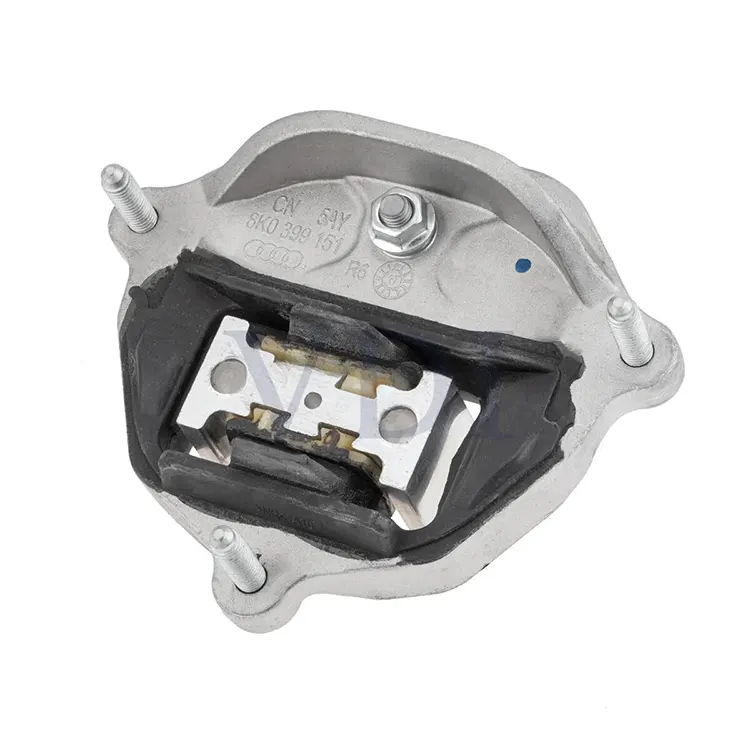
Transmission mount 8K0399151BF delivers OEM replacement quality with an exact fit, is made with premium rubber and metal components for a long-lasting, wear-resistant solution, and effectively absorbs vibrations to improve driving comfort and reduce drivetrain noise.
Replacement NO.
8K0 399 151 CD
8K0 399 151 DB
Fit to
AUDI A4L
AUDI A4Avant
AUDI A5
AUDI Q5
AUDI A6
AUDI A7
PORSCHE MACAN
![]()
![]()
![]()
![]()
![]()
![]()
· Precision Engineered: The transmission mount 8K0399151BF is designed according to OEM specifications, ensuring a perfect fit and reliable performance.
· Enhanced Durability: Made with high - strength rubber and metal components, this mount resists wear, reducing the need for frequent replacements.
· Vibration Dampening: Effectively absorbs engine vibrations to provide smoother driving and reduce cabin noise.
· Rust and Corrosion Resistant: Features rust - resistant metal to withstand exposure to oil, coolant, and other harsh fluids commonly found in engine bays.

Tools Needed:
Installing a transmission mount usually requires basic tools (like wrenches, screwdrivers, car jack, etc.).Step - by - Step
1. Lift the Vehicle: Use a car jack to raise the vehicle to a safe working height.
2. Remove Old Mount: Uninstall the old transmission mount, keep all bolts and fasteners for reuse.
3. Inspect Transmission & Connections: Check the transmission and mounting points for damage or wear.
4. Install New Mount: Align the new Transmission mount 8K0399151BF with the mounting holes and secure it with bolts.
5. Torque to Spec: Tighten all bolts and screws firmly to prevent loosening.
6. Final Check: After installation, verify transmission stability and ensure no abnormal vibration or noise.Important Notes:· Keep mounting surfaces clean to avoid debris.
· Always follow your vehicle manual for correct torque specs and mounting position.Maintenance GuideKeep Your Transmission Mounts Lasting Longer
· Inspect Regularly
Check for visible signs of wear—cracks, looseness, or abnormal movement.
Pro Tip: Have someone sit in the driver’s seat, shift into Drive, hold the brake firmly, and gently press the accelerator. Watch from under the hood—if the engine jerks or moves excessively, the mounts are worn out.
(Inspired by real-world diagnostics from car enthusiasts)
· Change Fluid on Schedule
Follow the manufacturer’s recommended intervals for transmission fluid replacement. Old or degraded fluid increases internal stress, accelerating mount failure.
Common Question: “Should I replace the filter during every fluid flush?”
✅ Yes—clogged filters raise line pressure, putting extra strain on mounts.
· Drive with Care
Avoid aggressive acceleration, abrupt stops, and heavy towing. Smooth, controlled driving is the most effective way to extend mount life.
Owner’s Story: “I thought my mount was covered under warranty—turns out, years of hard driving had already destroyed it.”
One-Sentence Summary:
Inspect regularly, change fluid on time, drive gently—save money, avoid frequent replacements.
Transmission Mount Diagnosis:
Diagnosing a faulty transmission mount is critical to maintaining your vehicle’s drivetrain and stability. Symptoms of a failing transmission mount are often mistaken for other issues, so it’s essential to accurately diagnose the problem.
Visual Inspection:
The first step in diagnosing a bad transmission mount is performing a visual inspection. Look for visible signs of wear or damage, such as cracks, rust, or tears in the rubber. A simple check can often reveal the issue. As one user suggests, "Best way to check the trans mount is just by pulling down on the driveshaft or some piece of the transmission." This can help identify any excessive play or movement in the mount, indicating failure.
Testing with a Pry Bar:
Another effective method is using a pry bar to test for movement in the transmission mount. This helps confirm if the mount is failing. As one mechanic suggests, "But you should check it with a pry bar." The pry bar method helps check if the transmission mount has deteriorated or loosened, causing unnecessary movement that could affect your driving experience.
Professional Diagnosis:
The symptoms of a bad transmission mount can sometimes be confused with other drivetrain issues, such as CV joints. For instance, one owner mentions, "To me, (weekend DIYer) that sounds exactly like a CV, when you make a left - hand turn, the CV joint is shifted slightly and rumbles until you turn right and slightly shift it back." This demonstrates how a failing transmission mount could be misidentified as a CV joint issue. If you're unsure, it’s always best to consult a professional mechanic for a thorough diagnosis.
Transmission Mount Replacement:
Once a faulty transmission mount has been diagnosed, replacing it is essential to ensure that your vehicle continues to perform well. Here is a guide to replacing the transmission mount.
Preparation:
Start by safely lifting the vehicle and securing it with jack stands. Make sure the car is stable before proceeding with any repairs.
Removing the Old Transmission Mount:
After securing the vehicle, locate the transmission mount and remove the necessary bolts or fasteners. Be sure to support the transmission while you remove the mount to avoid it from shifting or dropping.
Install the New Transmission Mount:
Place the new Transmission mount 8K0399151BF into position and align it with the mounting points. Secure it using the correct bolts or fasteners, tightening them according to the manufacturer’s specifications.
Testing the New Mount:
Once installed, shift through all the gears to check for any unusual movement or vibrations. Ensure the new Transmission mount 8K0399151BF is secure and there is no excessive movement during gear shifts or acceleration.
Final Check:
After installation, inspect the area for any leaks or potential issues. Once satisfied, lower the vehicle and make sure everything is reassembled correctly.
By following these steps, you can replace a failing transmission mount, ensuring your vehicle’s drivetrain remains secure and stable.
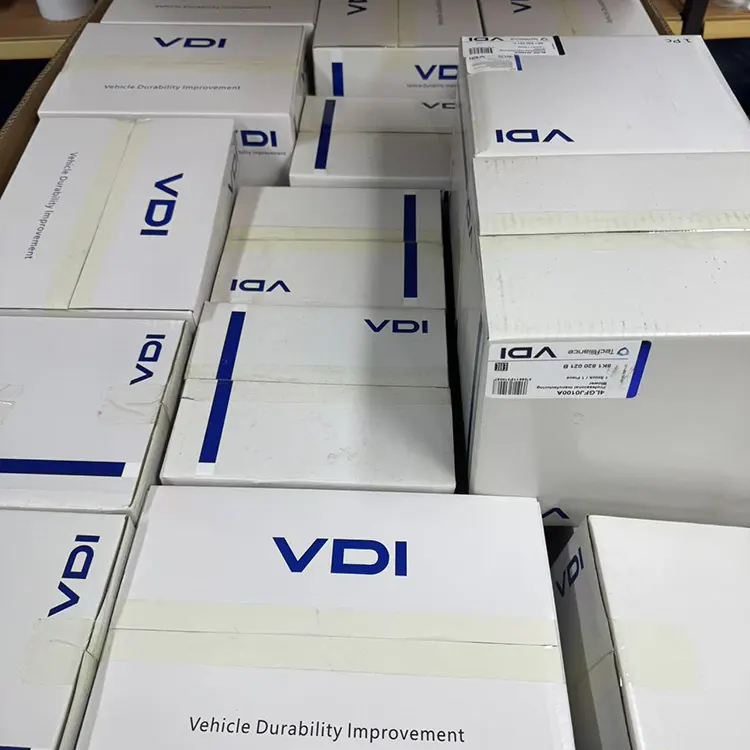
We possess strong production capabilities and a reliable supply chain management system to ensure on-time delivery. Even for large-volume orders of the Transmission mount 8K0399151BF, we maintain ample inventory to meet your demands. Additionally, we offer regular restocking plans and real-time logistics tracking, so you can always monitor your order status and avoid stockouts or delivery delays.