


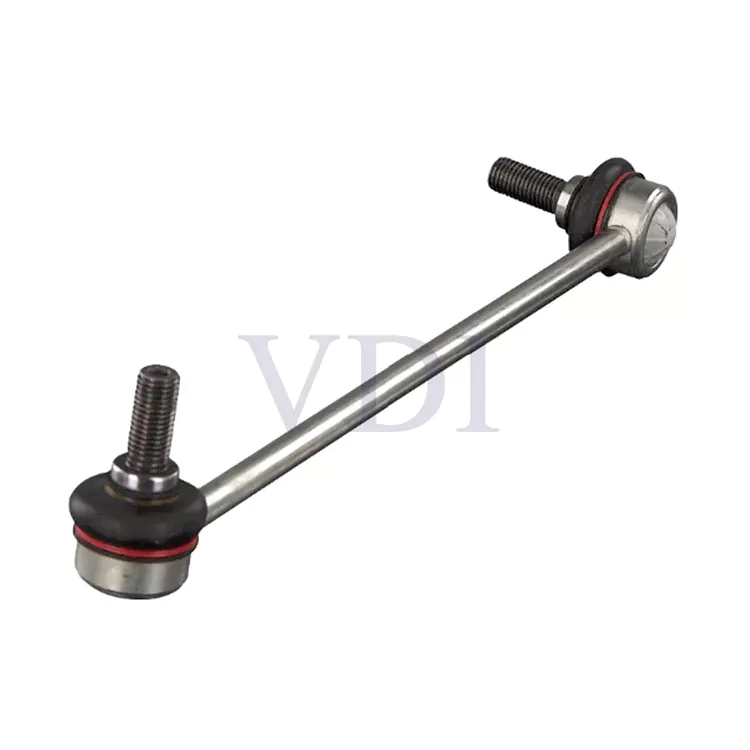
We are a high-quality Stabilizer link 1K0411315B manufacturer, providing customized services. Get a quick quote right now!
Replacement NO:
1K0 411 315 D
1K0 411 315 E
1K0 411 315 G
1K0 411 315 J
1K0 411 315 K
1K0 411 315 P
1K0 411 315 R
5Q0 411 315 A
5Q0 411 315 B
Fit to:
AUDI A3/TT
VW CADDY III/SHARAN
EOS/GOLF IV/V/VI
JETTA III/IV/SAGITAR
SCIROCCO III/BORA
PASSAT B6/B7/CC
TOURAN/TIGUAN
SKODA YETI/OCTAVIA I/II
SUPERB II
SEAT ALTEA /LEON
TOLEDO III
ALHAMB A
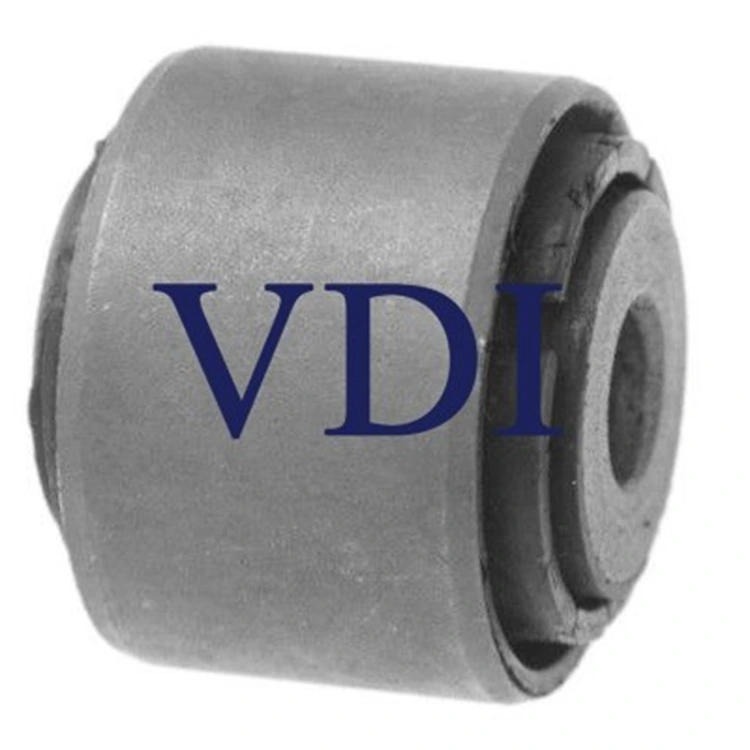
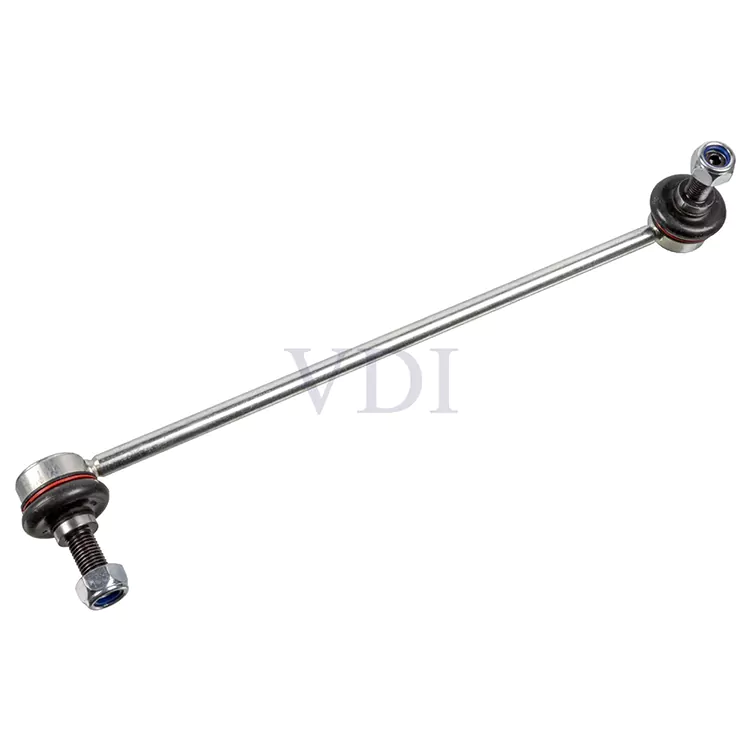
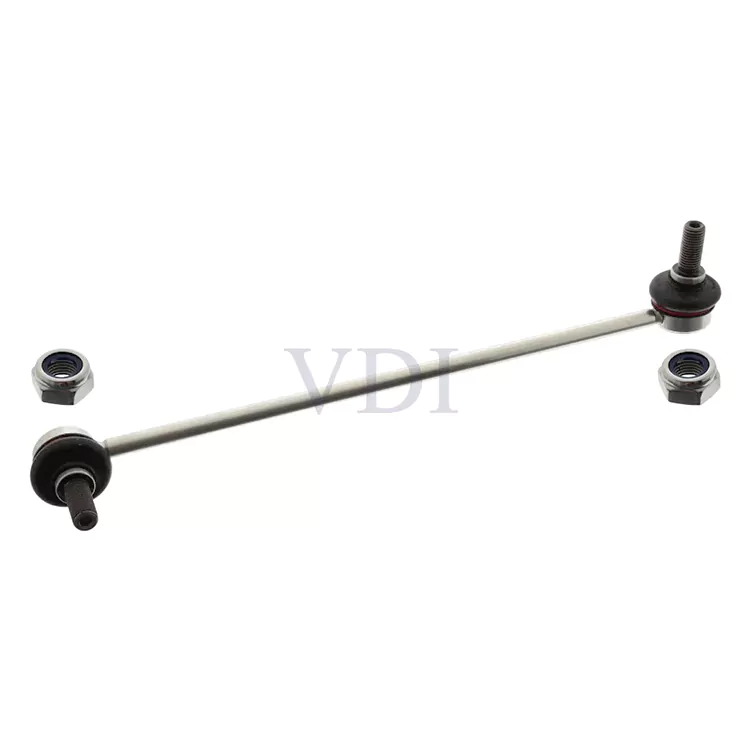
● VDI Stabilizer link 1K0411315B is made of high-performance materials, ensuring excellent strength and wear resistance.
● Easy to replace, perfect for DIY repairs with simple installation.
● Compatible with a wide range of vehicle models, ensuring versatility.


1. What Sway Bar Links Do & Why They Fail
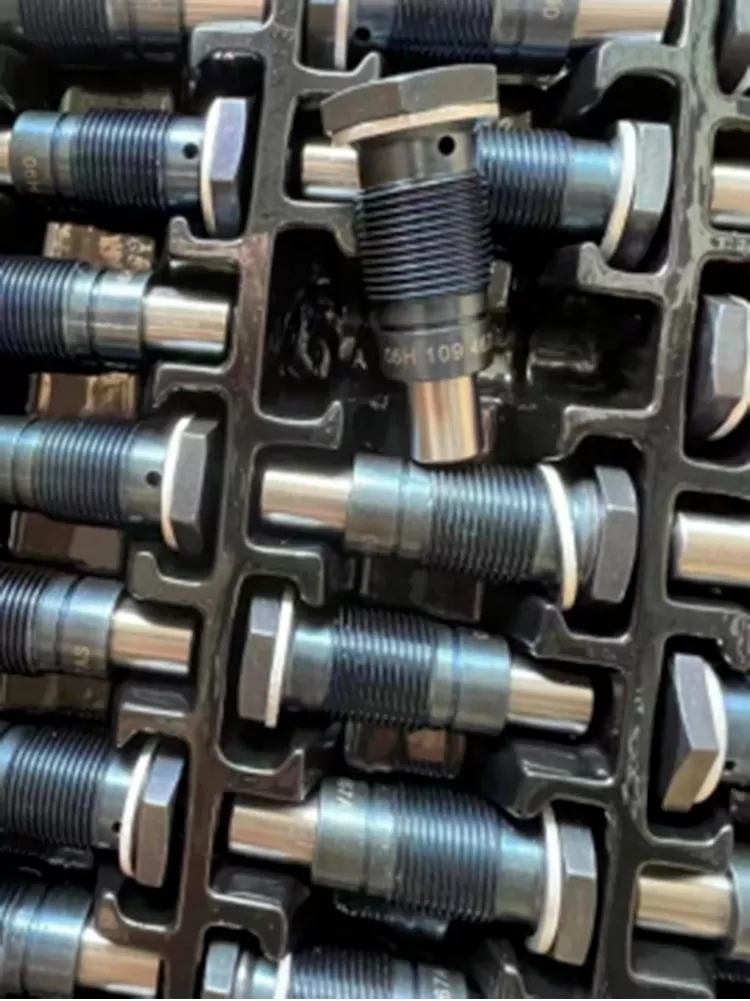
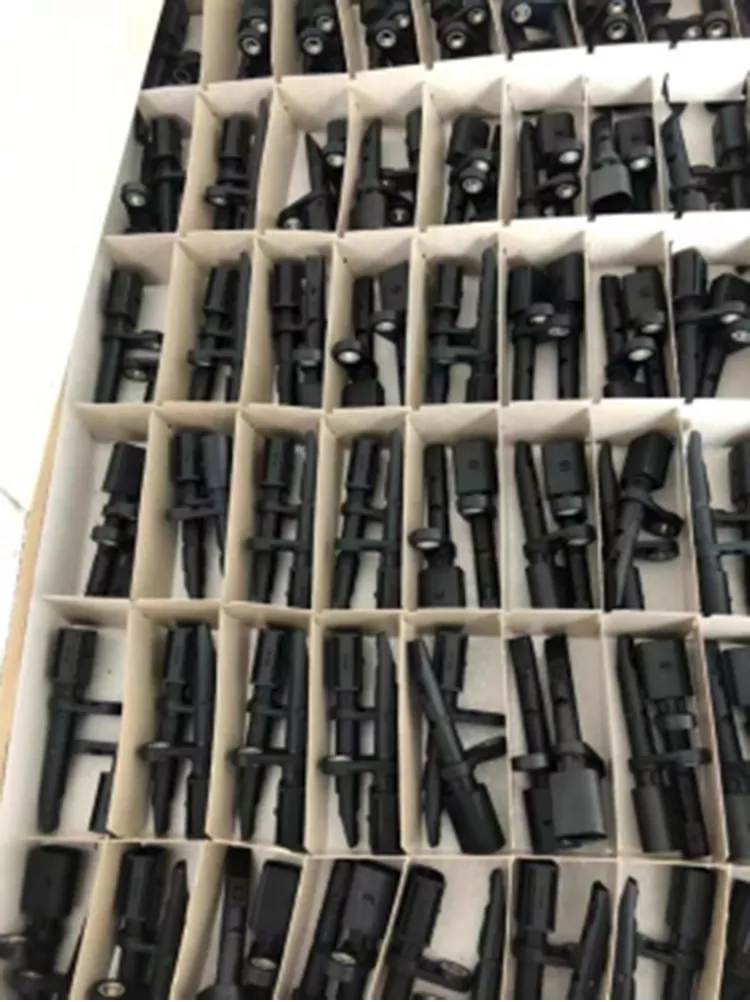
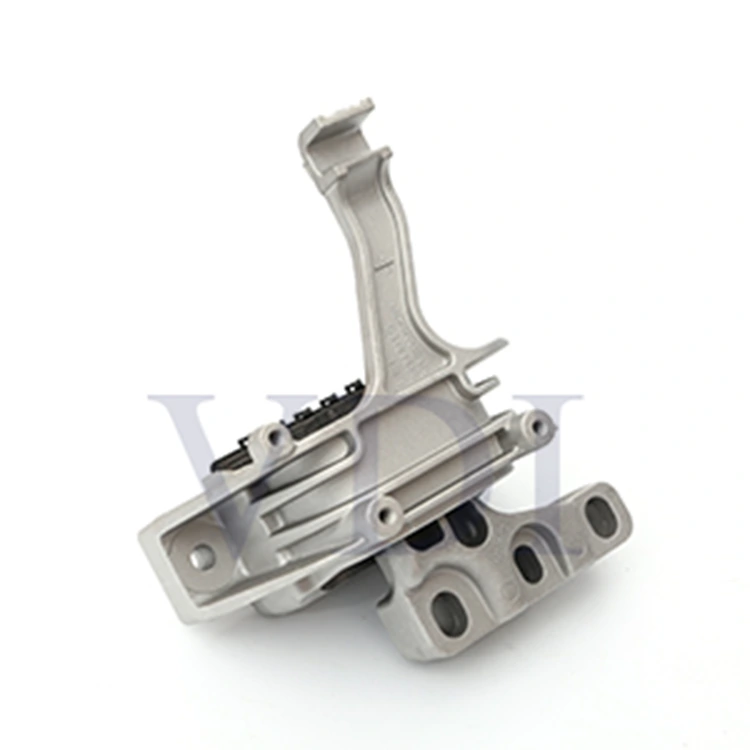
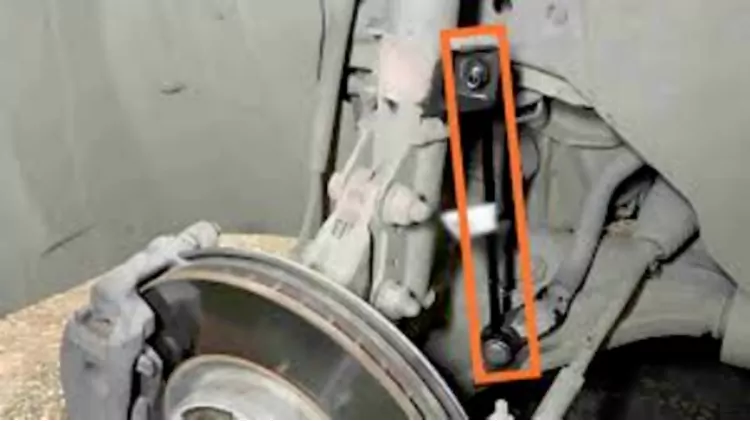
The stabilizer link (also known as sway bar link, drop link, or anti-roll bar link)—such as the high-quality and widely used Stabilizer link 1K0411315B—connects the sway bar to the control arm or strut. Its main function is to transfer lateral forces during cornering, reduce body roll, improve handling stability, and maintain tire contact with the road.
Typical symptoms of worn sway bar links:
● Knocking or rattling when driving over bumps
● Loose steering or play in the wheel
● Car leans more than usual during turns
2. Preparation – Get This Wrong and You’ll Be Back in a Month
(Based on factory repair manuals and ASE recommendations)
Vehicle position:
● Car must be on a lift with wheels dangling freely (suspension unloaded)
● NEVER torque the nuts with the car sitting on its wheels – this twists the bushings and kills them fast
Part check:
● Make sure you have the correct driver-side or passenger-side link (many are side-specific)
● Inspect the new link: boots intact, no play in the ball joints
Must-have tools:
● Allen key or thin wrench to hold the center stud (stops it spinning)
● Good torque wrench
● NEVER use just an impact gun. One person holds the stud dead-still with a wrench while the other tightens the nut – otherwise you destroy the ball joint in seconds.
3. Correct Installation Steps (Works on 95% of Cars)
|
Step |
Action |
Critical Tip |
|
1 |
Remove old links |
Loosen sway bar side first, then control arm side |
|
2 |
Clean everything |
Wire brush the mounting surfaces – rust kills torque |
|
3 |
Fit the new link |
Line it up by hand only – never hammer it |
|
4 |
Finger-tighten both nuts |
Just snug for now |
|
5 |
Lower car all the way to the ground |
MOST IMPORTANT STEP – suspension must be fully loaded |
|
6 |
Final torque with torque wrench |
Use exact spec below in one smooth pull |
The Rule Every YouTube Video Gets Wrong:
Always torque at ride height (when the car is sitting normally on the ground). This is the #1 reason cheap jobs fail in weeks.
4. Torque Specs Cheat Sheet (Most Popular Vehicles)
|
Make / Platform |
Sway Bar Side (Top) |
Control Arm Side (Bottom) |
Notes |
|
Chevrolet, GM, Ford (FWD) |
45–55 N·m |
45–55 N·m |
Nuts can usually be reused once |
|
VW/Audi MQB & newer MLB |
65 N·m + 90° (some 50 + 90°) |
40–50 N·m only |
Top always torque + angle + brand-new nut |
|
Older VW/Audi (PQ35, PQ46) |
50 N·m + 90° |
50 N·m + 90° |
Both ends need new nuts |
|
Toyota, Honda, Mazda, Lexus |
40–50 N·m |
40–50 N·m |
Some have factory thread locker |
|
BMW F & G chassis |
65–70 N·m |
65–70 N·m |
Always replace with new self-locking nuts |
|
Mercedes W205, W213, etc. |
60 N·m + 90° |
60 N·m only |
Top side uses torque-to-angle |
Always double-check your exact year and model in the factory service manual. Wrong torque = broken links and dangerous handling.
5. Final Checks Before You Drive
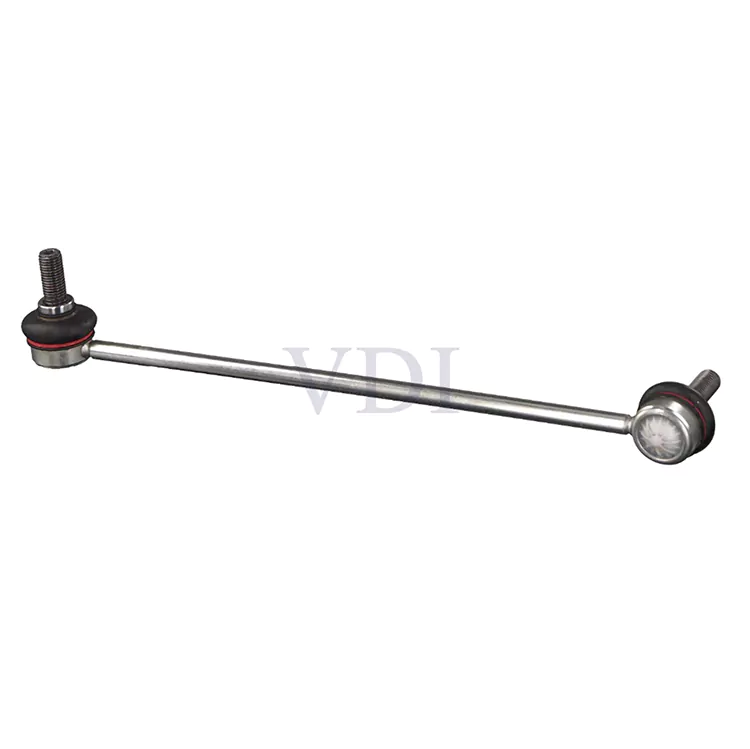
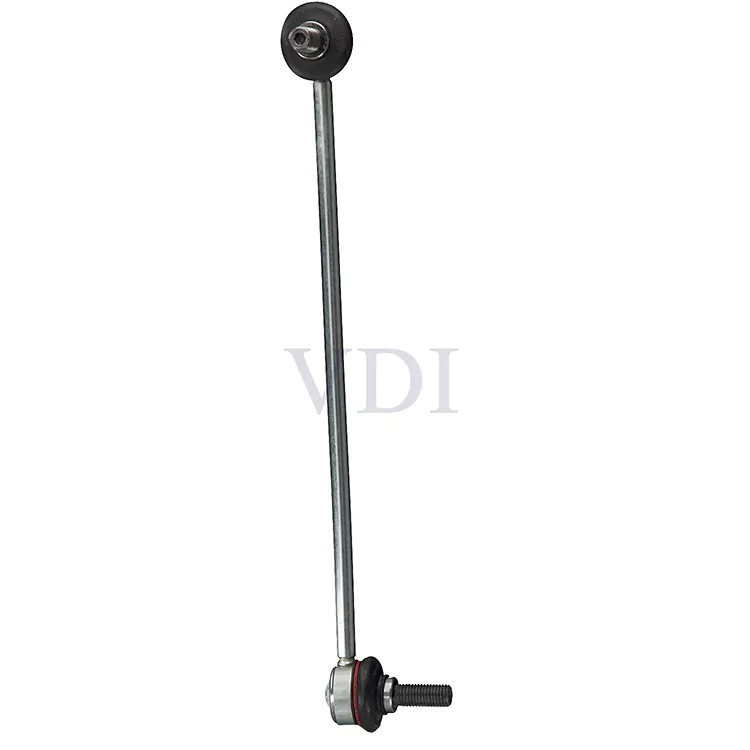
● Visual inspection: The VDI Stabilizer link 1K0411315B is free of distortion, and the dust cover is not compressed.
● Bounce each corner hard – zero knocking
● Turn steering full left and right – nothing touches
● Test drive over speed bumps and corners – silence and sharp handling are back
6. Mistakes That Bring Cars Straight Back to the Shop
|
Mistake |
What Happens |
|
Torquing while wheels are hanging |
Bushings twisted → cracked in weeks |
|
Reusing stretched self-locking nuts |
They come loose → link falls off on the road |
|
Skipping the stud-holding wrench |
Snaps the ball joint inside |
|
Hammering the link into place |
Instant internal damage |
Do the job once, do it right: torque on the ground, hold the stud, use new hardware. Your car will feel brand-new again.
Choose VDI heavy-duty sway bar links – built stronger, last longer.
1. Understanding Anti-Roll Bar Links (Stabilizer Links)
Anti-roll bar links (also sway bar end links) bridge the anti-roll bar to the suspension control arm or shock strut. They transfer side-to-side forces in turns to cut down body lean, boost cornering grip, enhance steering control, and keep all four tires working together on the pavement. Danger Alert: Worn links lead to sloppy handling and higher crash risk in sudden swerves – a big issue for SUVs and pickups.
2. Smart Inspection Schedule (Based on Real-World Use)
|
Road Conditions & Usage |
Check Frequency |
|
Regular city/highway commuting |
Every 24 months or 25K miles |
|
Heavy potholes, gravel, trailer towing, road salt |
Annual or 12K miles |
|
Delivery vans, rideshare cars, company fleets |
Every oil change or service visit |
Quick Tip: Pop the hood (or crawl under) and check links during any tire rotation, brake job, or wheel alignment.
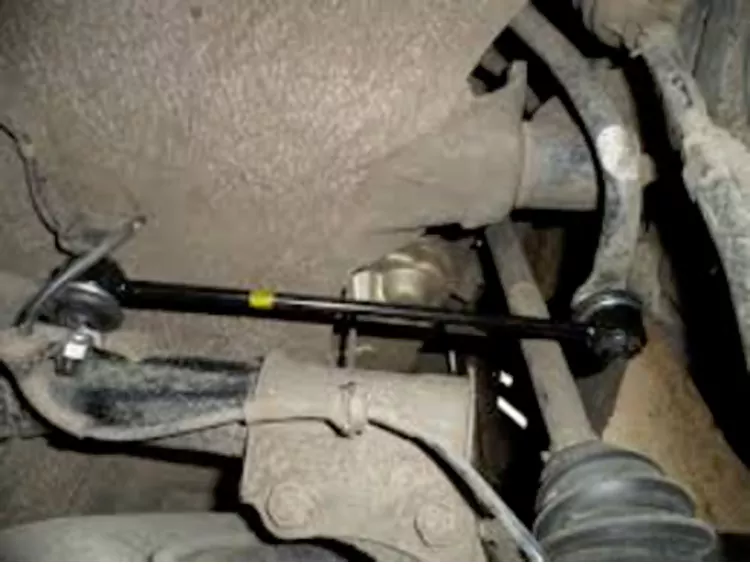
3. Dead-Accurate Ways to Diagnose Bad Links (No Guesswork) (Get the car on a hoist, suspension hanging loose)
A. Eyeball Inspection
● Boots ripped open, cracked, or completely gone (dirt kills joints fast)
● Heavy corrosion on the rod or stud threads
● Bushings pushed out, split, or pulling away from the metal core
B. Shake Test (The One Mechanics Swear By) Wiggle the link end-to-end and side-to-side:
● Healthy: Rock-solid, zero slop, quiet operation
● Failing: Over 1mm movement or that telltale “thunk” sound = time to swap
C. On-Road Proof Crawl over rough patches at 15 mph:
● Loud metallic bangs or chatter from the front end = textbook bad anti-roll bar link symptoms
4. Clear Rules – When It's Time for New Links Don't wait – replace now if:
● Ball joint has any looseness or wobble
● Boot is torn or greasy (even if it moves smooth)
● Rubber bushings look dry, cracked, or squished
● Rod bent from hits or eaten by rust
● Handling feels mushy or the car tips too far in curves
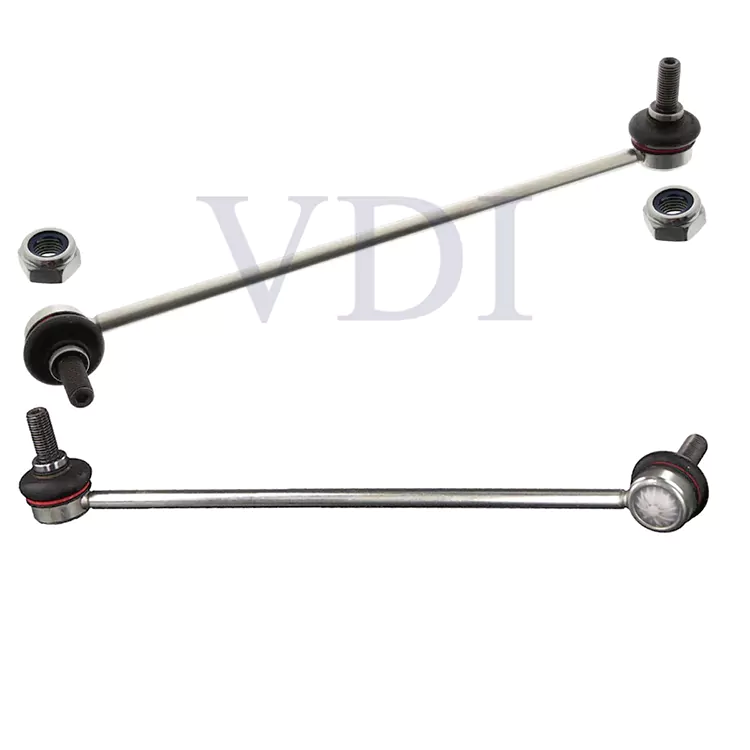
Factory Standard: Swap both left and right together – uneven wear wrecks alignment. Recommended to purchase VDI Stabilizer link 1K0411315B.
5. Must-Know Rules for Proper Service & Install
Hands Off the Grease Gun
● These are sealed-for-life units (such as the VDI Stabilizer link 1K0411315B) – grease just pops the boot and flushes the factory lube
No DIY Fixes Allowed
● Forget welding, bending back, or pressing in new bushings – it's all or nothing
Torque Only on the Ground
● Lock down the nuts with the vehicle at full curb weight (tires planted)
● Lifting and torquing binds the rubber and dooms it to early split (ASE proven)
6. Buying Guide – Don't Risk Cheap Junk
● Stick to parts matching OEM strength and fit (such as the Stabilizer link 1K0411315B)
● Hunt for ISO/TS 16949 certification (the gold standard search term)
● Skip bargain-bin specials – one weak ball joint can spell disaster
NHTSA Heads-Up: "Worn anti-roll bar links don't stop the car cold, but they turn sharp turns into scary slides – extra dangerous for high-center vehicles."
7. Bottom Line – 5 Rules That Save Headaches
1. Check often, especially after rough drives
2. Combine shake test with a bump run – confirm the source
3. Do pairs only – balance is everything
4. Ground torque, no lube, fresh hardware every time
5. Invest in proven brands like Stabilizer Link 1K0411315B—safety is non-negotiable.
This framework works for any shop, garage, or home mechanic worldwide. Print it, teach it, live it – no more mystery clunks.
VDI anti-roll bar links: Tougher build, quieter ride, longer life.
If you notice a "thumping" noise when driving over bumps or significant body roll when turning, you might be considering replacing the stabilizer link (also known as the sway bar link or end link)—for example, the high-quality and widely used VDI Stabilizer Link 1K0411315B. But before purchasing just one, ask yourself: "Do I need to replace them in pairs?"
The short—and strongly recommended—answer is: Yes, always replace both sides together.
As one seasoned mechanic on Reddit put it:
“I've only replaced them in sets. If the other was bad, that one wouldn't be far behind.”
This isn’t just opinion—it’s standard practice at dealerships and trusted repair shops worldwide.
Even if only one link is visibly worn or noisy, the other side is likely close behind in wear. Here’s why:
● Identical stress: Both left and right links endure the same bumps, potholes, and cornering forces.
● Hidden wear: The “good” side might still feel tight, but internal bushings or boots could be degrading.
● Handling imbalance: Installing a new VDI Stabilizer Link 1K0411315B on one side while keeping the old part on the other can result in uneven stiffness in the Stabilizer Bar Assembly, leading to vague steering, uneven tire wear, and even accelerated failure of the old link.
In short: Replacing just one is a false economy. You’ll likely be back under the car in months.
Drivers who skip the pair replacement often report:
● The “fixed” side stops clunking… but the other side starts within weeks
● Steering feels “off” or pulls slightly in corners
● The second link fails faster due to increased load
And as the Reddit mechanic wisely noted: if one has failed, the other isn’t far behind. Why wait for the second failure—and a second trip to the shop?
The only exception might be if the link was damaged in an accident (e.g., curb strike) and the other side is brand new (<5,000 miles). But even then, most pros still recommend replacing both for consistency.
For normal wear-and-tear failures, always go in pairs. It’s what OEMs specify, and it’s what keeps your suspension balanced.
1. Always replace in pairs—both sides on the same axle, front or rear (e.g., two VDI Stabilizer Links 1K0411315B).
2. Use matching parts from the same brand and batch. Mixing brands can cause subtle performance differences.
3. Install correctly: Torque at ride height, use new hardware, and never grease sealed links.
4. Choose quality: Cheap single links may save $20 now but cost you time, safety, and another repair later.
Yes, you do need to replace stabilizer links in pairs. It’s not a sales tactic—it’s engineering logic. Balanced suspension = better handling, longer part life, and safer driving.
Don’t gamble with half-measures. Replace as a set, and enjoy clunk-free, confident handling for years.
Pro Pick: VDI sway bar end links—engineered as matched pairs for perfect balance, zero noise, and OEM-level reliability.
We provide comprehensive after-sales service for all our customers, ensuring that any issues after purchase are resolved quickly and efficiently. You can trust the quality of the VDI Stabilizer link 1K0411315B. Whether you need product inquiries, installation guidance, or after-sales support, our professional team is here to provide technical assistance. Additionally, we offer discounts and personalized service plans for long-term partners, ensuring you enjoy a premium customer experience.