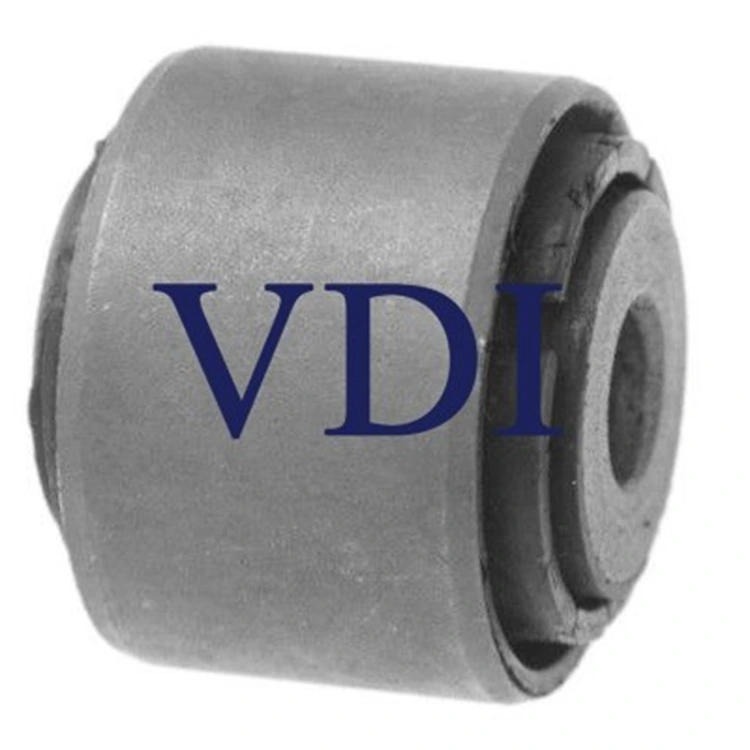


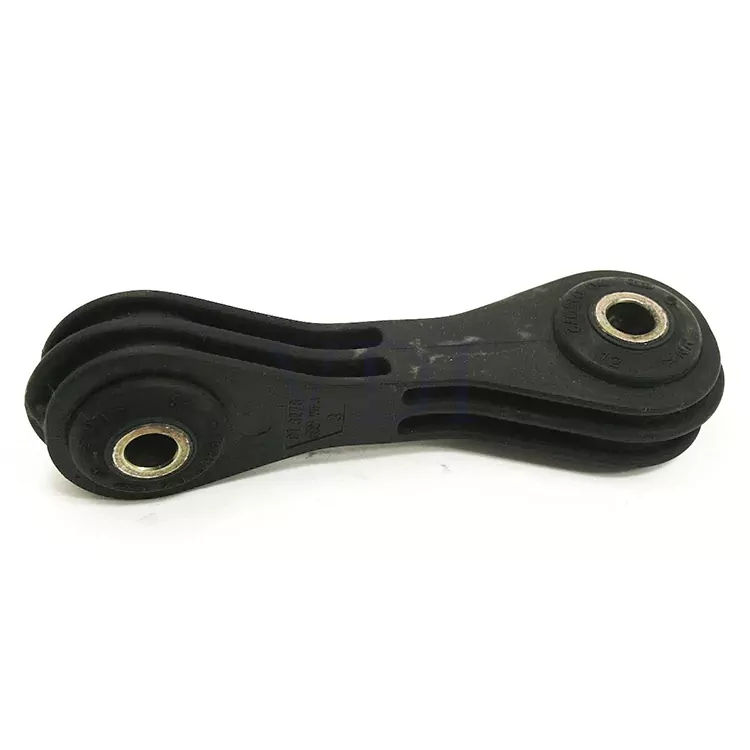
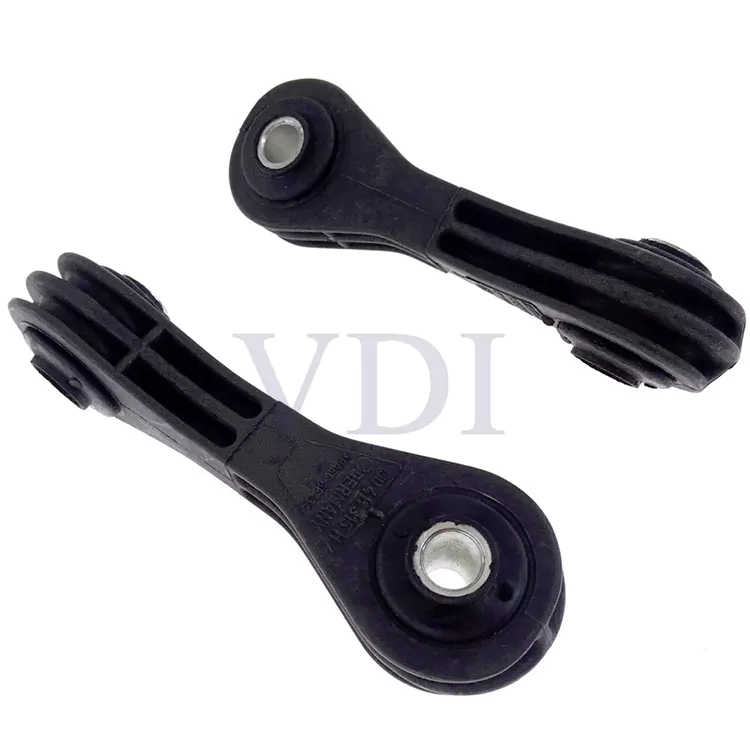
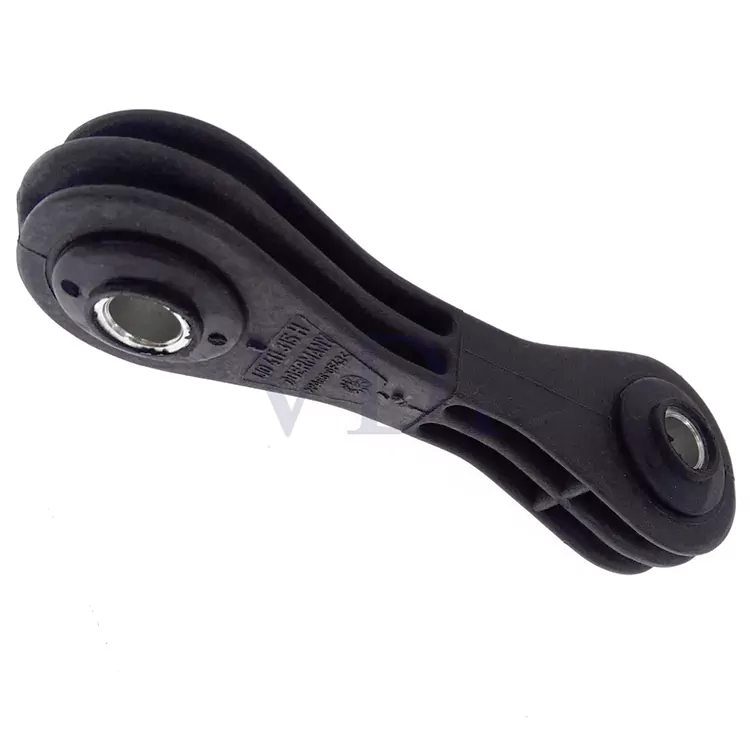
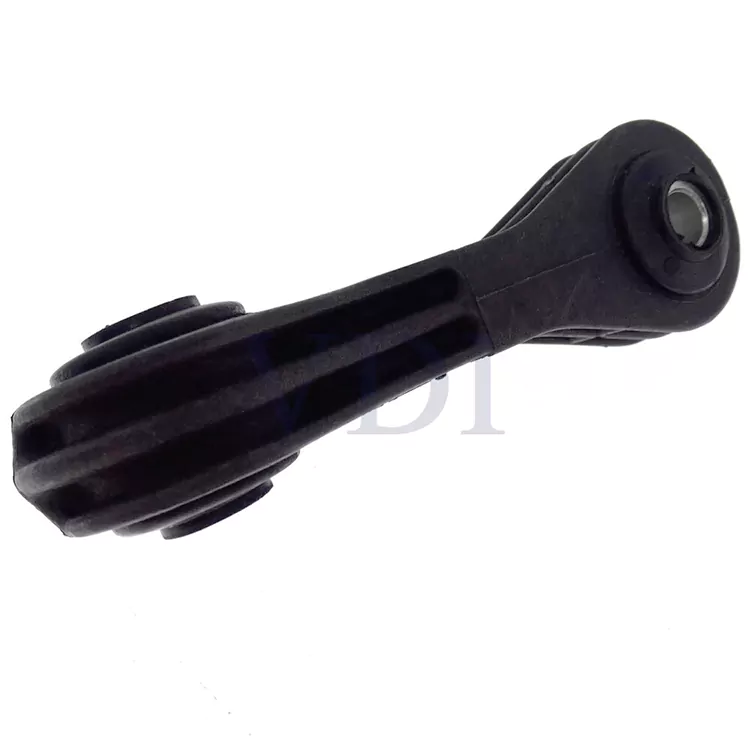
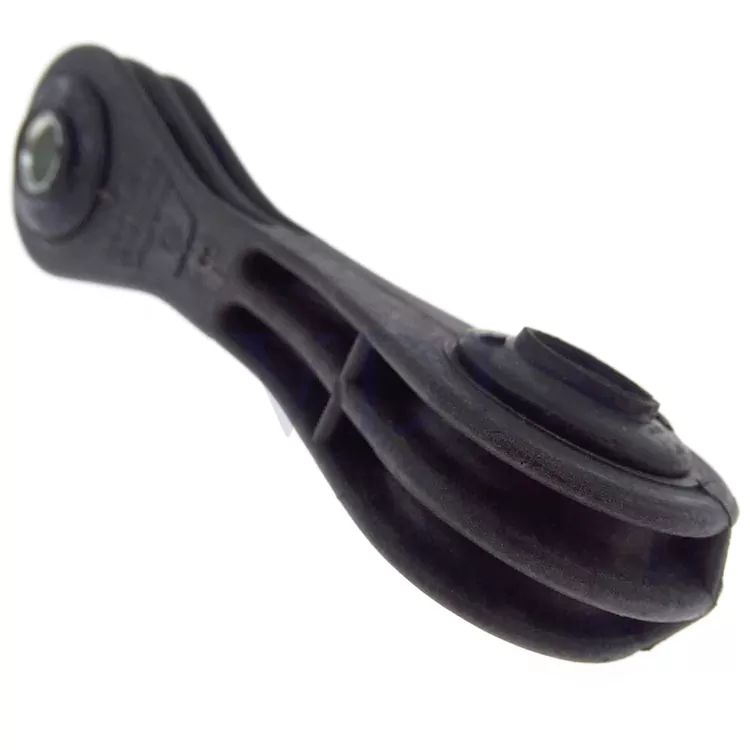
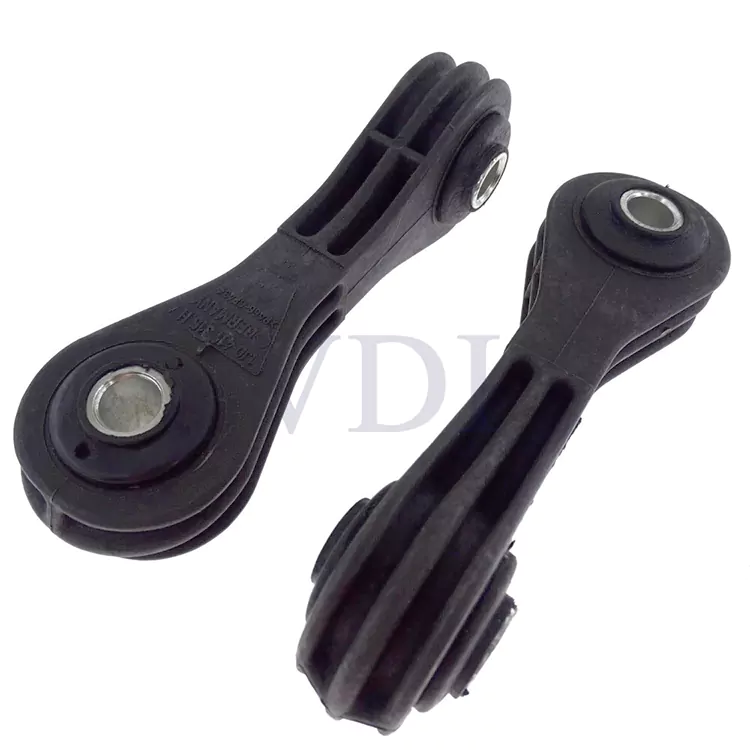
The VDI Stabilizer link 1J0411315H provides smooth control of suspension movement, reducing harshness during driving. It helps maintain proper suspension alignment, enhancing overall driving comfort. Perfectly designed for OEM replacement or aftermarket upgrades.
Replacement NO:
1J0 411 315 K
Fit to:
VW BORA/GOLF IV
NEW BEETLE
SEAT LEON/TOLEDO II
● The Stabilizer link 1J0411315H is made of high-strength materials, ensuring optimal performance.
● It is easy to maintain and minimizes impact on other suspension components.
● Provides precise control and withstands repeated use without failure.

1. What the Sway Bar Link Actually Does
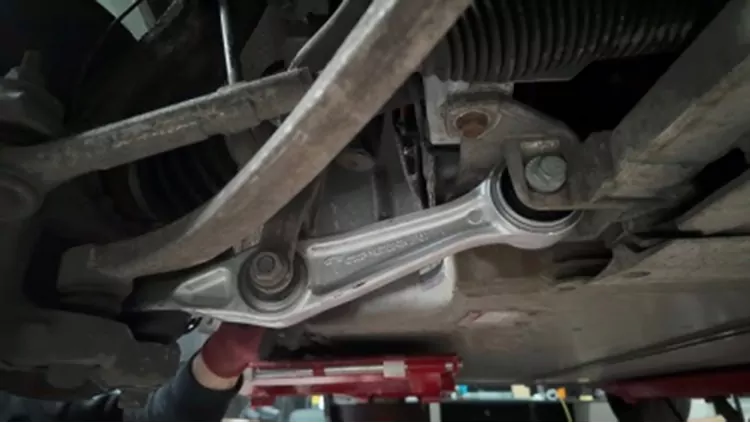
The stabilizer link (also known as sway bar link, drop link, or anti-roll bar link)—such as the high-quality and widely used Stabilizer link 1J0411315H—connects the sway bar to the control arm or strut. Its main function is to transfer lateral forces during cornering, reduce body roll, improve handling stability, and maintain tire contact with the road.
Common signs of bad sway bar links:
● Clunking or knocking over speed bumps
● Loose steering or play in the wheel
● Noticeable extra body roll when turning
2. Must-Do Preparation Before Installation
(Following factory service manuals and ASE standards)
Vehicle setup:
● Car must be on a lift with wheels fully hanging (suspension in unloaded, normal position)
● Never final-tighten the nuts with the wheels on the ground — this twists the rubber bushings and destroys them quickly
Part check:
● Double-check you have the correct side (driver/passenger) — many links are side-specific or angled
● Inspect grease boots for rips and make sure the ball stud moves freely without play
Tools you absolutely need:
● Correct size Allen/hex key or wrench to hold the stud (stops it from spinning)
● Torque wrench (no exceptions)
● Warning: Never just zip the nut with an impact gun alone. One person must hold the stud firmly with a wrench while the other tightens — otherwise you’ll snap the ball joint inside.
3. Correct Installation Steps (Works on Almost Every Car)
|
Step |
What to Do |
Why It Matters |
|
1 |
Remove old link |
Loosen sway bar side first, then control arm side (prevents twisting the bar) |
|
2 |
Clean mounting points |
Remove all rust, dirt, and old grease for clean contact |
|
3 |
Fit new link |
Line up both ends by hand — never beat it in |
|
4 |
Finger-tighten both nuts |
Just snug, no torque yet |
|
5 |
Lower the car to the ground |
MOST IMPORTANT: Suspension must be at normal ride height |
|
6 |
Final torque to spec |
Use torque wrench exactly as shown below |
The #1 Rule Every Mechanic Forgets:
Always “Torque at Ride Height” — tightening with the suspension loaded at normal driving height is the only way to avoid early bushing tears and broken ball joints.
4. Torque Specs Quick Reference (Most Popular Models)
|
Vehicle |
Sway Bar Side (Upper) |
Control Arm / Strut Side (Lower) |
Notes |
|
GM, Chevrolet, Ford (FWD) |
45–55 N·m |
45–55 N·m |
Self-locking nuts (can reuse once) |
|
VW/Audi MQB & MLB Evo |
65 N·m + 90° (some 50 + 90°) |
40–50 N·m only |
Upper always torque + angle + brand-new nut |
|
VW/Audi older PQ35/PQ46 |
50 N·m + 90° |
50 N·m + 90° |
Both ends torque + angle, new nuts required |
|
Toyota, Honda, Mazda |
40–50 N·m |
40–50 N·m |
Some have factory thread locker |
|
BMW (F & G series chassis) |
65–70 N·m |
65–70 N·m |
Always use new self-locking nuts |
|
Mercedes-Benz (W205, W213, etc.) |
60 N·m + 90° |
60 N·m only |
Upper side uses torque-to-angle |
Critical: These are typical values. Year, drivetrain, and sport suspension packages change specs. Always look up the exact number in the factory repair manual for your car. Wrong torque = broken parts and safety risk.
5. After-Install Checks
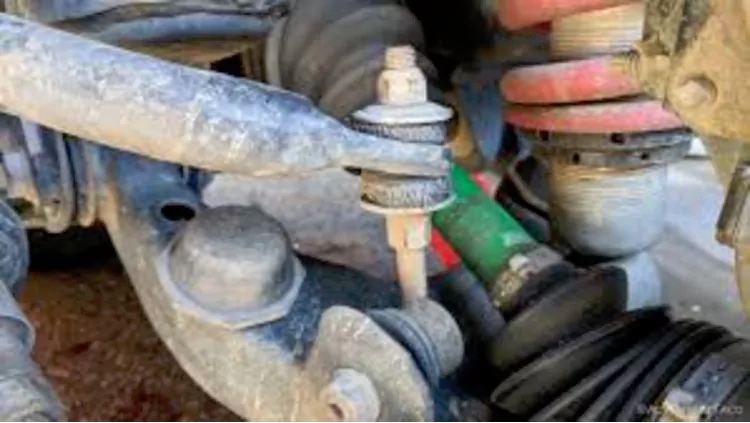
● Visual inspection: The VDI Stabilizer link 1J0411315H is free of distortion, and the dust cover is not compressed.
● Bounce the corner of the car hard — listen for clunks
● Turn steering lock-to-lock — link must not hit anything
● Test drive over bumps and corners — noise should be completely gone
6. Most Common Mistakes That Void Warranties
|
Mistake |
What Happens |
|
Tightening with wheels hanging |
Bushings twisted → split in 1–3 months |
|
Reusing old nuts |
They loosen → link falls off while driving |
|
Dirty or rusty mounting surfaces |
Bolts work loose over time |
|
Hammering or forcing the link in |
Internal damage → fails in a few thousand miles |
Replacing sway bar links the right way brings back factory-fresh handling and safety. Torque at ride height, use the correct specs, and always install new hardware.
Choose VDI premium suspension parts — engineered for long life and perfect fit.
1. What Are Sway Bar Links (Stabilizer Links)?
Sway bar links connect the sway bar (anti-roll bar) to the control arm or strut. They fight body roll when you corner, keep the vehicle flatter, improve steering feel, and help tires stay planted on the road. Warning: A broken or worn link can make the car feel loose and dramatically increases rollover risk in emergency maneuvers – especially on SUVs and trucks.
2. When Should You Check Sway Bar Links? (Real-World Schedule)
|
Driving Conditions |
How Often to Inspect |
|
Daily driver / highway miles |
Every 2 years or 25,000 miles |
|
Rough roads, potholes, towing, salted winter roads |
Every year or 12,000 miles |
|
Uber/taxi/fleet/delivery vehicles |
At every regular service interval |
Pro Tip: Always look at the links any time the car is on the lift for tires, brakes, or alignment.
3. How to Tell If Sway Bar Links Are Bad (100% Accurate Diagnosis) (Lift the car, wheels hanging free)
A. Visual Check
● Torn, cracked, or missing rubber boots (dust gets in = fast death)
● Rust eating through the metal rod or ball stud
● Rubber bushing squeezed out or separated from the metal
B. Hands-On Test (The “Wiggle Test” Everyone Searches) Grab the link with your hand and shake hard:
● Good link: Almost no movement, feels tight and smooth
● Bad link: Clunking noise or more than 1 mm of play → replace immediately
C. Drive Test Slow over speed bumps (10–20 mph):
● Sharp metallic “knock” or rattle from front/rear = classic bad sway bar link noise
4. When to Replace Sway Bar Links – Never Guess Replace right away if you see or feel:
● Any play in the ball joint
● Ripped or leaking boot (even if it still feels tight)
● Cracked or hardened rubber bushings
● Bent or rusted-through rod
● Car leans heavily or steering feels vague
OEM Rule: Always replace both sides (left + right) at the same time for balanced handling. Recommended to purchase Stabilizer link 1J0411315H
5. Critical Rules for Installation & Maintenance
Never grease them
● Modern stabilizer links (such as the VDI Stabilizer link 1J0411315H) are "lifetime sealed"—adding grease can cause the boot to rupture and damage the ball joint.
Never try to fix them
● No welding, no straightening, no new bushings – they’re throw-away parts
Always torque at ride height
● Final tightening MUST be done with the car sitting flat on the ground (not on the lift)
● Torquing while lifted pre-loads the bushings and they’ll tear in weeks
6. How to Pick Safe, Long-Lasting Links
● Choose parts that meet or beat factory specs( such as the VDI Stabilizer link 1J0411315H)
● Look for brands certified to ISO/TS 16949 (quality standard most people Google)
● Stay away from $8 no-name links – ball joint failure is a real safety issue
NHTSA Safety Alert: “A failed sway bar link won’t leave you stranded, but it can make the vehicle dangerously unstable in swerves or quick lane changes – especially on taller vehicles.”
7. Quick Summary – The 5 Golden Rules
1. Inspect regularly (especially if you hear clunking over bumps)
2. Use the wiggle test + road test – never guess
3. Always replace in pairs
4. Torque on the ground, never on the lift – no grease, no shortcuts
5. Choose high-quality parts—safety depends on the reliability of the ball joint, as demonstrated by the VDI Stabilizer Link 1J0411315H.
This is the exact same process dealership techs and professional shops follow worldwide. Use it for training, customer handouts, or your next DIY job – zero comebacks guaranteed.
Choose VDI premium sway bar links – engineered for zero noise and maximum safety.
If you’ve ever replaced your stabilizer links—only to hear that familiar clunking noise return in months—you’re not alone. One of the most common questions on Reddit and Google is: “How long should stabilizer links last?”
The honest answer? It depends.
As one experienced mechanic on r/askcarguys put it:
“Good end links should last years under normal driving conditions.”
But another user on r/MechanicAdvice shared a very different experience:
“I’ve seen them die in 8,000 miles. It all depends on the brand and how the vehicle is driven.”
So what’s the real story?
If you’re just doing normal driving (commute, highway miles, decent roads), good sway bar links will usually go 50,000 to 100,000 miles without any drama. That’s roughly 4-7 years for most people. In real life though, how long they actually last can be all over the place. It pretty much comes down to three things:
1. OEM parts or reliable aftermarket brands (such as Mevotech, Lemförder, VDI, etc.)—like the VDI Stabilizer Link 1J0411315H—are typically equipped with more durable ball joints, thicker dust covers, and more reliable sealing structures. And those no-name cheap products bought on Amazon? Many car owners report that such products often fail within 10,000 to 20,000 miles (approximately 16,000–32,000 kilometers).
2. The roads you drive on: Hit potholes all the time, take the truck off-road, tow heavy, or live where they salt the crap out of the roads in winter? That eats links for breakfast. Plenty of people on Reddit say the second they start driving hard or the roads get rough, clunks show up way sooner.
3.Even high-quality parts like the VDI Stabilizer Link 1J0411315C can fail prematurely if installed incorrectly. Tightening the nuts while the vehicle is on a lift (instead of at ride height) can put the bushings under preload, inevitably leading to early cracking—sometimes failing after just a few thousand miles.
If your links died in under 15,000 miles, ask yourself:
✅ Did you buy the cheapest option online?
Many $8–$12 “universal” links use soft metal and thin rubber—designed to fail.
✅ Were they installed correctly?
If the technician didn’t torque at ride height, the internal stress will crack the bushings fast.
✅ Do you drive in harsh conditions?
Living in areas where roads are salted during winter or in constant construction zones? These conditions can quickly corrode dust covers and ball joints—non-OEM links are especially vulnerable, while durable models like the VDI Stabilizer Link 1J0411315C perform much better.
Follow these pro tips to get years—not months—out of your parts:
● Choose a high-quality brand: Look for ISO/TS 16949 certification or OEM-grade specifications (such as the VDI Stabilizer Link 1J0411315C).
● Replace in pairs: Uneven wear stresses the good side.
● Install correctly: Always torque at ride height—this is non-negotiable.
● Inspect annually: Especially if you hear clunking over bumps.
There’s no exact mile count written in stone, but with solid parts and a proper install, your sway bar links should easily clear 50,000 miles (often way more) if you’re just doing regular driving. When they die early, 9 times out of 10 it’s cheap parts, beating on the car, or a botched install—not just “bad luck.”
Quick tip most people search for: Go with proven stuff like VDI sway bar end links. Built tougher, stay quiet longer, and hold up great even on rough roads and salty winters.
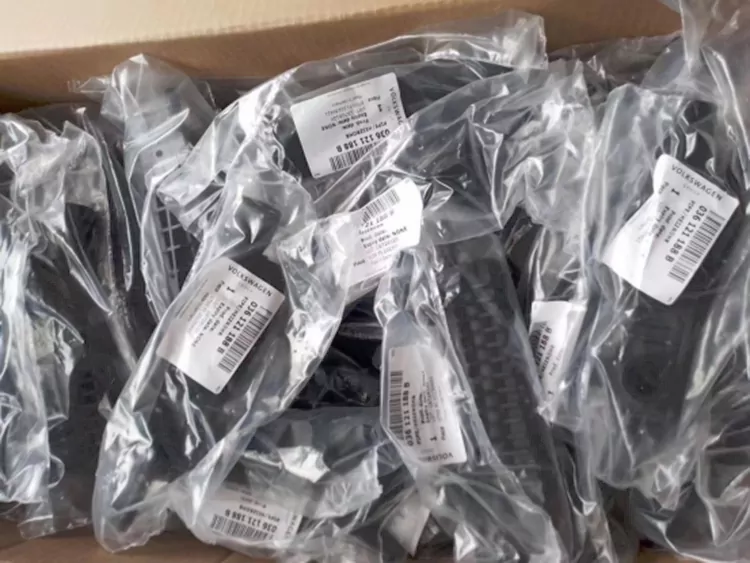
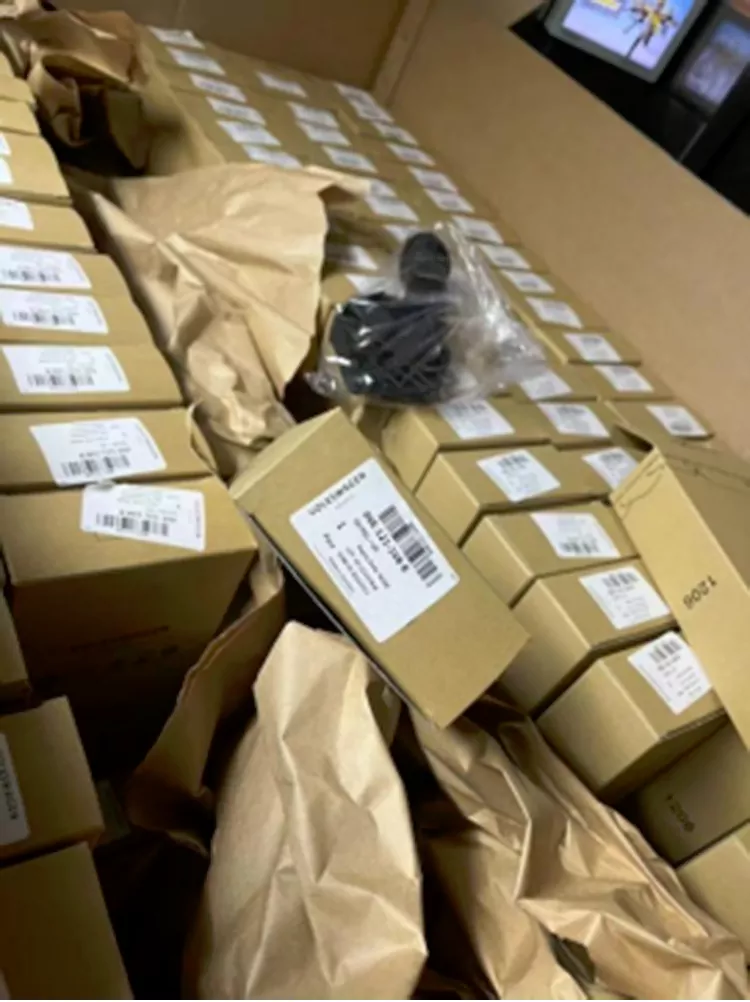
Our product range covers a wide variety of car models, including popular brands such as BMW, Audi, Mercedes-Benz, and Volkswagen. We provide a detailed compatibility list for each stabilizer link, ensuring you can find the perfect fit for your customers' specific needs. If you have requirements for a particular car model, we also offer customized services. We welcome you to purchase the VDI Stabilizer link 1J0411315H.