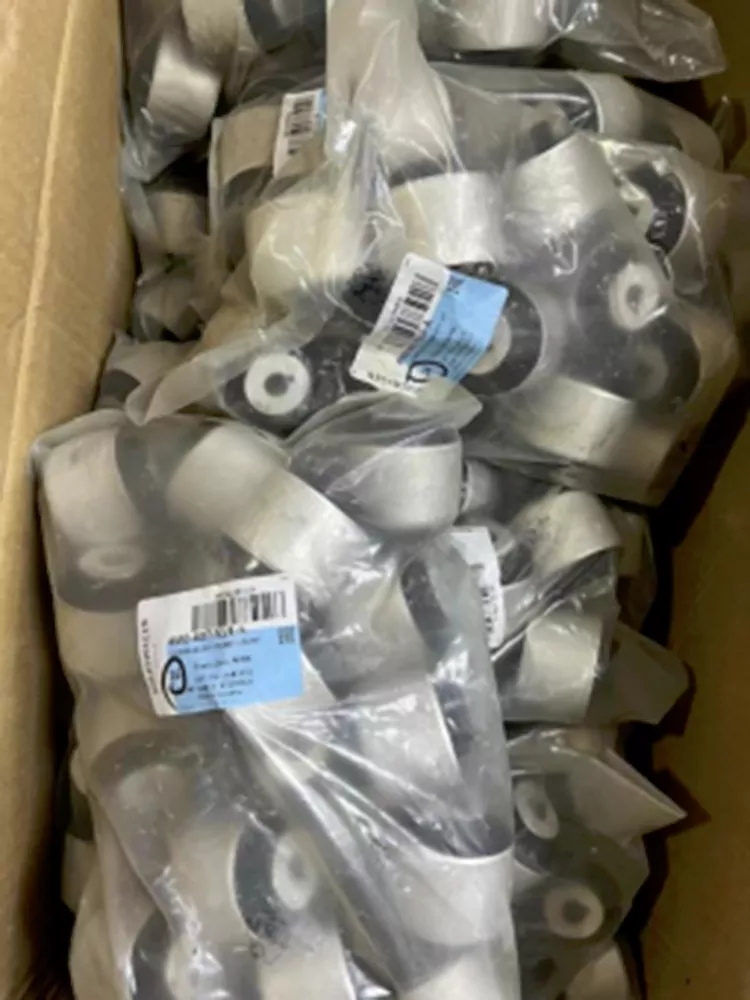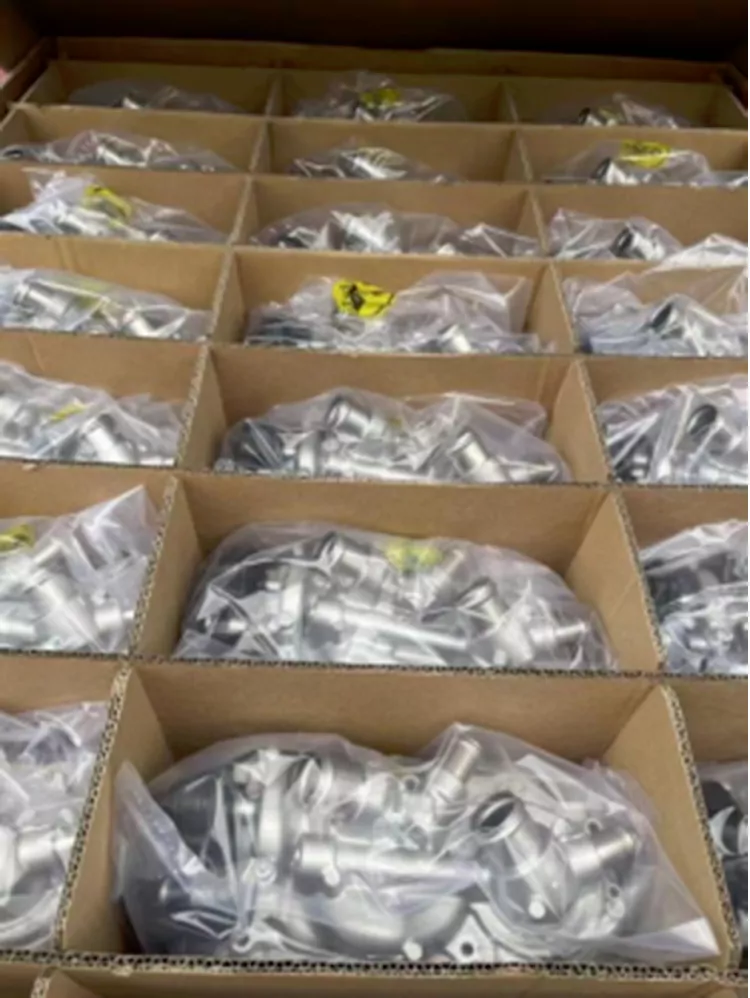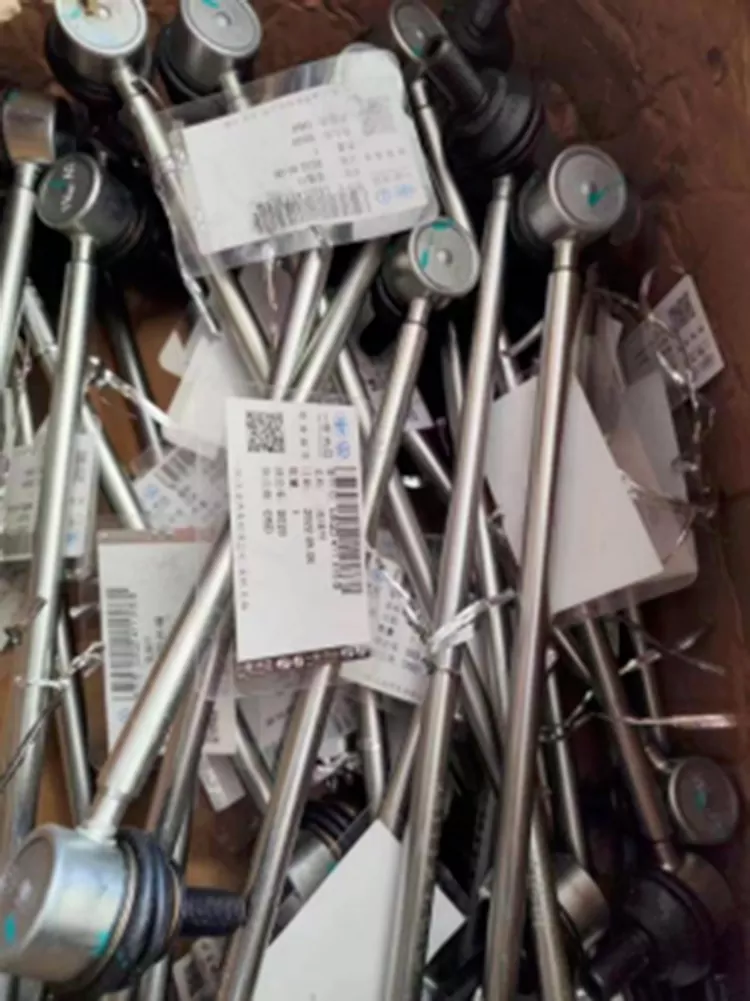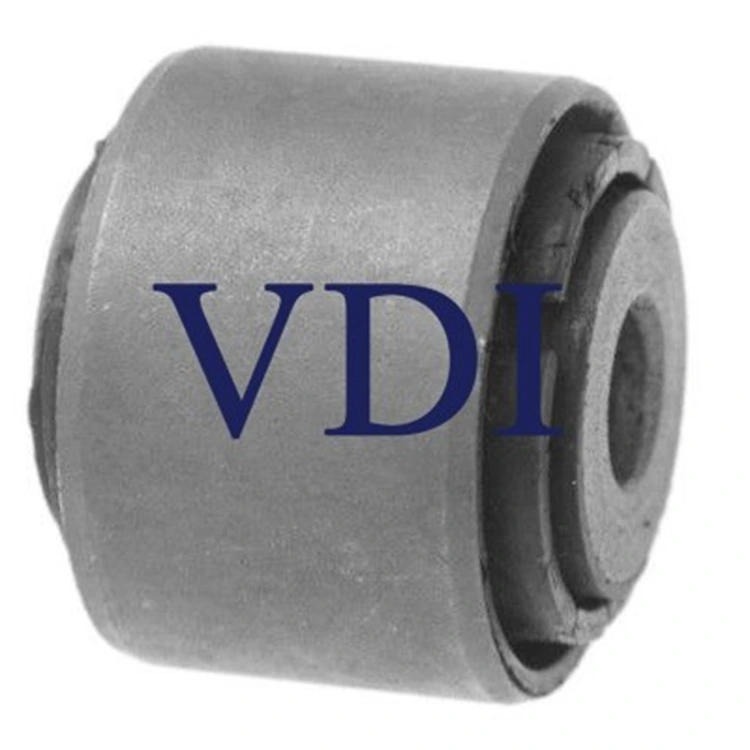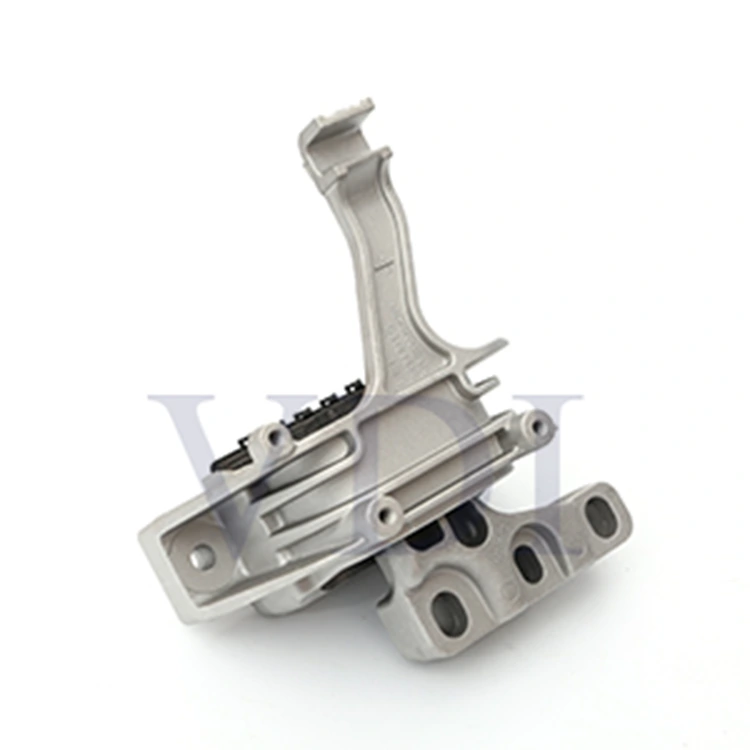


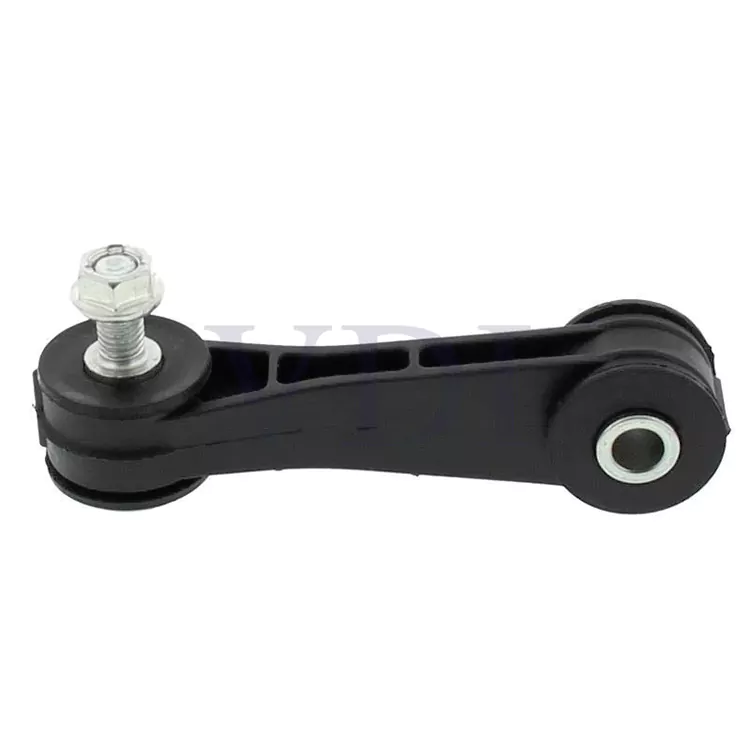

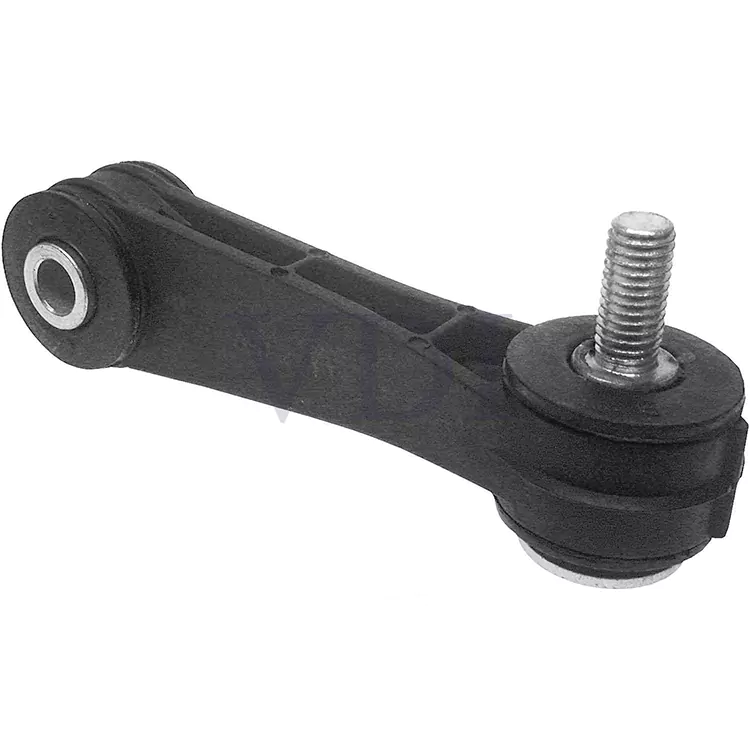
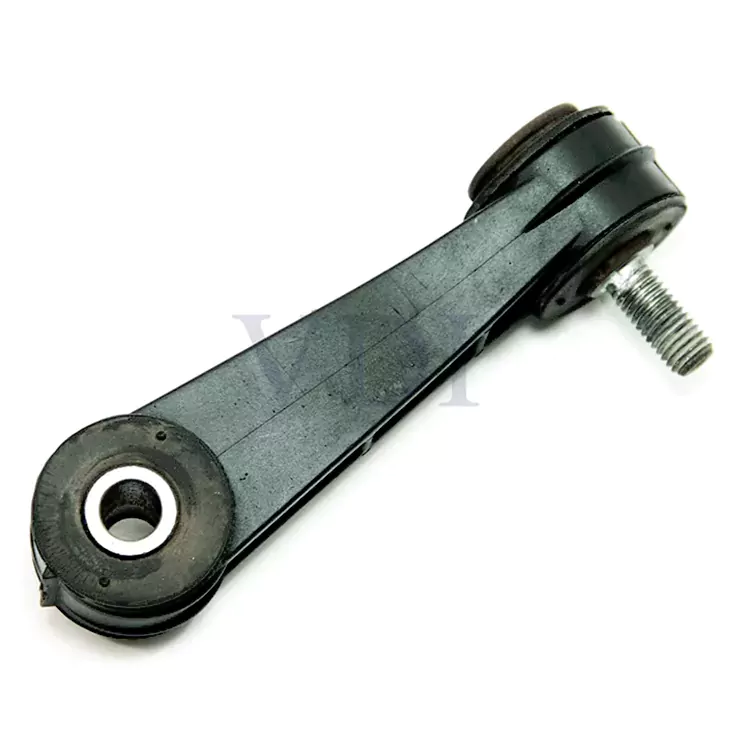

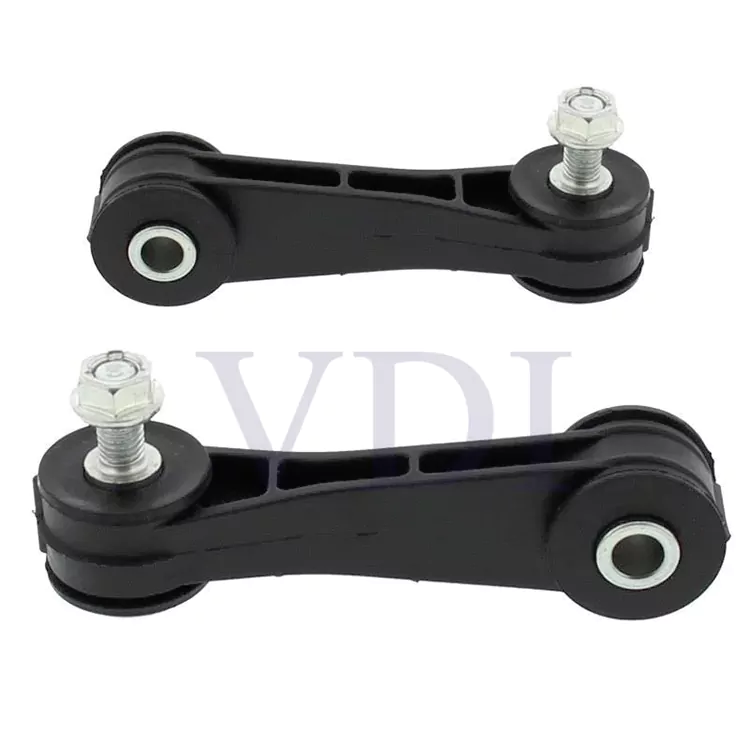
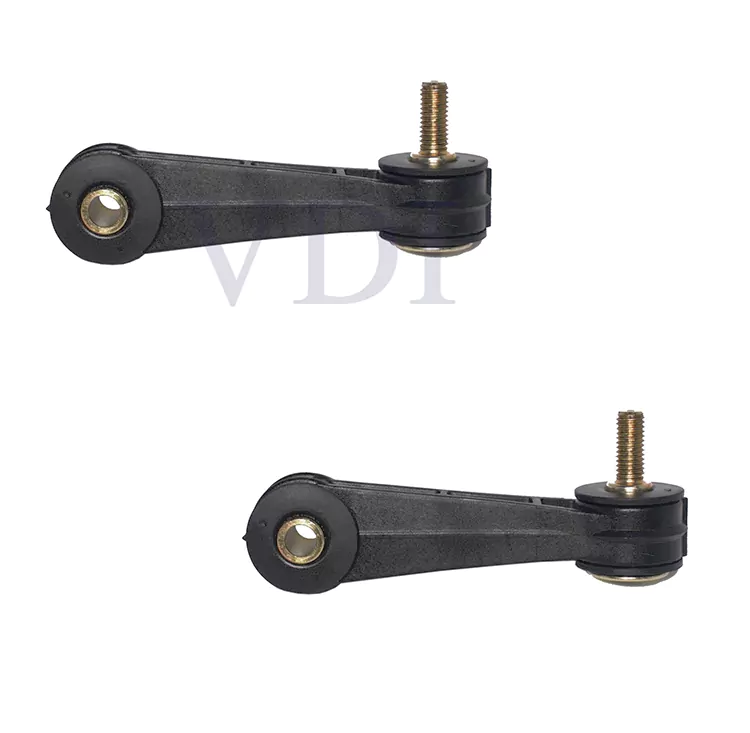
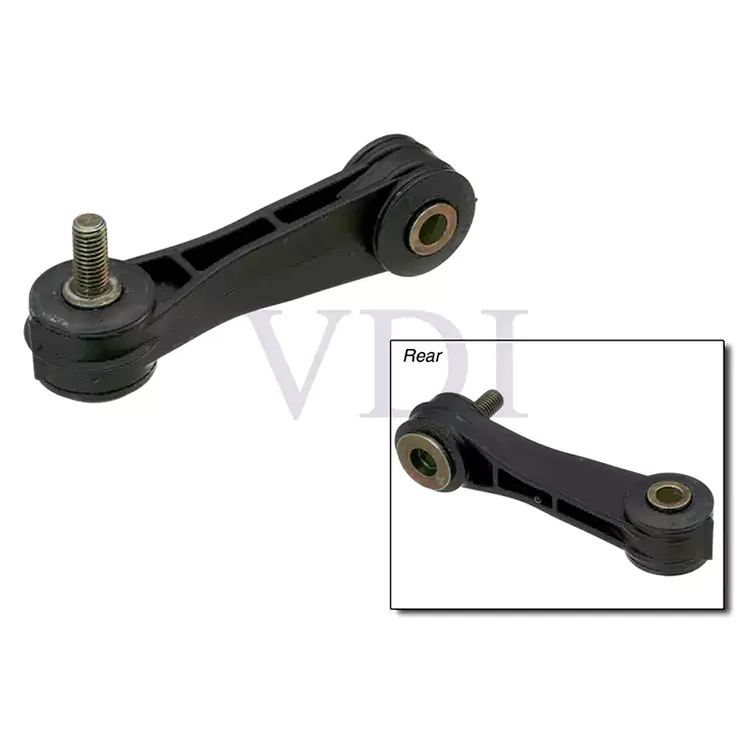
The VDI Stabilizer link 1J0411315C is designed to reduce noise and vibration, ensuring a smooth driving experience. It minimizes tire wear by improving suspension alignment. Additionally, it enhances the responsiveness of the suspension system, providing greater comfort.
Replacement NO:
1J0 411 315 B
1J0 411 315 J
Fit to:
AUDI A3
VW BORA/GOLF IV
NEW BEETLE
SKODA OCTAVIA I
SEAT LEON/TOLEDO II
● The VDI Stabilizer link 1J0411315C is designed to reduce noise and vibration, ensuring a smooth driving experience. It minimizes tire wear by improving suspension alignment. Additionally, it enhances the responsiveness of the suspension system, providing greater comfort.
● It is widely compatible with various car models, ensuring excellent versatility.
● With low maintenance costs, it offers high cost-effectiveness and is more economical for long-term use.


1.The stabilizer link (also known as sway bar link, drop link, or anti-roll bar link)—such as the high-quality and widely used VDI Stabilizer Link 1J0411315C—connects the sway bar to the control arm or strut. Its main function is to transfer lateral forces during cornering, reduce body roll, improve handling stability, and maintain tire contact with the road.
Common bad stabilizer link symptoms:
● Clunking or rattling noise over speed bumps
● Loose or vague steering feel
● Excessive body roll in corners
2.Critical Pre-Installation Preparation (Based on OEM service manuals & ASE best practices)
Vehicle condition:
● Vehicle MUST be raised on a lift with wheels fully hanging free (simulating normal driving position)
● NEVER final-torque the bolts while the suspension is loaded (wheels on ground) – this pre-loads the bushings and causes rapid failure
Part inspection:
● Confirm correct Left (LH) vs Right (RH) parts – many links are angled or side-specific
● Check dust boots for tears and ball studs for play or binding
Required tools:
● Proper hex/Allen wrench to hold the ball stud and prevent it from spinning
● Torque wrench is mandatory (see chart below)
● Never use only an impact gun on the nut. One person must firmly hold the stud with a wrench while the second person tightens the nut, otherwise the internal ball joint will be destroyed.
3.Step-by-Step Installation Procedure (Universal process – based on Bosch, Moog, Mevotech & OEM guidelines)
|
Step |
Action |
Key Point |
|
1 |
Remove old link |
Loosen sway817 bar end first, then control arm end (or reverse) to avoid twisting the bar |
|
2 |
Clean mounting surfaces |
Remove all rust and dirt for clean metal-to-metal contact |
|
3 |
Install new link |
Align both ends by hand – never hammer or force it |
|
4 |
Hand-tighten nuts |
Snug only |
|
5 |
Lower vehicle |
CRITICAL: Lower slowly until tires fully touch ground and suspension is at normal ride height |
|
6 |
Final torque |
Apply exact OEM torque in one smooth motion (see chart) |
Golden Rule (emphasized by SAE & ASE):
“Torque at Ride Height” – Tightening with the suspension at normal ride height is the single most important step to prevent premature bushing cracks and ball joint failure.
4.Torque Specs Reference Chart (Common Platforms)
|
Vehicle Platform |
Sway Bar End (Upper) |
Control Arm / Strut End (Lower) |
Notes |
|
GM / Chevrolet / Ford (FWD) |
45–55 N·m |
45–55 N·m |
Self-locking nuts, reusable once |
|
VW / Audi (MQB & MLB Evo) |
65 N·m + 90° (or 50 N·m + 90°) |
40–50 N·m (torque only) |
Upper requires torque + angle + NEW nut |
|
VW / Audi older (PQ35/PQ46) |
50 N·m + 90° |
50 N·m + 90° |
Both ends torque + angle, always new nuts |
|
Toyota / Honda / Mazda |
40–50 N·m |
40–50 N·m |
Some bolts have pre-applied thread locker |
|
BMW (F & G chassis) |
65–70 N·m |
65–70 N·m |
Always replace with new self-locking nuts |
|
Mercedes (W205/W213 etc.) |
60 N·m + 90° |
60 N·m (torque only) |
Upper uses torque + angle method |
IMPORTANT: These are typical values only. Year, drivetrain (FWD/AWD), and suspension package can change specs. Always verify with the factory service manual for your exact model. Incorrect torque can lead to link failure and loss of control.
5.Post-Installation Checks
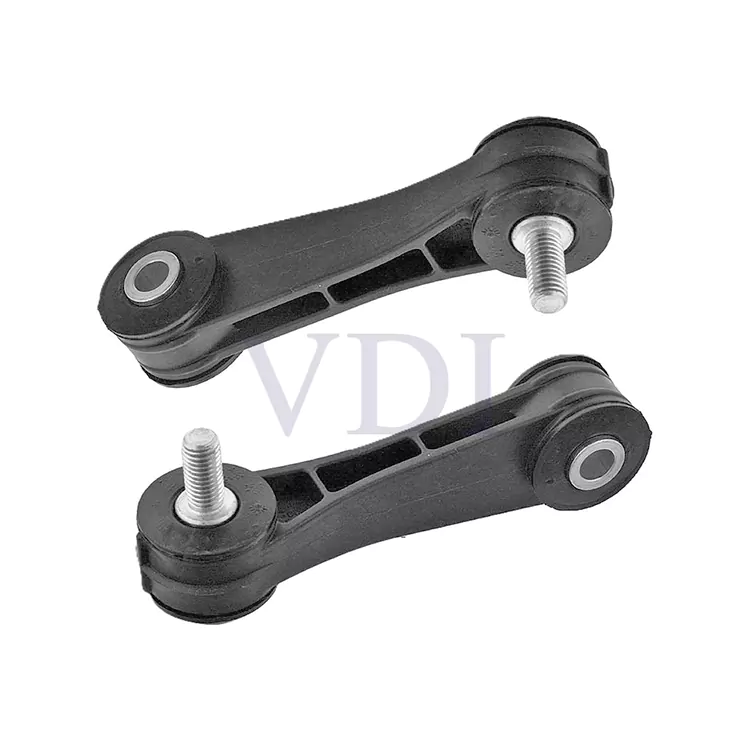
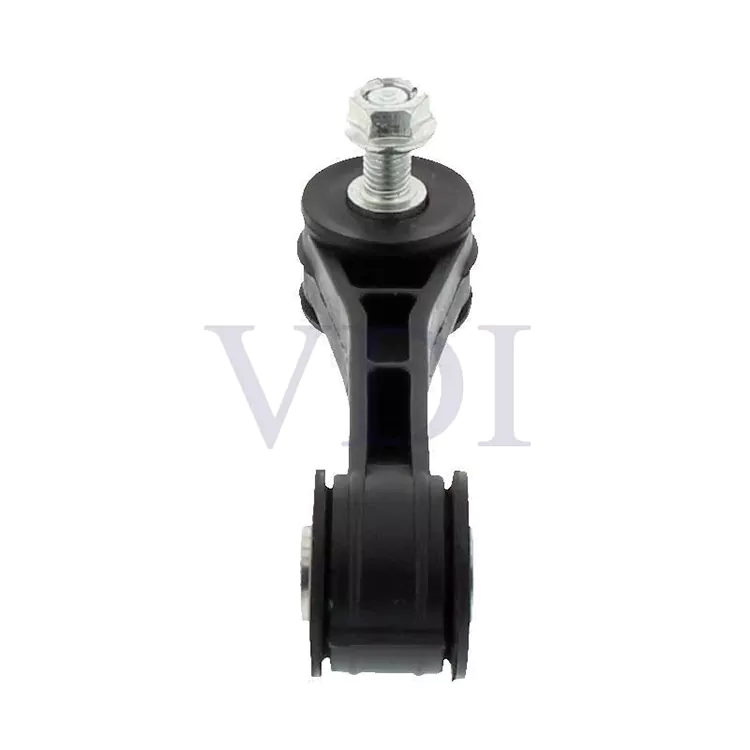
● Visual inspection: The VDI Stabilizer Link 1J0411315C is free of distortion, and the dust cover is not compressed.
● Bounce test: push body up and down – no clunking noise
● Full steering lock-to-lock: link must not contact any other parts
● Road test: drive over speed bumps and take corners – confirm noise is gone and handling is restored
6.Most Common Installation Mistakes (OEM Warranty Data)
|
Mistake |
Result |
|
Torquing with wheels hanging |
Bushings pre-loaded → cracking in 1–3 months |
|
Reusing old self-locking nuts |
Nut backs off → link detachment risk |
|
Dirty mounting surfaces |
Poor contact → loose bolts or stress cracks |
|
Forcing the link into position |
Body twist → early ball joint failure |
Correctly installing stabilizer links is not just swapping a part – it restores factory handling and safety. Always torque at ride height, use the correct torque values, and install brand-new hardware.
Welcome to choose VDI premium suspension parts – engineered to last.
The Stabilizer Link (or Sway Bar Link) is a critical suspension component that connects the stabilizer bar (anti-roll bar) to the control arm or strut assembly. Its primary function is to transfer lateral forces during cornering, reducing body roll, improving vehicle stability, and maintaining tire contact with the road.
⚠️ Failure Consequence: Worn or damaged links compromise handling precision and can contribute to unsafe driving dynamics—especially during emergency maneuvers.
(Per ASE & OEM General Guidelines)
|
Vehicle Usage |
Inspection Frequency |
|
Normal Driving (commuting, highway) |
Every 2 years or 40,000 km (25,000 miles) |
|
Severe Service (frequent potholes, off-road, towing, high humidity/salt exposure) |
Every 1 year or 20,000 km (12,000 miles) |
|
Fleet / Commercial Vehicles |
Mandatory inspection at every scheduled maintenance |
✅ Best Practice: Always inspect stabilizer links during routine suspension or alignment services.
(Based on SAE J3016 & ASE A4 Suspension/Steering Standards)
Perform checks with the vehicle on a lift, wheels unloaded:
● Torn, cracked, or missing dust boots → contamination leads to accelerated wear.
● Visible rust, corrosion, or deformation of link body or ball stud.
● Separation between rubber bushing and metal sleeve (if applicable).
1. Hand Wiggle Test: Grasp the link near the ball joint and move it firmly in all directions.
a. Acceptable: Minimal/no movement, smooth resistance.
b. Replace If: Excessive play (>1 mm) or audible “clunk”/“knock” is felt or heard.
2. Road Test Validation: Drive over speed bumps or uneven surfaces at low speed (10–20 mph).
a. Symptom: Sharp “clunk” or “rattling” noise from front or rear suspension—typically symmetrical (both sides).
b. Note: Noise may mimic strut mounts or control arm bushings—use wiggle test to isolate.
Replace the stabilizer link immediately if any of the following are observed:
● Any axial or radial play in the ball joint.
● Damaged or leaking dust boot (even without play).
● Cracked, hardened, or extruded rubber bushings (on bushing-type links).
● Bent or corroded link rod.
● Vehicle exhibits excessive body lean or loose steering feel that correlates with link wear.
���OEM Mandate: Most manufacturers specify “replace in pairs” (left and right) to maintain suspension symmetry and handling balance. Recommended to purchase VDI Stabilizer Link 1J0411315C.
● Modern stabilizer links (such as the VDI Stabilizer Link 1J0411315C) are designed to be permanently sealed and maintenance-free.
● Never inject grease or oil—this can rupture the boot or wash out internal lubricant.
● Stabilizer links are non-serviceable components.
● Welding, straightening, or bushing replacement is strictly prohibited.
● Final torque must be applied only when the vehicle is at normal ride height (wheels on the ground, suspension loaded).
● Tightening while suspended pre-loads bushings, causing premature failure (per SAE & ASE).
● Choose products that meet or exceed OEM design specifications—such as the genuine VDI Stabilizer Link 1J0411315C.
● Look for compliance with ISO/TS 16949 (quality management) and SAE J2534 (serviceability).
● Avoid ultra-low-cost aftermarket parts—ball joint integrity is critical for safety.
Safety Warning (NHTSA Advisory):
“A failed stabilizer link may not cause immediate vehicle disablement, but it significantly degrades roll stability during cornering or evasive maneuvers, increasing rollover risk—particularly in SUVs and light trucks.”
1. Inspect regularly—especially under severe driving conditions.
2. Diagnose with physical + road tests—don’t rely on noise alone.
3. Replace in pairs—never just one side.
4. Install correctly—torque at ride height, no lubrication, no reuse of worn hardware.
5. Choose high-quality parts—safety depends on the reliability of the ball joint, as demonstrated by the VDI Stabilizer Link 1J0411315C.
This guide provides a globally recognized, non-vehicle-specific framework for the proper maintenance of stabilizer links. It is suitable for use by distributors, repair shops, training institutions, and technical writers.
If you’ve ever heard a clunking noise over speed bumps or noticed your car leaning hard in corners, your stabilizer links (also called sway bar links or anti-roll bar links) might be the culprit.
So, what are stabilizer links and what do they do?
Stabilizer links connect the sway bar to the suspension components, helping to reduce body roll when the vehicle turns. As one top-rated Reddit mechanic puts it:“Sway bars are control components, not suspension. They do not affect alignment.” This means they’re all about handling balance—not ride height or wheel alignment—but they play a huge role in how your car feels on the road.
You don’t need a lift to suspect an issue. Here’s what real drivers report (and what Google searches confirm):
● Clunking or knocking noise when driving over potholes or speed bumps
● Rattling sound during turns
● Loose or vague steering feel
● Excessive body lean in corners—especially noticeable in SUVs and trucks
These signs often get worse over time. And while a bad stabilizer link won’t leave you stranded, the NHTSA warns it can “significantly degrade roll stability during evasive maneuvers,” increasing rollover risk—especially on taller vehicles.
The gold-standard test? The “wiggle test.”
1. Lift the car so the wheels hang freely.
2. Grab the stabilizer link near the ball joint.
3. Shake it hard side-to-side and up-and-down.
✅ Good link: Feels rock-solid, with zero play and no noise.
❌ Bad link: More than 1 mm of movement or an audible “clunk” = time to replace.
Many DIYers skip this and just listen for noise—but road sounds can mimic strut mounts or control arm bushings. Always confirm with the wiggle test.
Even after replacing a high-quality critical part like the VDI Stabilizer Link 1J0411315C, many cars still experience the same clunking noise after a few weeks. Why is that?
Because the installer torqued the nuts while the car was still on the lift.
Here’s the pro secret: Always torque at ride height—meaning the car must be sitting flat on the ground, with suspension fully loaded. Torquing while lifted pre-loads the bushings, causing them to crack within weeks.
This single step prevents 90% of comebacks, yet it’s missing from most YouTube tutorials.
Follow these expert-backed steps:
1. Replace in pairs—never replace only one side. The original manufacturer requires symmetry on both sides (e.g., two VDI Stabilizer Links 1J0411315C) to ensure balanced handling.
2. Use new hardware – Self-locking nuts should never be reused.
3. Never grease the link – Modern stabilizer links are sealed for life. Adding grease can rupture the boot.
4. Torque at ride height – Final tightening only when the car is on the ground.
5. Choose high-quality parts—cheap components often fail quickly. Look for ISO/TS 16949 certification and OEM-grade specifications (such as the VDI Stabilizer Link 1J0411315C).
Stabilizer links are small—but critical. They don’t affect alignment, but they directly impact safety, stability, and driving confidence. Inspect them every 25,000 miles (or annually in rough conditions), diagnose with the wiggle test, and always install correctly.
Do it right once, and you’ll enjoy factory-tight handling—with zero clunks—for years.
The Stabilizer link 1J0411315C we offer is made of high-strength steel or aluminum alloy, ensuring excellent fatigue resistance and long-lasting durability. Each component undergoes rigorous testing before leaving the factory, including high-temperature, corrosion resistance, and load tests, to ensure stable and reliable performance in various environments, reducing the need for frequent replacements or repairs.