
That subtle vibration during acceleration isn't normal—it's your worn-out engine mount failing under the hood. You dismiss it as road noise or chalk it up to your car's age, but those failing mounts are quietly damaging your transmission. When they finally give out completely, you're looking at an $800+ repair bill that hits like a surprise Netflix price hike.
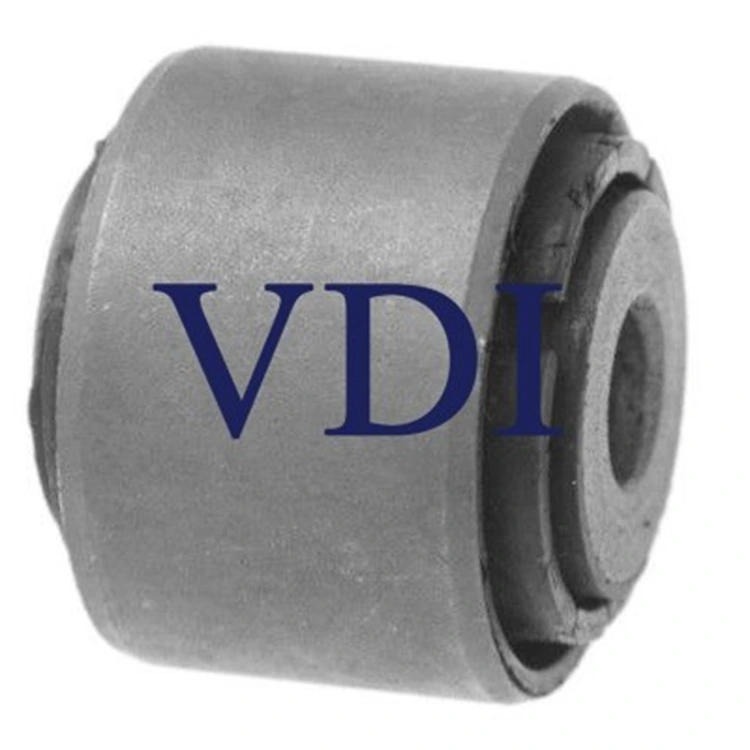
Engine mounts absorb thousands of pounds of torque while keeping your powertrain properly aligned.
Your car's engine mounts work harder than a barista during morning rush hour, constantly dampening vibrations and keeping your engine positioned correctly. These rubber-and-metal assemblies deteriorate gradually, creating a domino effect that forces your transmission to work overtime. The result? Those "sluggish" shifts you've been experiencing aren't a transmission problem—they're symptoms of mount failure creating misalignment between your engine and transmission input shaft.
Most drivers discover the true cost only when complete failure forces emergency repairs.
Engine mount replacement cost typically runs $400-800 depending on your vehicle, with luxury cars pushing that figure even higher . Labor accounts for most of the expense since accessing mounts often requires lifting the engine or removing major components. The real financial sting comes from related damage—failed mounts can stress CV joints, damage transmission seals, and crack exhaust components . By the time your mechanic gives you the full diagnosis, what started as a $200 mount replacement has snowballed into comprehensive drivetrain repairs that could have been avoided with simple DIY car fixes.
Your car telegraphs mount failure through increasingly obvious symptoms that most drivers misinterpret .
Beyond sluggish shifts, watch for:
● Excessive engine movement during startup
● Unusual vibrations through the steering wheel
● Clunking noises when accelerating from stops
Your transmission may also exhibit delayed engagement or rough shifting patterns as misalignment forces components to work outside their designed parameters. These symptoms typically worsen gradually, making them easy to rationalize away until catastrophic failure occurs. Understanding these signs is crucial for managing overall car ownership costs.
Proactive inspection during routine maintenance can save you from roadside surprises and inflated repair costs.
Most engine mounts last 60,000-100,000 miles, but aggressive driving or stop-and-go traffic accelerates deterioration . Have your mounts inspected during major services—visible cracking, oil seepage, or excessive engine movement during rev tests indicate replacement time. Addressing mount issues early prevents transmission damage and keeps repair costs manageable, proving that automotive procrastination rarely pays off. Whether you're concerned about daily commuting or vehicle performance, regular maintenance remains key .
1 Lift Vehicle
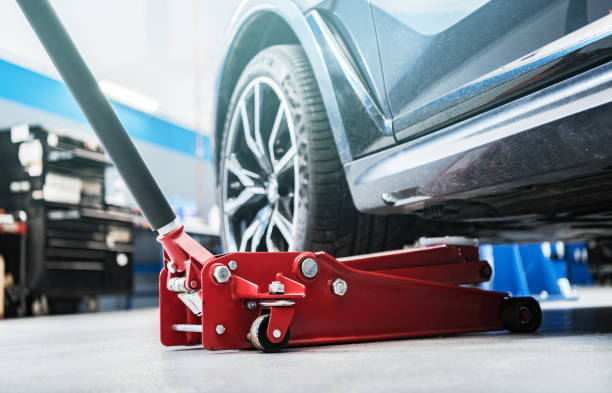
This project requires working safely under the vehicle. You will need a floor jack, and jack stands, ramps, or wheel cribs to support the vehicle.
Locate the factory jacking points just behind the front wheels or just in front of the rear wheels. The jacking point is a metal section with two V notches about two inches apart. Check your owner's manual to confirm the lift location.
Never use jack stands on dirt, gravel, or asphalt. If you do not have access to a concrete work surface, use wheel cribs, solid-base ramps, or wide-base wood supports to support the vehicle. Never use cinder blocks or bricks as supports.
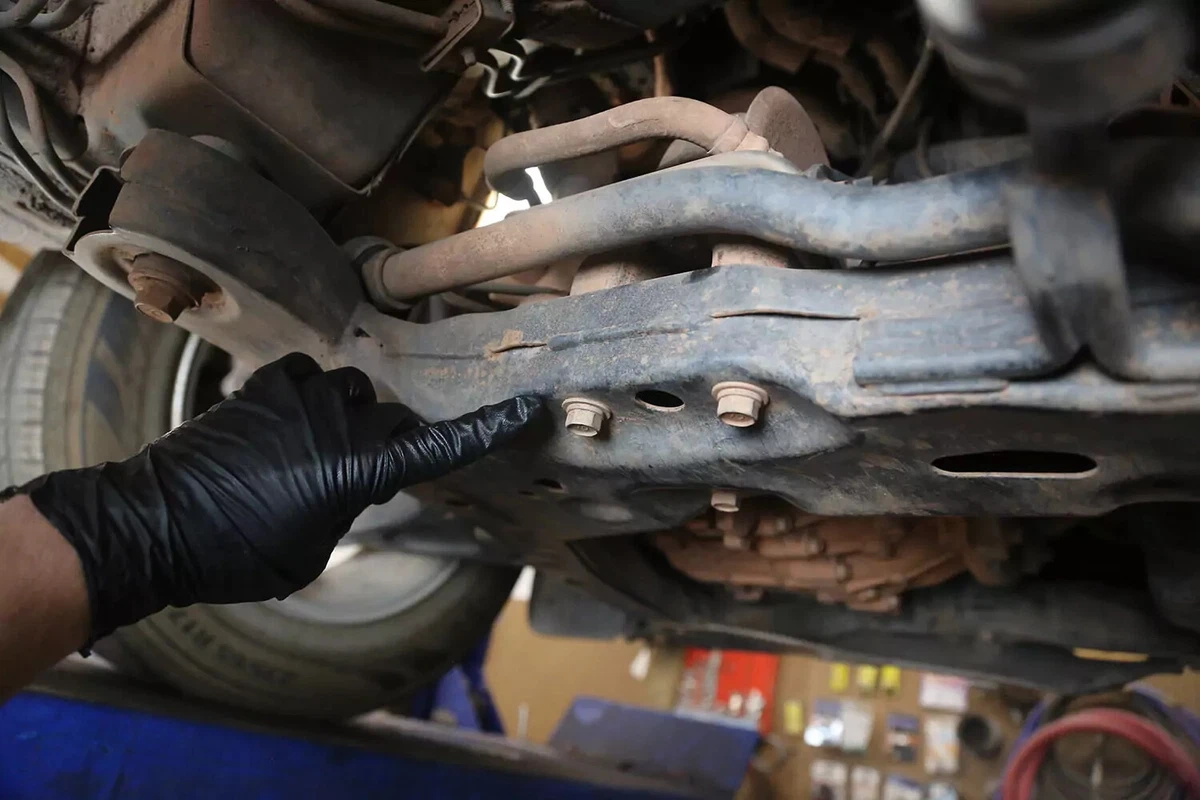
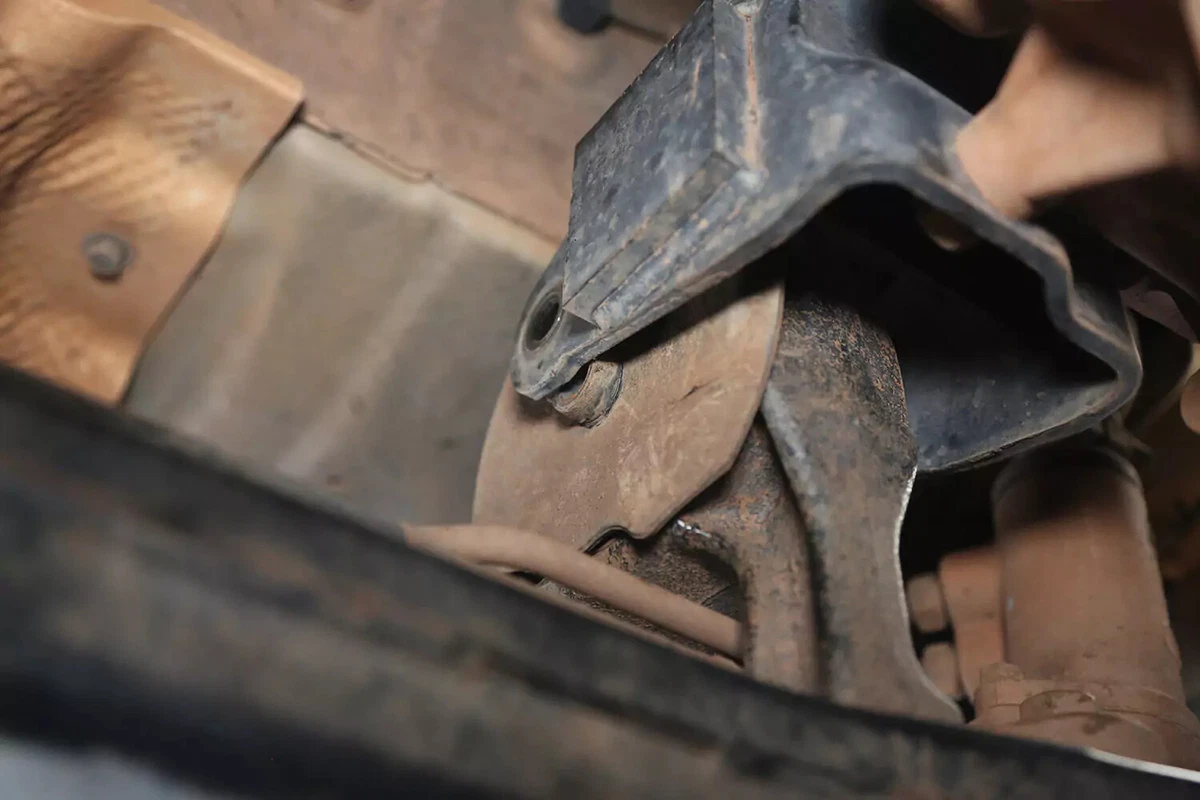
2 Locate Transmission Mount
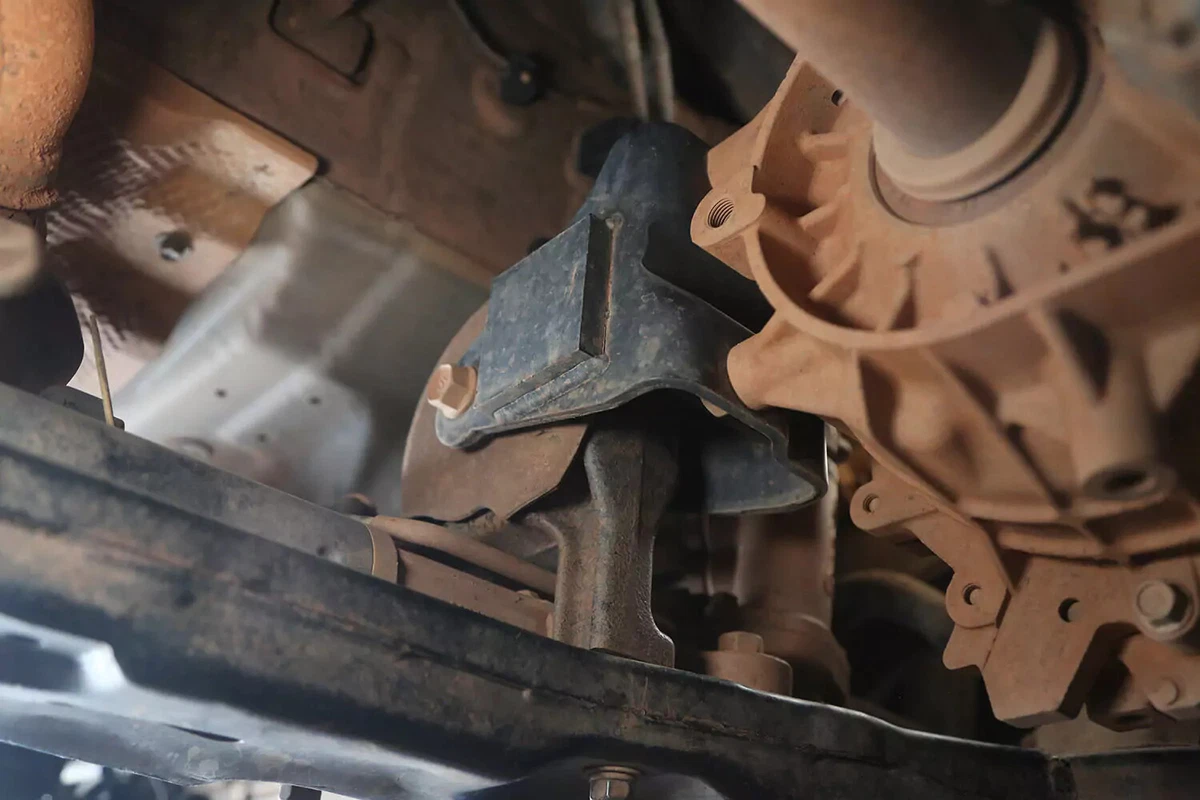
Locate the transmission and the mount under the vehicle. On RWD and 4WD (and some AWD) vehicles, the transmission will be behind the engine along the center tunnel. On FWD and most AWD vehicles, it will be behind or beside the engine as a transaxle.
On our FWD demo vehicle, the transmission mount is located behind the transmission on the front subframe. If you have an AWD, 4WD, or RWD vehicle, the mount is probably at the very rear of the transmission, centered almost directly under the car, between the transmission and the crossmember.
Always check your vehicle's repair manual to confirm the exact location, as mounting points can vary by make and model.
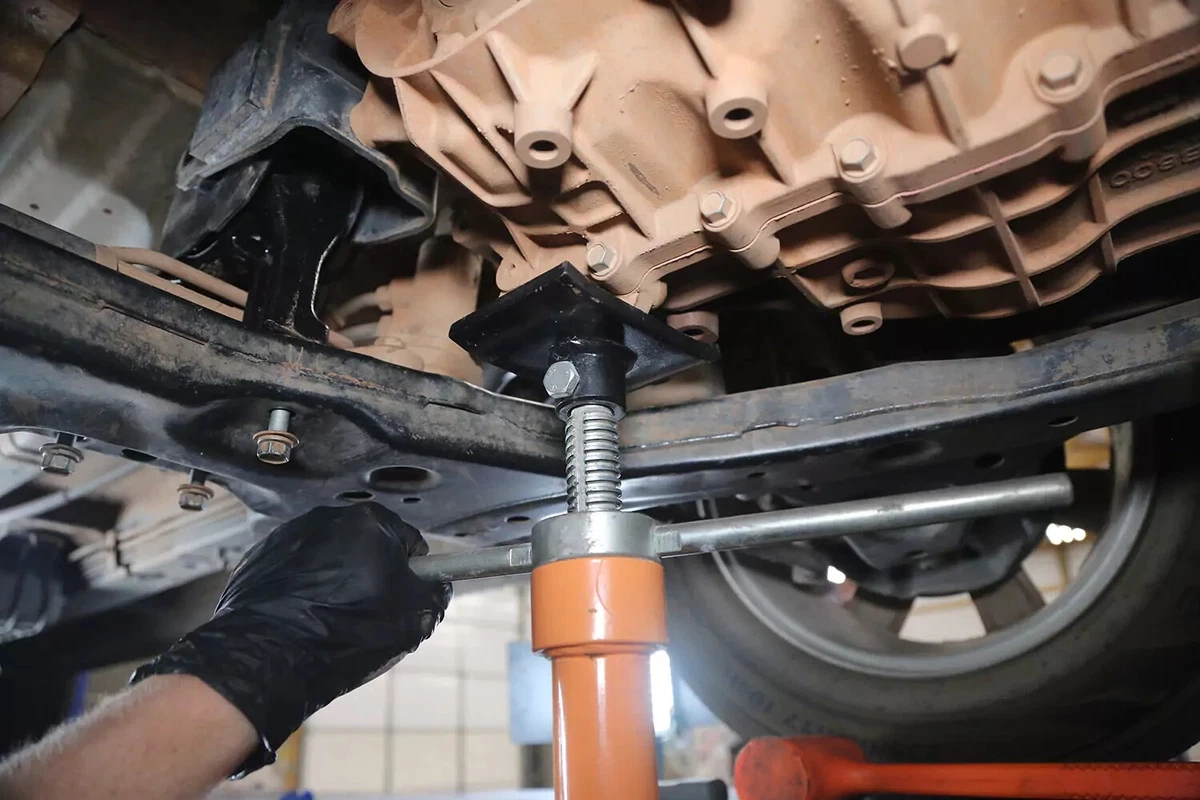
3 Support Transmission
Place a floor jack or bottle jack under the transmission case. Do not raise the jack yet; it should be touching the transmission with only the slightest amount of pressure.
Do not place the jack under the transmission pan. That could dent the pan and damage the transmission.
If you can't position the jack anywhere other than the pan, use a wide two-by-four to span the entire width of the pan. That will spread the load and protect the pan and the transmission.
Never use a jack on a plastic pan even with a wood block.
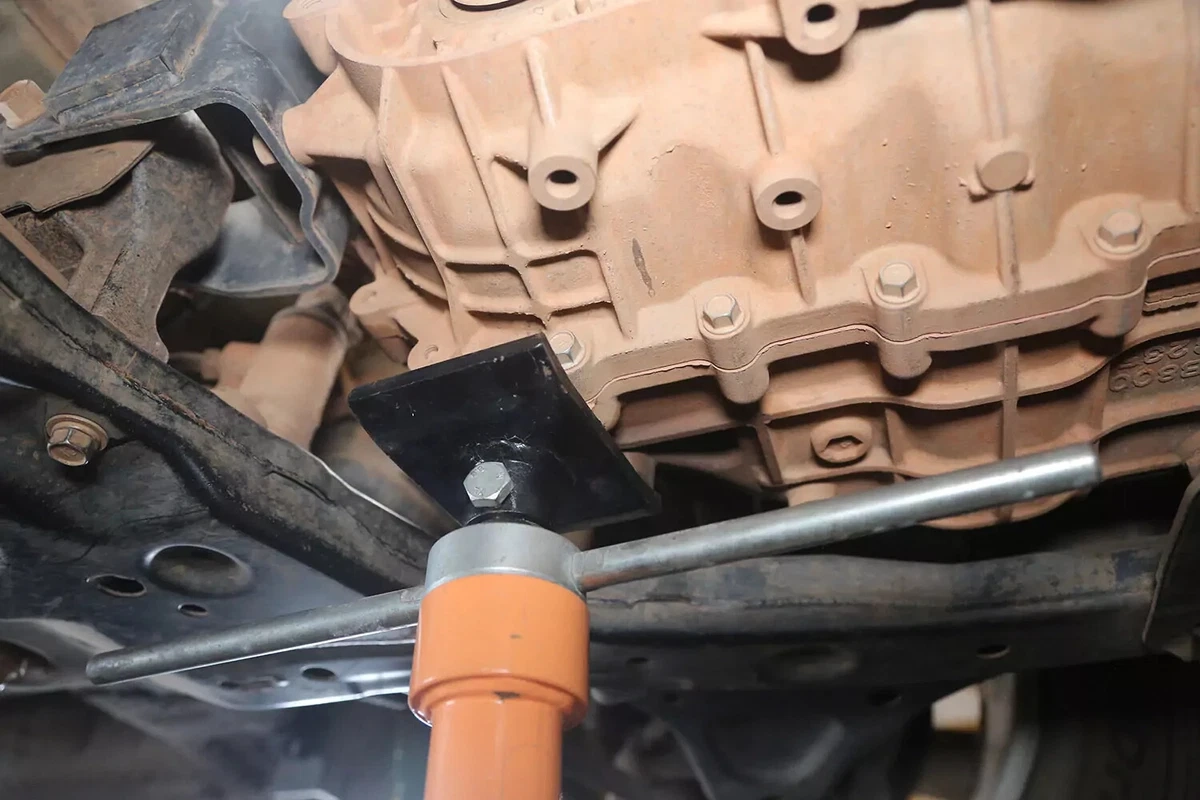
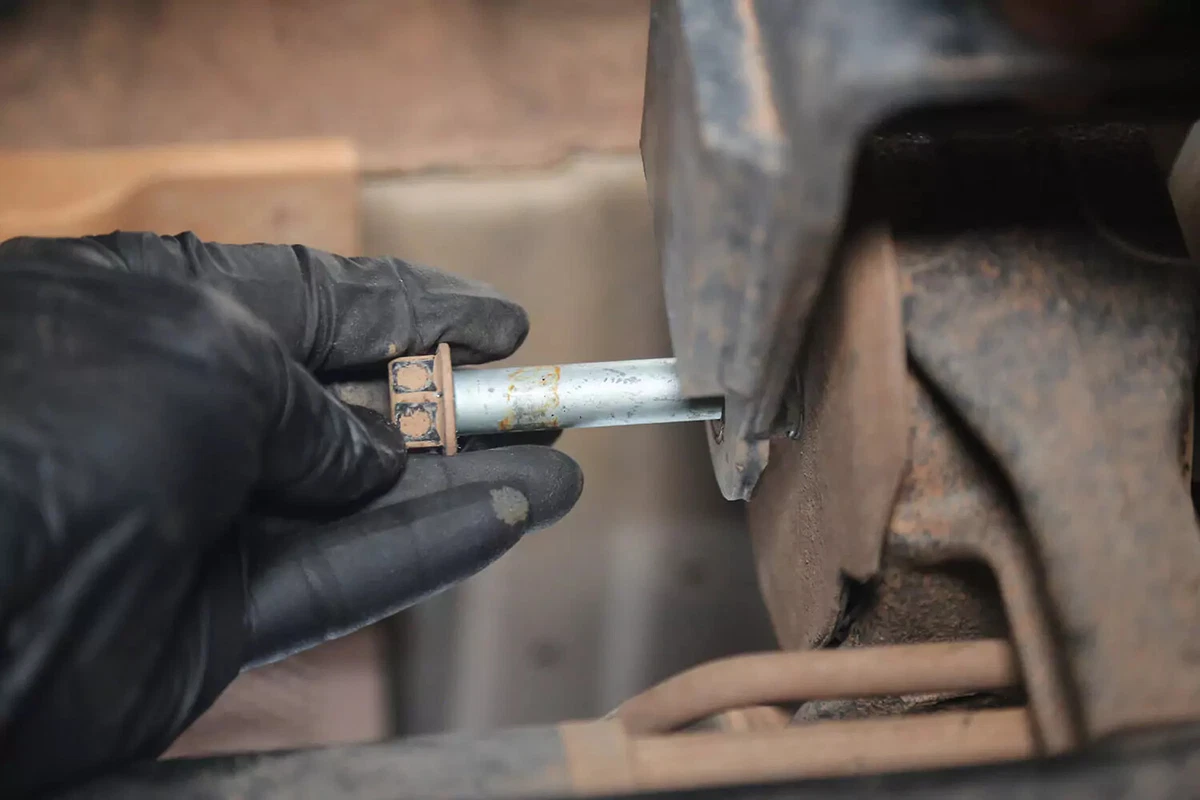
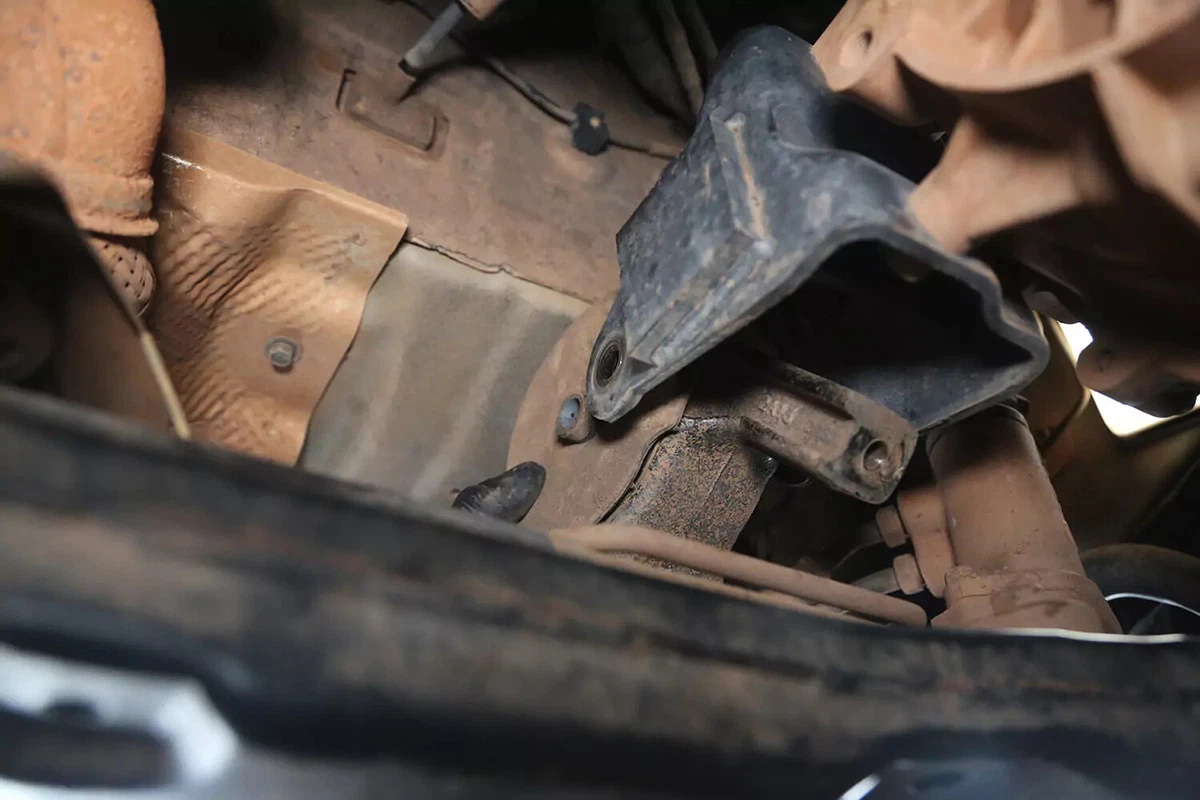
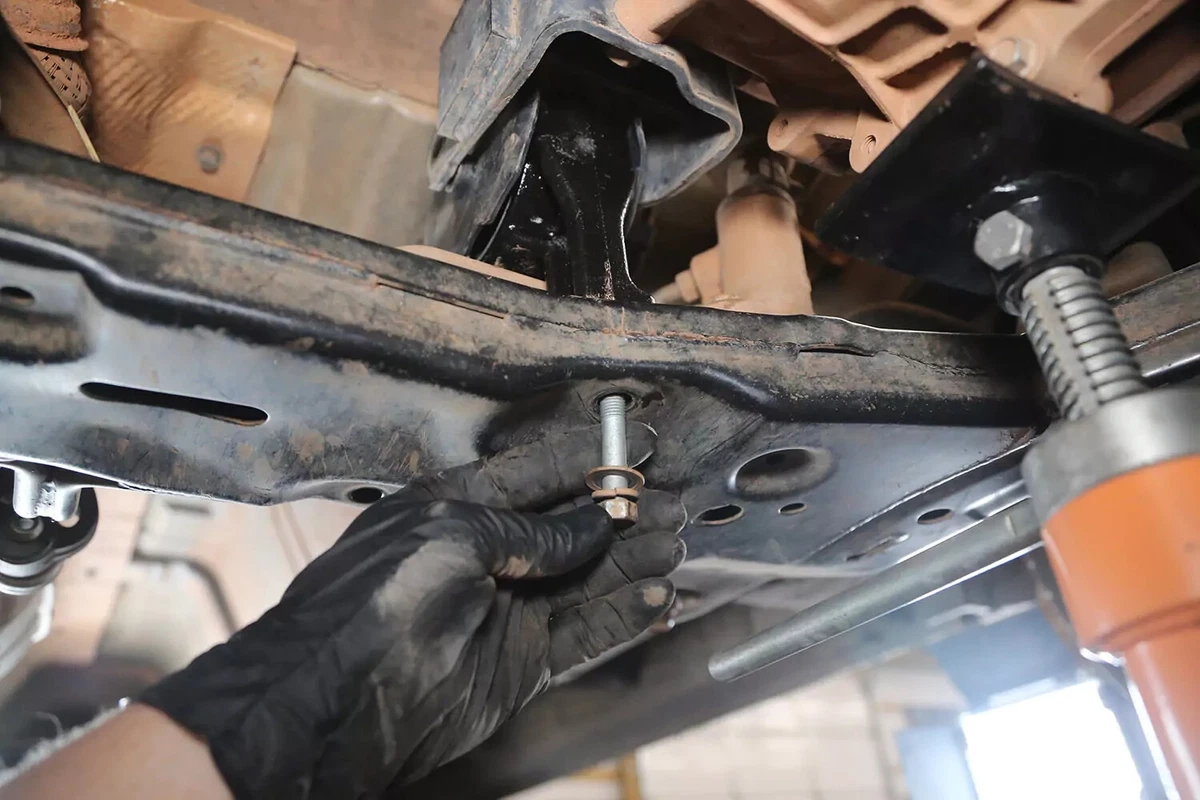
4 Locate Mount Bolts
There will be two to four bolts that mount the chassis.
For our demo vehicle, the mount has three bolts on the subframe and one bolt to the transmission. Four more bolts attach the transmission mount bracket to the transmission. On most vehicles, these do not need to be removed.
Your vehicle might require removing other brackets or components to remove the transmission mount. Consult your vehicle's repair manual to confirm the exact procedure.
5 Loosen Transmission Mount Bolts
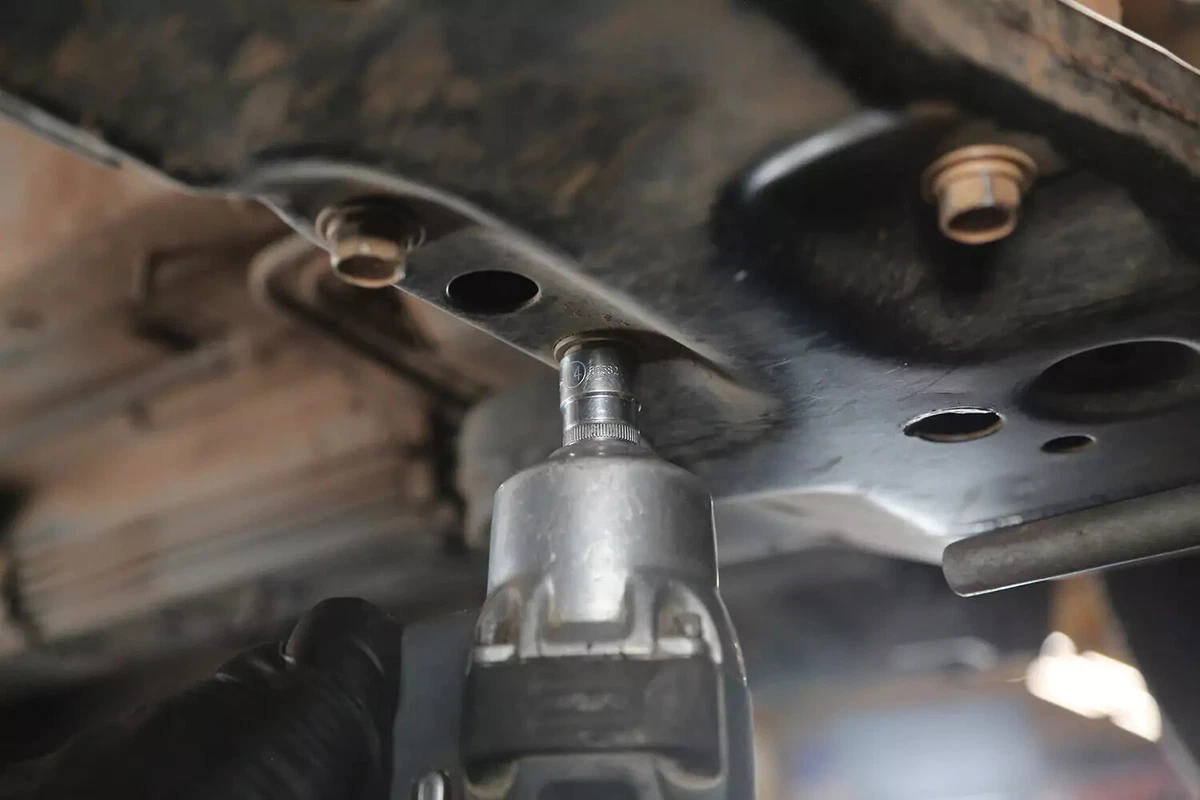
Loosen the transmission mount bolts. Leave them in place for now.
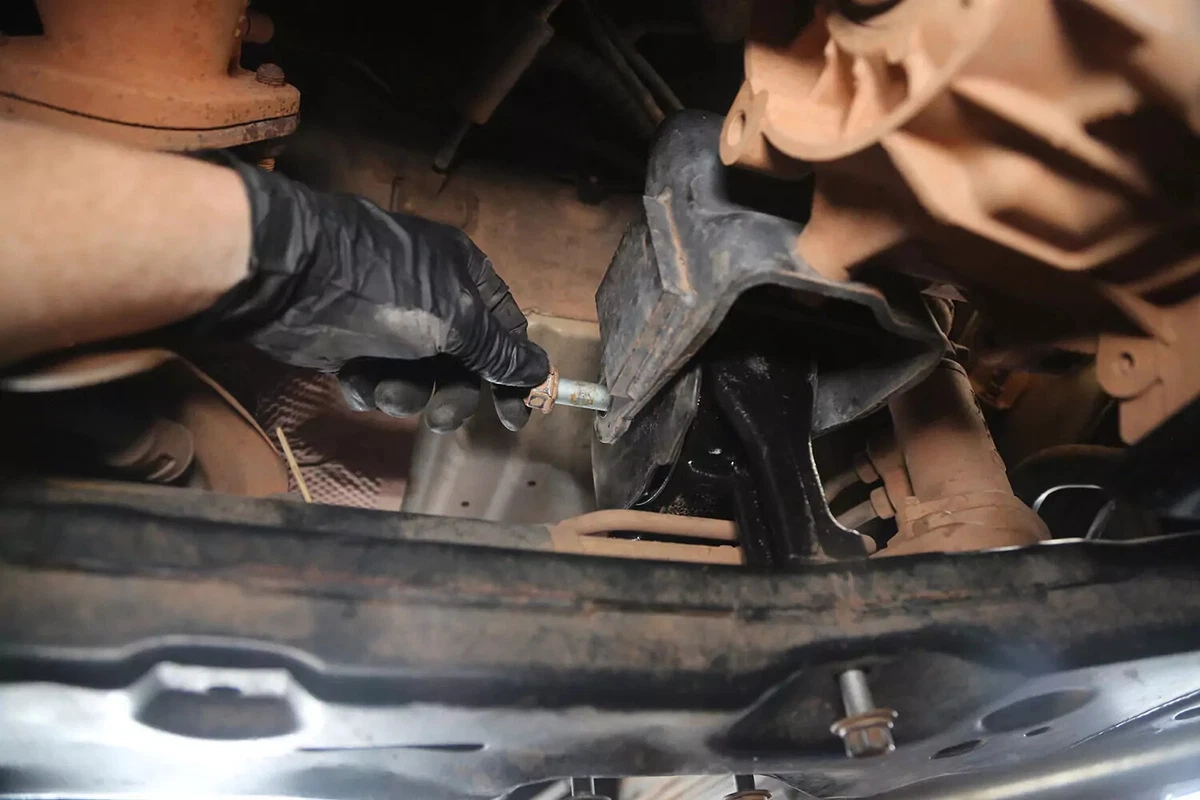
6 Remove Transmission Crossbolt
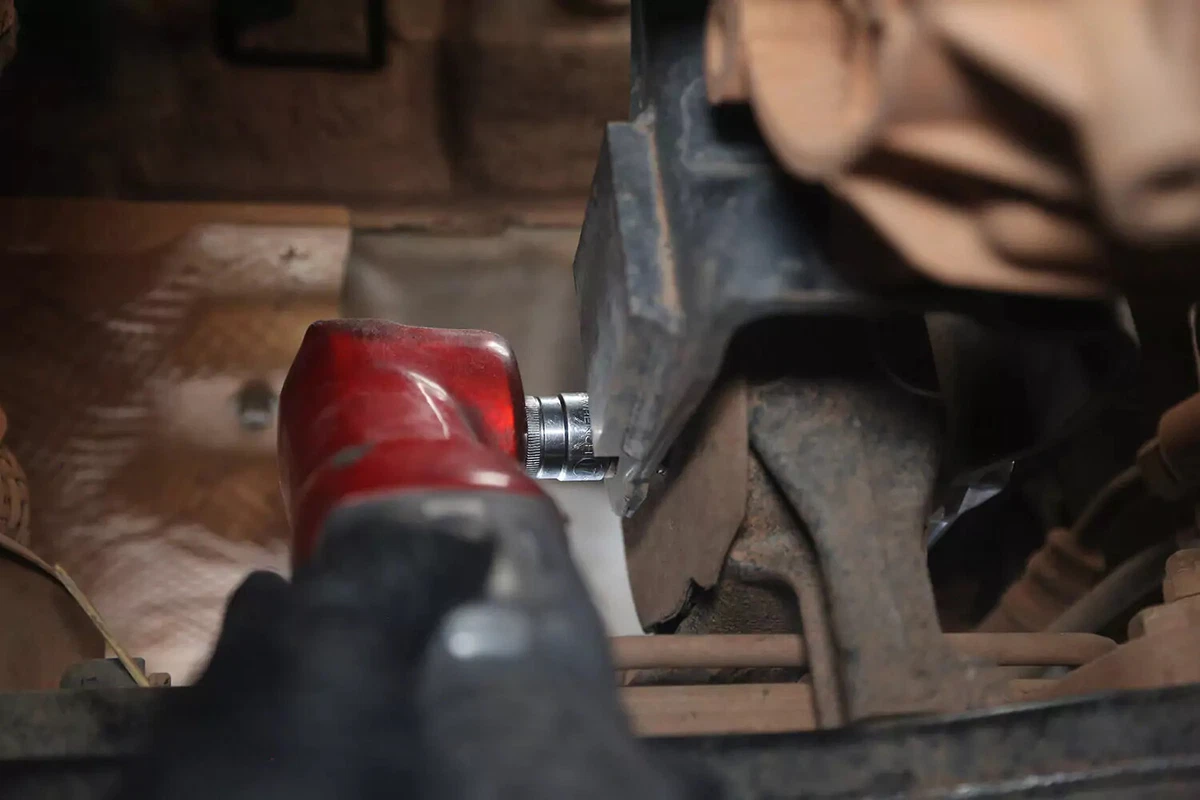
Depending on the mount style, you may have a crossbolt. Or, the mount might use flanges where the bolts do not go through the rubber mount.
Our demo vehicle has a crossbolt, which is removed using a wrench on one side and a socket on the other. These can be hard to remove in tight quarters. Use a breaker bar, impact wrench, or cheater bar to get the required leverage.
7 Remove Bolts
Remove the crossbolt. Then, remove the transmission mount bolts from the chassis.
8 Raise Transmission
Use the jack to raise the transmission slowly until the mount can be removed. Most transmissions need only a short lift, but some require raising the transmission a couple of inches to clear the mount.
Raise the transmission just enough to get the mount out. However, too much lift can strain the other engine and transmission mounts.
On our demo vehicle, there are support notches that lock the mount into the transmission mount bracket. We needed to apply extra lift to get the mount free.
9 Remove Mount
Remove the mount from the vehicle. Most transmission mounts simply slide out. But you might have to roll the mount out of the bracket.
10 Install New Mount
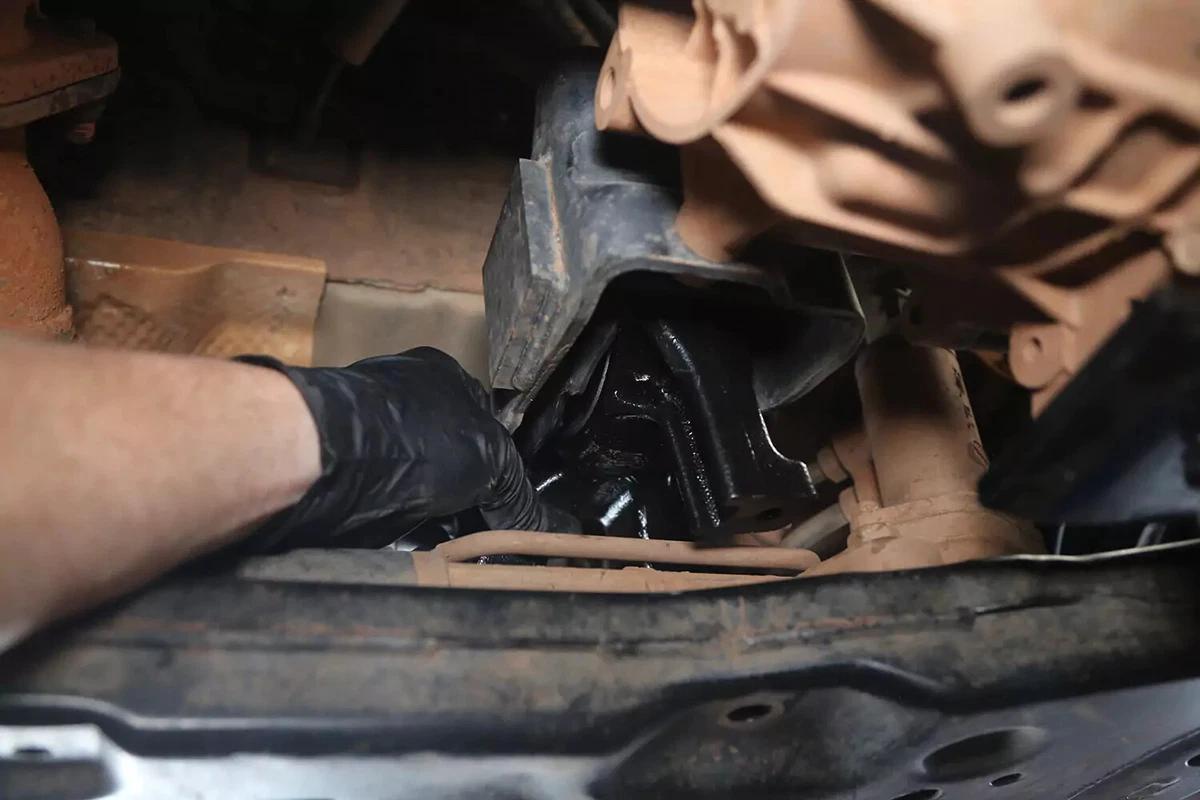
Install the new mount. The steps are the same as removal but in reverse order.
The new mount should slide or roll into place easily. If it doesn't, double-check that the mount is correctly oriented and that the transmission is properly aligned.
11 Install Chassis Mount Bolts
Reinstall the original bolts into the mount, securing the position of the mount to the chassis.
Thread the bolts to set the position, but don't tighten them yet. This allows the mount to shift as needed after the transmission is lowered onto the mount.
12 Lower Transmission
Slowly lower the transmission onto the mount until the crossbolt holes line up.
Use the same process for flange mount bolts.
13 Install Crossbolt
Reinstall the original crossbolt through the mount. Thread on the nut.
If the transmission is still raised, lower it. The transmission support can now be removed.
14 Tighten Chassis Mount Bolts

Tighten the chassis mount bolts and crossbolt. Use a torque wrench to tighten the bolts to the factory specs.
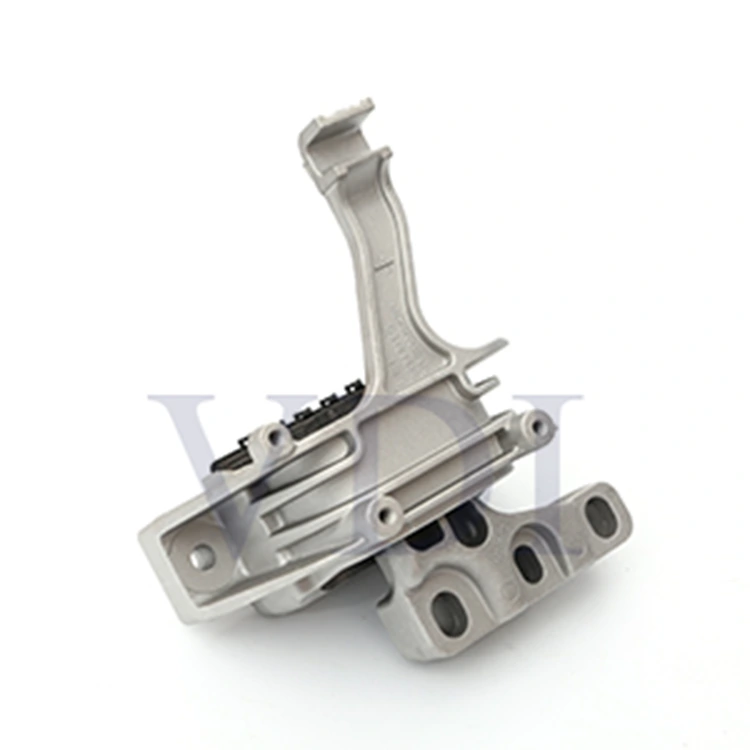
Refer to your vehicle's repair manual for the torque specs—usually around 18 to 45 pound-feet for transmission mount bolts. Welcome to purchase VDI Transmission Mount 5QA199555D.