
(Super detailed, beginner-friendly, most searched keywords included)
This tutorial applies to MK4 Jetta, Golf 4, Golf GTI (1999–2005).
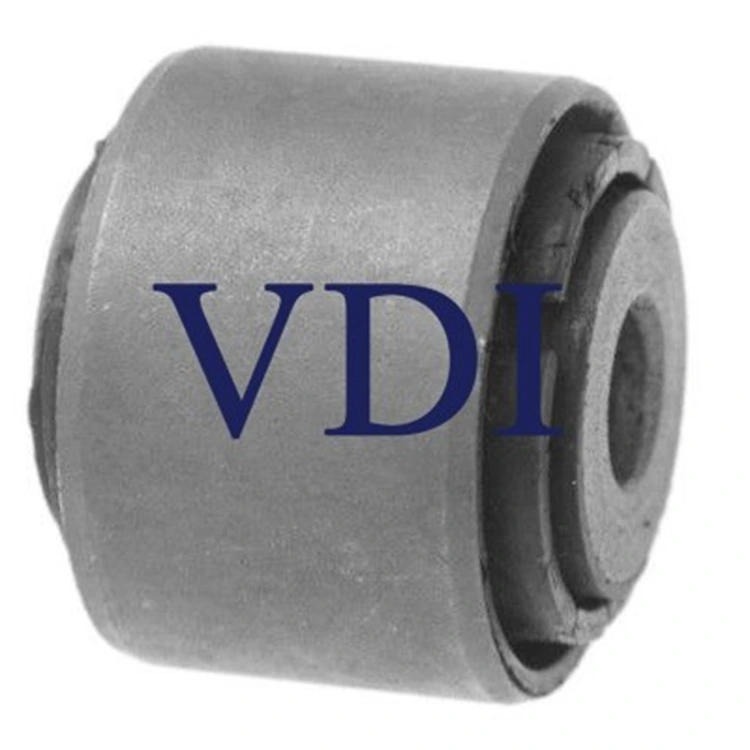
90% of owners who hear loud “creak creak” or “groan” noise from the front end over bumps or during turns — it’s almost always dry or worn front sway bar bushings. Just lubricate or replace them and the noise disappears completely (As VDI Sway Bar Bushing 4D0411327J).
Example car in this guide: 1999.5 Jetta GLS VR6
All operations at your own risk. Take your time observing during removal — installation will be smooth.
VW MK4 front sway bars come in at least two diameters:
21mm (most early cars & base suspensions)
23mm (later models, sport/sport-package cars, and some/all 2000+ VR6)
My 1999.5 VR6 uses 21mm.
Original bushing: 1J0-411-314-C → Upgraded/replacement: 1J0-411-314-R
Bracket also changed: 1J0-411-336-C → 1J0-411-336-D (new shape matches R bushing)
For 23mm bar:
Old: 1J0-411-314-G → New: 1J0-411-314-T
Bracket: all now use the newer 1J0-411-336-D
Measure the sway bar diameter with calipers, OR
Remove one old bushing and check the last letter: • Ends with C → buy R • Ends with G → buy T • Already R or T → buy another R • Already T → buy another T
Double-confirm the part number with the seller. I’m not responsible if you order wrong!
Full replacement needs: 2 bushings + 2 brackets
If your car already has “D” brackets → only buy 2 bushings.
Job time: Experienced ~1 hour, first-timer lubrication ~2 hours, first-timer replacement ~1–1.5 hours now.
Good news: NO need to drop the subframe! Can be done on the ground, ramps, or jack stands. Highly recommend lifting the car + removing front wheels for huge working space.
If working on ground/ramps → skip to step 6. If lifting the car and you’re new → follow my method. SERIOUS WARNING: If you’re not 100% sure, don’t lift the car! Wrong jack points = car falls.
Jack under the factory pinch weld (yellow arrow in picture), pad with wood/rubber to protect paint.
Place jack stands at the very front of the main frame rail (red arrow), as far forward as possible but not on the curved edge. Best spot is directly under the small hole in the rail. I put double cardboard between stand and rail.
Lower onto one stand, repeat other side. Triple-check stability before going underneath!
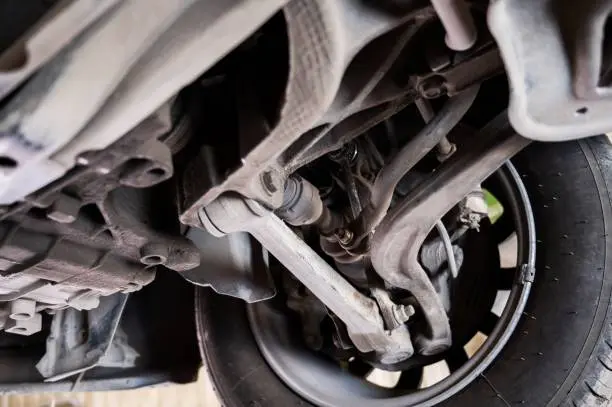
Bushing location = green arrow, one on each side.
First, remove both sway bar end links from the lower control arms (16mm bolt at the bottom — red arrow). This step is mandatory, otherwise the bracket won’t come off.
If car is lifted and wheels off → turn steering wheel full lock to one side to work on the opposite bushing (full left = work on right side). This swings the tie rod boot out of the way.
Bushing & bracket sit right in front of the tie rod boot (yellow arrow). Bracket has one 13mm bolt on top (red arrow) and a hook at the bottom that clips into the subframe.
Use a small ratchet wrench to remove the 13mm bolt (big wrenches won’t fit).
After bolt is out, pry the top of the bracket toward the rear while lifting the sway bar — the bottom hook will pop out of the subframe slot. First time may take 10 min of wiggling; now I do it in <2 min.
Once bracket is off, just pull the split bushing off the bar.
Red = bolt hole, yellow = bottom hook, green = bushing split — now you see why it’s tight!
If you only want to lubricate → spray the inside of the bushing generously with silicone grease (waterproof multi-purpose), reinstall, and jump to step 18.
• Old C bushing (220k miles) cracked and hard
• New R bushing softer + factory silicone coating (don’t wipe it off)
• New D bracket has an extra bulge to match the new bushing shape
• New bushing inner diameter ~2mm smaller → much tighter fit
Reinstall: Spray sway bar with silicone grease → spread new bushing open and slide on (split facing forward, small tab pointing down) until it seats against the stop on the bar.
Hardest part: Feed the bracket in from behind the bushing, hook the bottom into the subframe first, wiggle bar up/down until the hook catches, then push bracket forward so bushing fully seats.
If the top of the bracket is touching or within ~1cm of the subframe → install the 13mm bolt (25 Nm / 18 ft-lbs) and go to step 24.
The new tighter bushing pushes the bracket away. Factory self-tapping bolt is too short.
Solution: Buy at hardware store
• 2 × M8 × 20mm regular bolts
• 1 × M8 × 25mm bolt
Use the 25mm bolt first to pull the bracket all the way in (it will bottom out), then swap to a 20mm bolt. Torque 25 Nm.
(I just used the new bolts; didn’t test if old self-tapper works after.)
Turn steering full lock the other way and repeat for second side.
Reinstall both end links to lower control arms — 16mm bolt 45 Nm (33 ft-lbs).
Lower car if it was lifted.
Done! Front sway bar is completely silent again!
Questions welcome anytime. The text is for reference only. For specific automotive repairs, please consult a local auto mechanic.
Welcome to choose VDI Sway Bar Bushing 4D0411327J.