
If you've been wondering how much time you'll need to replace a worn transmission mount, you're not alone. This is a common question among DIY enthusiasts and car owners who want to know whether they should attempt the repair themselves or leave it to a professional mechanic. Let's break it down together, so you can make the best decision for your situation.
Your transmission mount plays a crucial role in stabilizing the transmission and keeping it securely attached to the vehicle's frame. It absorbs vibrations, reduces noise, and ensures everything stays aligned during gear shifts. A bad transmission mount can cause excessive vibrations, clunking noises, and even more serious drivetrain problems if left unchecked.
The time it takes to replace a transmission mount depends on a few key factors:
● Your Vehicle's Make and Model: Some cars have easy-access transmission mounts, while others require removing parts like the exhaust or crossmember.
● Your DIY Experience: If you're handy with tools and have done auto repairs before, you'll likely finish faster.
● The Tools You Have: Proper tools like a floor jack, jack stands, and a socket wrench set can save hours.
● Work Environment: A well-lit garage with a car lift is ideal, but you can do the job with a jack and stands if needed.
For most vehicles, replacing a transmission mount takes 1 to 2 hours if everything goes smoothly. On the other hand, some complex vehicle setups or rusted bolts can stretch that time to 3 or 4 hours, especially if you're working in a tight space. Professional mechanics with experience and access to lifts often finish even tricky jobs within an hour.
![]()
Absolutely! Replacing a transmission mount is one of those auto repairs that's doable for many DIY mechanics. You just need the right tools, a bit of patience, and some elbow grease. Here's a quick look at the step-by-step process:
1. Gather Your Tools: Collect your floor jack, jack stands, wrenches, and safety equipment.
2. Safely Lift the Vehicle: Use jack stands to keep it secure—never work under a car supported only by a jack.
3. Locate the Transmission Mount: Check your service manual or repair guide for its exact position.
4. Support the Transmission: Use a transmission jack or floor jack with a wood block to prevent damage.
5. Remove the Old Mount: Loosen bolts and carefully take out the worn transmission mount.
6. Install the New Mount: Align it properly and tighten the bolts to the manufacturer's torque specs.
7. Lower the Vehicle and Test: Double-check everything and take it for a test drive to confirm the repair.
Sometimes bolts are rusted or hard to access, and you'll need penetrating oil or specialty tools. If the new transmission mount is misaligned, it could cause more issues later. And remember, auto repair safety is key—always use jack stands, never rely on the jack alone.
If you're short on time, tools, or mechanical experience, calling a certified mechanic might be the best move. They'll have the job done quickly, often in under an hour, and you'll avoid the hassle.
![]()
Driving with a failed transmission mount can lead to bigger problems, like damaged engine mounts or misaligned drivetrain components. Plus, you'll deal with constant excessive vibrations and unusual noises, making every trip less enjoyable.
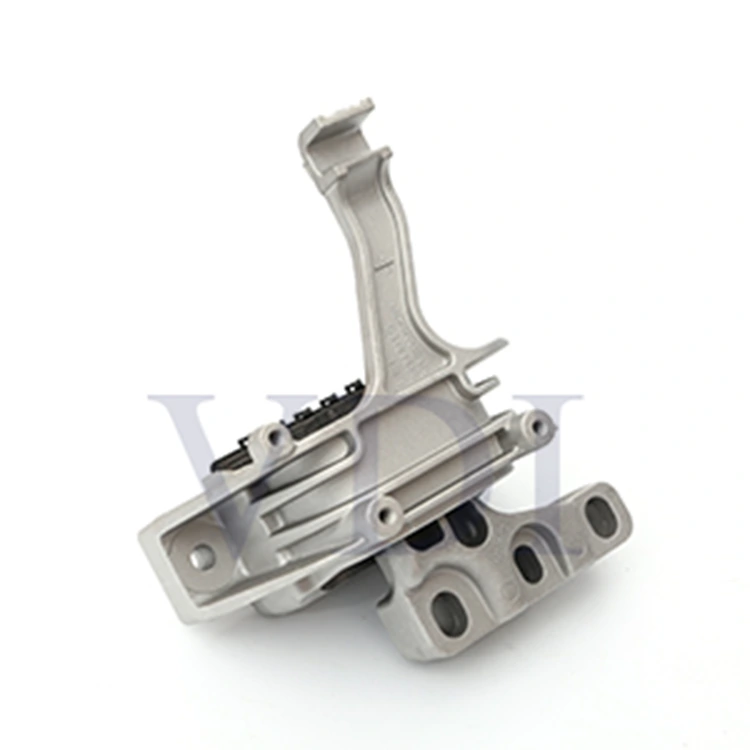
Replacing a transmission mount isn't as daunting as it might seem. With the right tools and preparation, it's a manageable DIY auto repair that saves you money and improves your vehicle's performance. If you're unsure, don't hesitate to consult a trusted auto mechanic—they'll help you get back on the road safely and smoothly. Welcome to order the VDI Transmission Mount 5QM199555.